
Open your pool earlier than you might think — ideally as soon as the water temperature stays consistently above 10–12°C, which in Central Europe usually means April. Algae fully wake up above roughly 15°C, and every week of delay means more cleaning and more chemicals. Opening itself takes just one to two days: remove the cover, get the filtration running, balance the chemistry in the order alkalinity → pH → disinfection, shock the water, and let the filtration run for 24–48 hours.
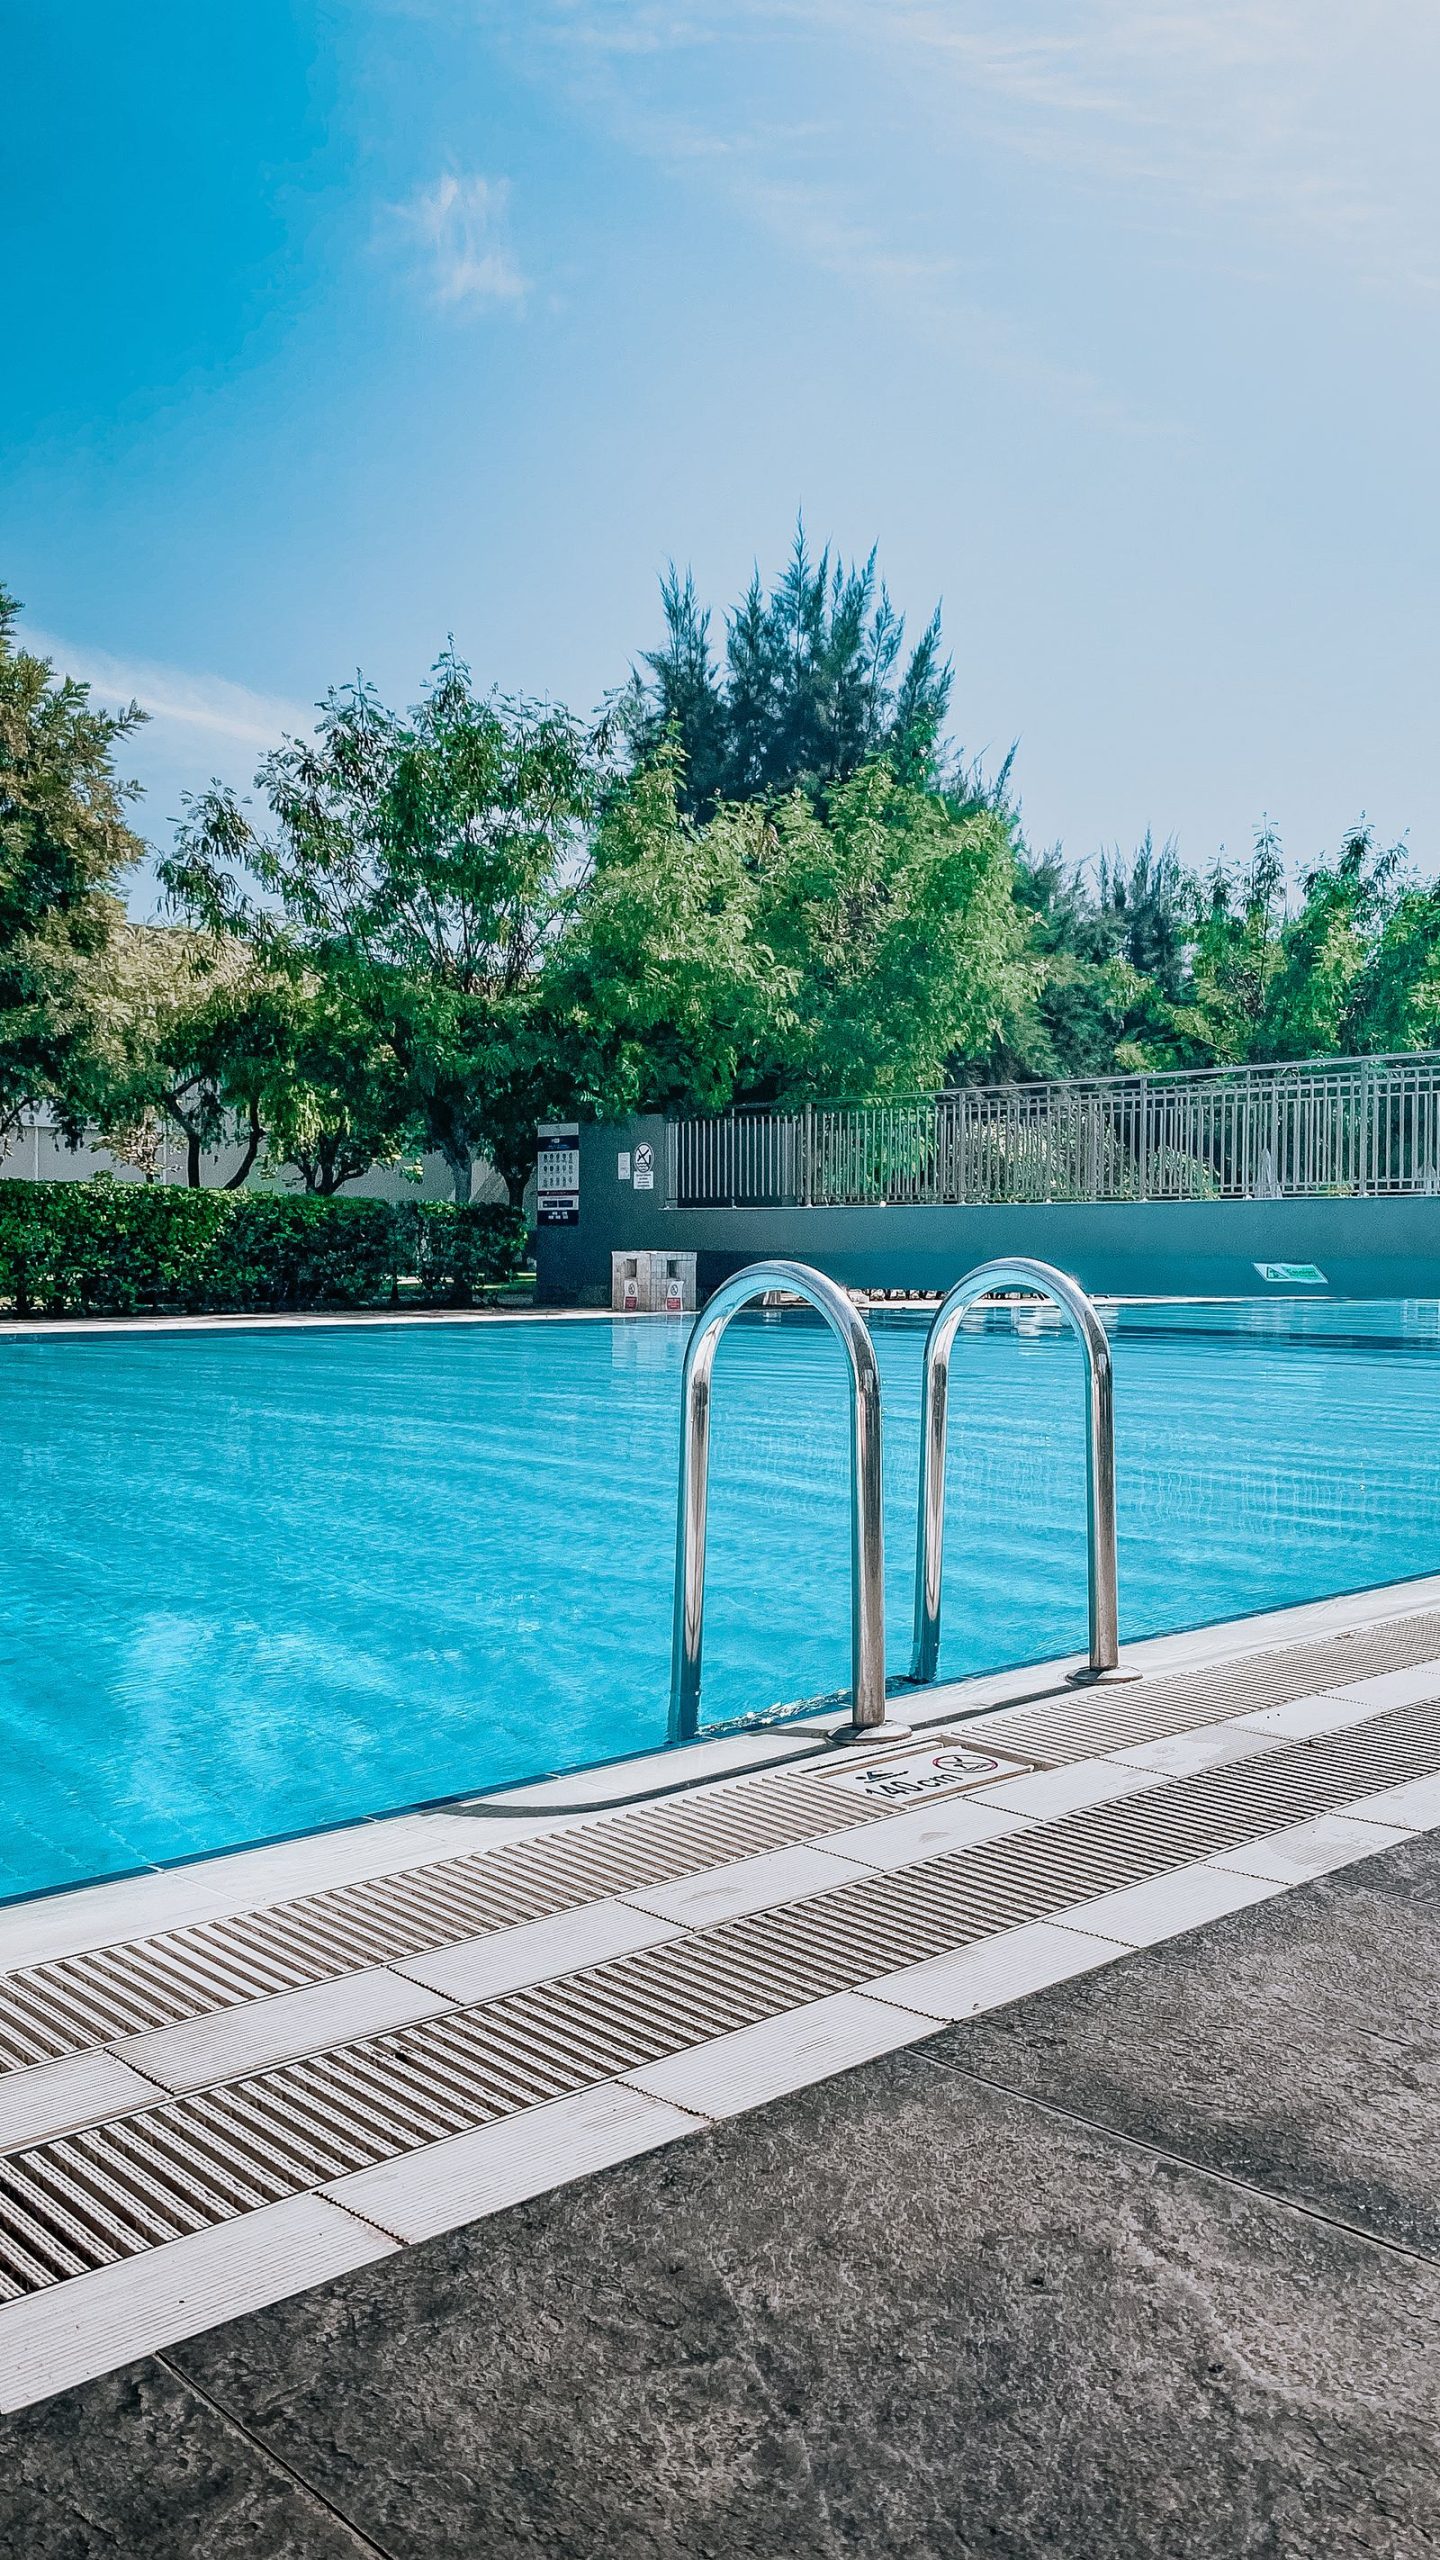
When to open your pool in spring
The most common mistake isn’t a bad procedure but bad timing. Anyone who waits for the first tropical days in June ends up opening a pool where algae have already been at work for a month. Anyone who opens in April takes over water that’s still cold and biologically “dormant” — and has half the work to do.
Rule of thumb: once daytime temperatures hold steadily above 15°C and the pool water approaches 12–15°C, it’s time. International guides (for example, the US-based Swim University) recommend opening before the water reaches around 21°C — above that threshold, algae grow very quickly and a neglected pool can turn green within a few days.
In Central European conditions, that means the second half of April through early May. Just watch out for late frosts: don’t start up the technical equipment (pump, filtration, pipework) until nighttime temperatures no longer drop significantly below freezing, or leave it running overnight — flowing water doesn’t freeze.
Opening the pool step by step
1. Remove and clean the winter cover
First, pump off any water and coarse debris sitting on the cover — a sludge pump or a broom will save you a lot of trouble. Only then carefully remove the cover, so dirt doesn’t fall into the pool. Lay it out on the lawn, rinse it, let it dry completely, and store it in a dry place out of the sun. A wet cover folded away for storage will grow mold by autumn.
While you’re at it, check the condition of the cover and its fasteners: small tears can be repaired with a patch, but a cover with cracked film or torn-out eyelets won’t protect the pool next winter, and it’s time to replace it. On above-ground pools, also check the tensioning cable and the rim.
2. Top up the water to the operating level
Over winter the water level usually drops from evaporation and from deliberately lowering it below the jets. Top up the water to roughly half to two-thirds of the skimmer opening. Without the correct level, the filtration can’t draw water in, and the pump could run dry, which can destroy it within minutes.
3. Get the filtration and equipment running
Put the drain plugs back into the pump and filter, screw the pressure gauge back on, open the valves, and check that the six-way valve is set to filter. Fill the pump’s pre-filter with water (priming), start it up, and check that the pump primes within a minute. Then gradually bring the rest of the equipment online: heating, counter-current jets, lighting, and, if you have one, the saltwater chlorinator — but only activate that once the chemistry is balanced.
4. Check for water leaks
For the first 24 hours after filling, watch the joints, hoses, the light fitting flange, and the area around the equipment pit. Damp spots, dripping fittings, or an unexplained drop in level of more than 1–2 cm per day signal a leak. Minor leaks at joints can be fixed by tightening or fresh PTFE tape; pipework cracked by frost is a bigger issue — see below.
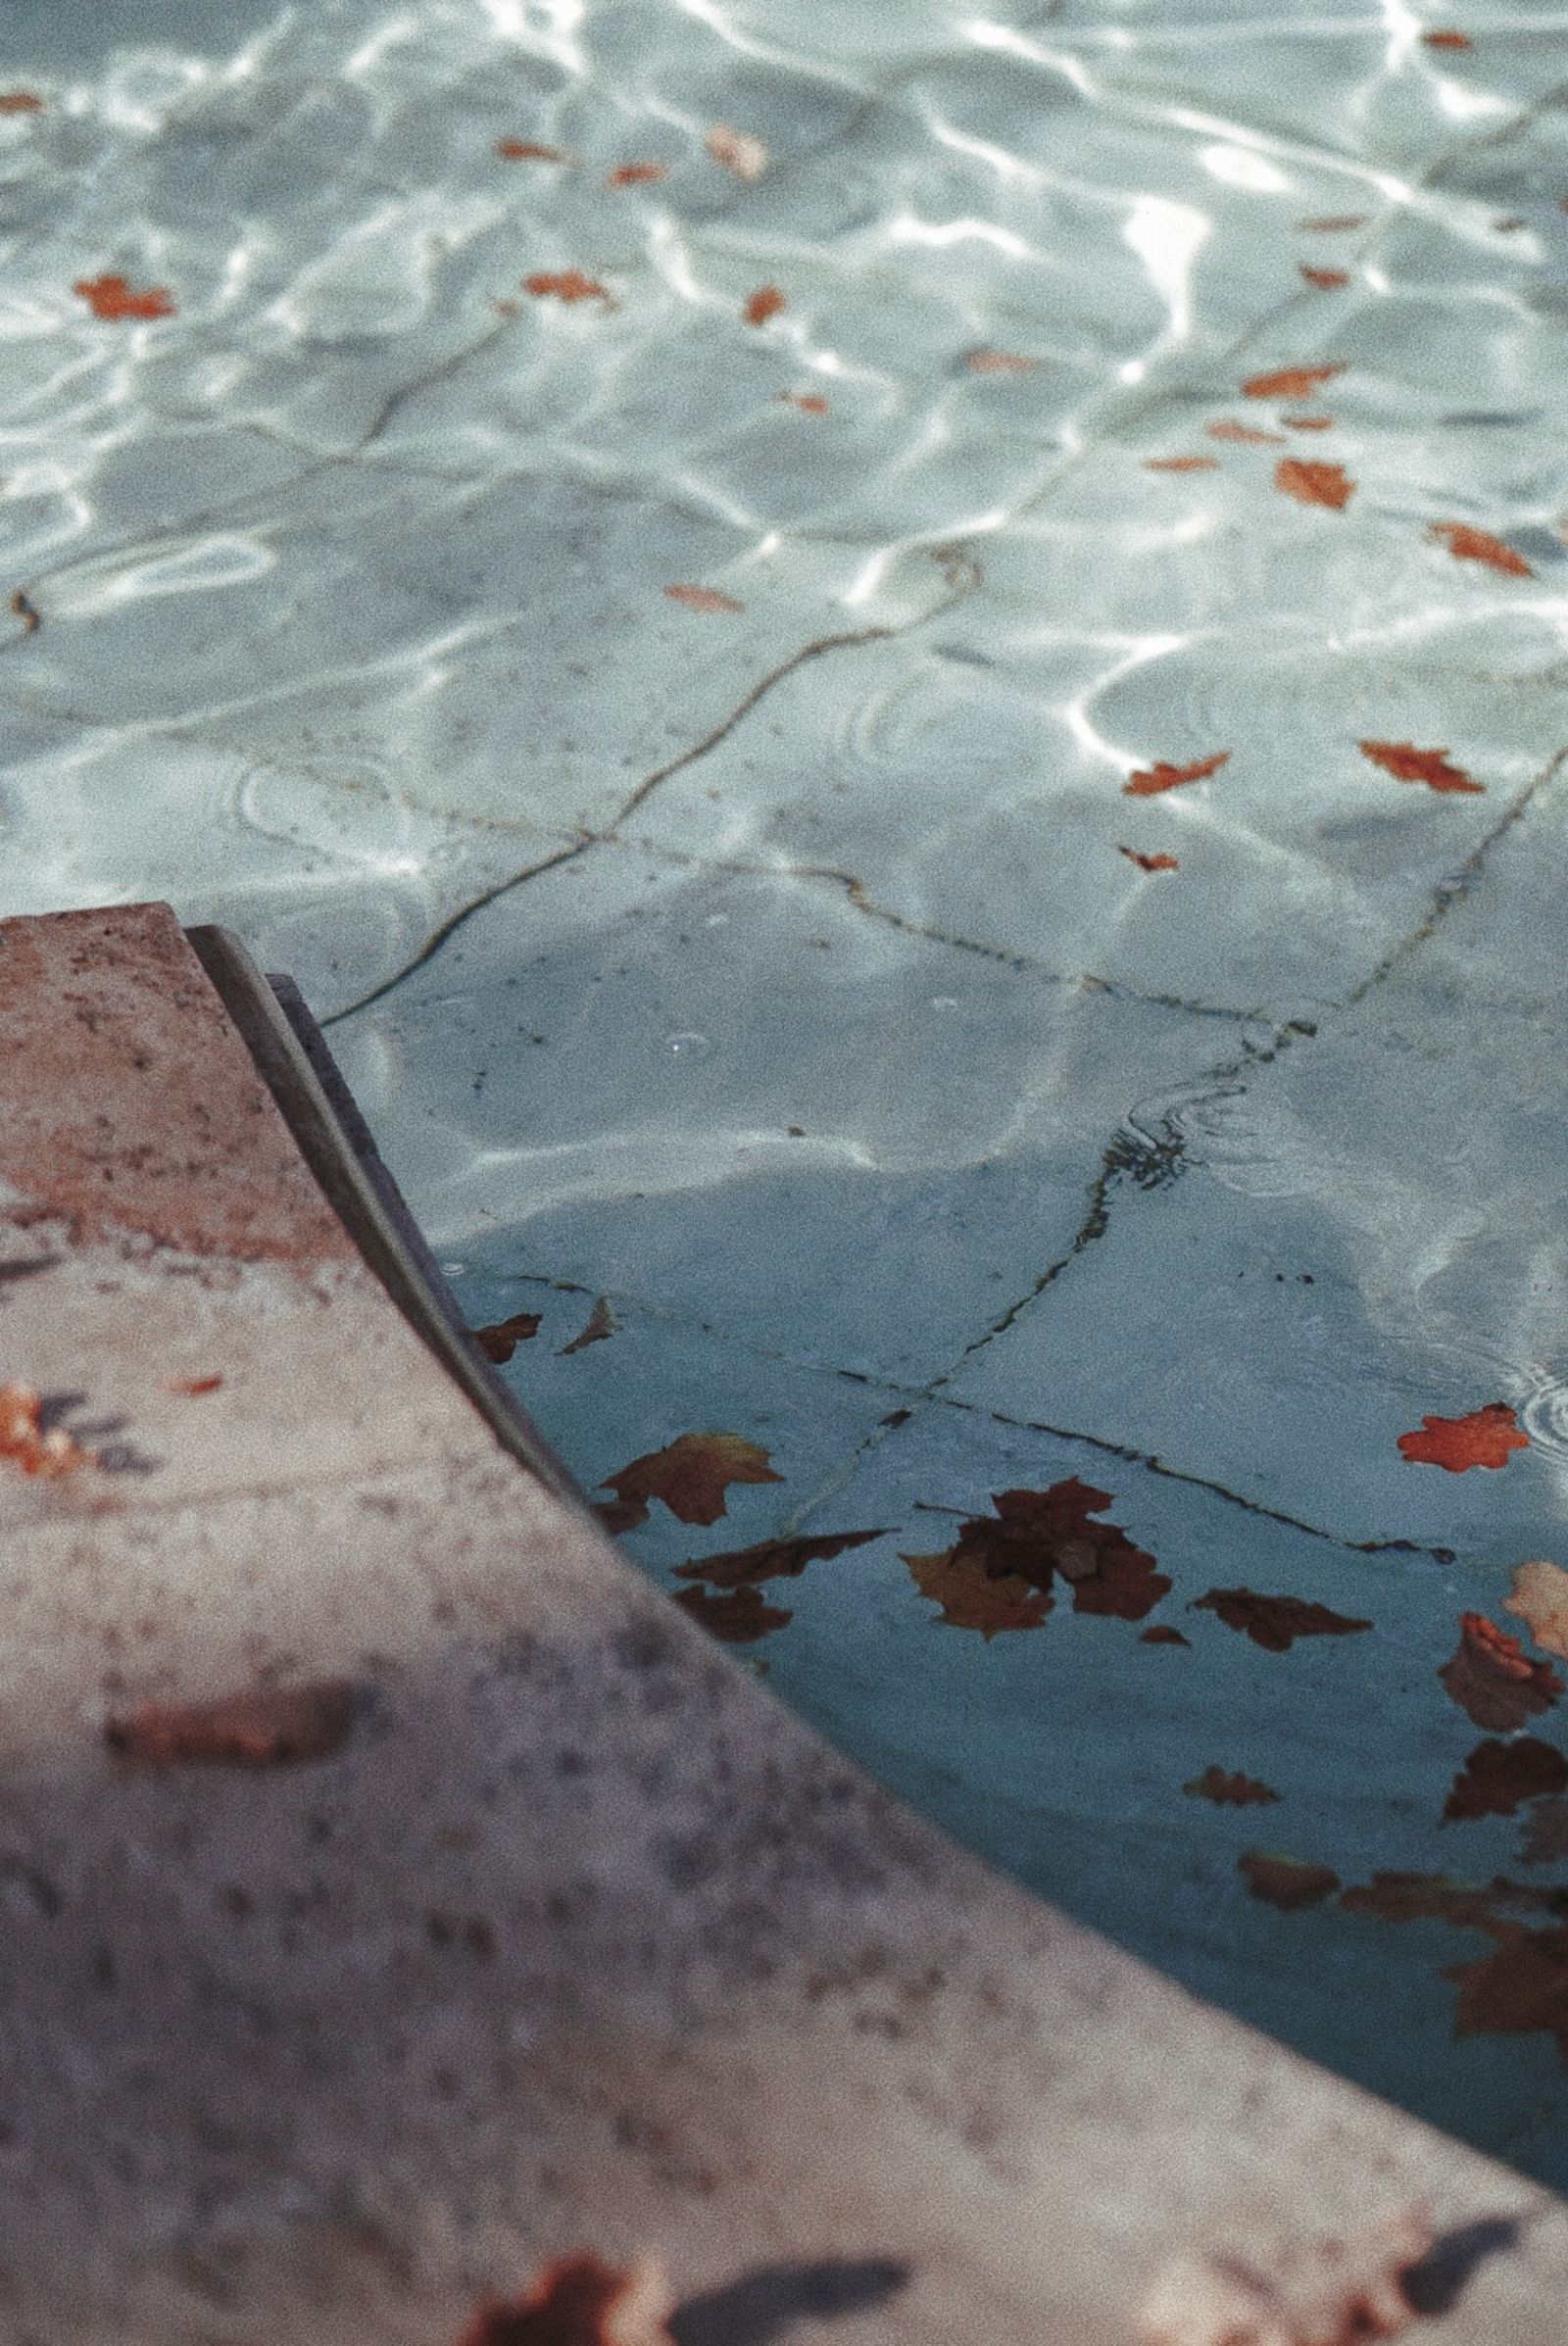
5. Do a rough clean of the floor and walls
Skim out leaves and coarse debris with a net, then thoroughly brush the walls and floor — this loosens the early coating of algae and deposits so the filtration can capture them. Then vacuum the floor with a pool vacuum; if it’s heavily soiled, vacuum to waste so the sludge doesn’t pass through the filter. Also clean out the skimmer baskets and the pump’s pre-filter basket.
Don’t forget the waterline: a greasy grey band on the liner or tiles is formed by sunscreen and residue from last season. Remove it with a dedicated pool wall cleaning gel and a sponge — ordinary household detergents don’t belong in pool water, since they foam and throw off the chemistry.
6. Balance the chemistry: alkalinity → pH → disinfection
Test the water before dosing anything — a drop tester or photometer gives more accurate results than test strips, which after winter are often past their best due to moisture exposure. Take the sample from at least 30 cm below the surface, not from the top.
The order matters, because the individual values affect one another. First measure and adjust total alkalinity to 80–120 mg/l (ppm) — it acts as a “buffer” that stabilizes pH. Then fine-tune the pH to 7.2–7.6; the ideal is 7.4, the value at which chlorine disinfects most effectively and the water doesn’t irritate the eyes. Only at the end deal with disinfection — the target free chlorine level is 0.5–1 mg/l for normal operation (temporarily much higher during shock treatment). Let the water circulate for 20–30 minutes between doses and re-test.
If you have hard water, also check calcium hardness, and add a chlorine stabilizer (cyanuric acid, target 30–50 mg/l) if you’re using unstabilized chlorine. You’ll find the full range of testers and treatment products in the water treatment category.
7. Carry out shock chlorination
Shock treatment is a single high dose of chlorine that kills off the bacteria and algae spores left behind by winter. As a rough guide, follow the manufacturer’s dosing — typically around double the normal dose; increase it further if the water is cloudy or greenish. Shock the water in the evening after sunset — UV light breaks down chlorine quickly — and keep the filtration running while you do it. You can swim again once free chlorine drops back below roughly 3 mg/l.
8. Let the filtration run for 24–48 hours
After shocking, let the filtration run continuously for 24–48 hours, until the water is completely clear. Then switch to normal operation — the general rule is that the pool volume should pass through the filtration at least twice a day, which for most family pools means 6–8 hours of running time. If the pressure gauge shows rising pressure, backwash the filter. For the first few days after opening, test the water daily — freshly balanced chemistry is still settling in, and small corrections are normal.
Typical spring problems and how to fix them
Green or cloudy water after winter
The most common scenario: the cover didn’t seal properly, organic debris got into the water, and algae took off with the first warm spell. The fix is thorough brushing, aggressive shock chlorination, possibly a flocculant, and continuous filtration. We covered the detailed procedure, including dosing, in our article Green Water in the Pool. If the water looks more “milky” cloudy than green, the cause is usually fine silt combined with unbalanced pH — flocculation and chemistry correction will help.
Cracked pipework and equipment after frost
If water was left in the pipework, pump, or filter in autumn, frost turned it to ice, and ice can crack both plastic and cast iron. In spring this shows up as leaks at joints, a crack in the pump or pre-filter housing, or a persistent drop in level while the filtration is running. You can replace smaller parts yourself (pre-filter lids, fittings, ball valves) — you’ll find replacement components in the structural and spare parts category. Cracked underground pipework is a job for a specialist company with a pressure test.
When should you replace the filter sand?
Filter sand is recommended to be replaced every 3–5 seasons. Signs it’s time: the water won’t clear even after extended filtration, backwashing only helps for a few days, the pressure gauge climbs faster than before, or sand starts coming back into the pool through the jets. Spring is the ideal time to replace it, since the filter is open anyway for inspection. An alternative to sand is filter glass media, which lasts longer.
Spring checklist: don’t skip anything
| Step | What to do | Approximate time |
|---|---|---|
| 1. Cover | Drain water, remove, wash, dry, store | 1–2 hours |
| 2. Water level | Top up to 1/2–2/3 of the skimmer | depends on volume |
| 3. Equipment | Plugs, pressure gauge, prime the pump, start filtration | 30–60 minutes |
| 4. Tightness | Check joints and water level for the first 24 hours | ongoing |
| 5. Cleaning | Net, brush the walls, vacuum the floor | 1–3 hours |
| 6. Chemistry | Alkalinity 80–120 mg/l → pH 7.2–7.6 → chlorine | 2–3 hours with testing |
| 7. Shock | Shock chlorination in the evening, filtration running | 15 minutes + overnight |
| 8. Filtration | Continuous operation for 24–48 h, then normal mode | 1–2 days |
Spring is the ideal time to upgrade your equipment
Opening the pool is also the only time of year when you have the equipment disassembled and can see its real condition. A pump that hums, runs hot, or is losing power is worth replacing now — not in July, when half the country is waiting for a new one. Modern variable-speed pumps can also save up to half the energy compared with old single-speed models.
The second typical spring upgrade is heating. A heat pump extends the season by six to eight weeks at both ends — you can swim from May to September instead of just June to August. We cover how to choose the right output and what running costs to expect in our article Heat Pump for Pools and Hot Tubs. Pumps, filtration, and heating are all available together in the pool equipment category.
Frequently asked questions about opening a pool
When exactly should I open my pool in spring?
As soon as the water temperature stays consistently above 10–12°C — in Central Europe, usually the second half of April. Algae start growing above roughly 15°C, so opening earlier means taking over clean, “dormant” water and saving on both chemicals and effort.
Do I need to replace all the water after winter?
Usually not. If you winterized the pool properly in autumn, it’s enough to top up the water, clean it, and treat it chemically. A complete water change makes sense after 3–4 seasons, in cases of extreme contamination, or when cyanuric acid levels are very high.
How long after opening can I not swim?
After shock chlorination, wait until free chlorine drops below roughly 3 mg/l — usually 24–48 hours with the filtration running. Check this with a tester, not by guessing; chlorine that’s too high irritates skin and eyes.
In what order should I adjust the chemistry?
Always alkalinity → pH → disinfection. Alkalinity (80–120 mg/l) stabilizes the pH, and correct pH (7.2–7.6) ensures the chlorine works effectively. Doing it in reverse order means you’ll end up fine-tuning the values repeatedly.
The water turned green after I took off the cover. Did I do something wrong?
Not necessarily. Even under a good-quality cover, algae can take off during a mild winter. Follow the steps above, with extra emphasis on brushing and a stronger shock dose; you’ll find a detailed guide in our article on green water.
A well-handled spring opening is the foundation for the whole season — water that you balance properly in April will largely maintain itself through the summer. You’ll find everything you need, from testers and chlorine to flocculants, in the water treatment category at poolspashop.eu, and more practical guides in our Advice Hub.
