
Winterize your pool once the water temperature stably drops below around 15°C — usually between mid-October and early November. The process has seven steps: thorough cleaning, chemical balancing, winterizing solution, lowering the water level, draining the pipework and equipment, expansion floats, and a winter cover. You can handle the whole job in a single afternoon, and in spring you’ll be rewarded with clear water instead of a green surprise.

When to winterize your pool — and why not sooner?
The key signal isn’t the calendar, but the water temperature. Winterize as soon as the water stays stably below 15°C. Swim University, one of the most widely cited American resources on pool care, recommends closing a pool once the water temperature reaches around 16°C and below — below this threshold, algae practically stop multiplying.
A common temptation is to winterize as early as September, once the family stops swimming. That’s a mistake. Covering a pool with a tarp while the water is still 20°C or warmer creates a dark, warm incubator underneath it — algae will multiply within a few weeks, and you’ll open a green lagoon in spring. Winterizing chemicals also degrade faster in warm water and won’t last until spring.
The opposite extreme — waiting for the first frost — is even riskier. Water in pipes, the pump, or the filter expands by about 9% when it freezes and can crack both plastic and cast-iron parts. Repairing a burst pipe under paving can run into several thousand euros. In Czech conditions, the ideal window is roughly from mid-October to early November, depending on the weather and the pool’s location.
What to prepare in advance
Before you start, make sure you have everything on hand. None of this is exotic, and you’ll reuse most of the equipment every year:
- a pool vacuum, wall brush, and a surface skimmer net,
- a water tester (drop-based or digital) and pH-adjusting chemicals,
- chlorine shock and a winterizing solution (a concentrate against algae and scale),
- plugs for the jets and skimmer, plus a so-called skimmer gizmo,
- expansion floats (winter floats) for the surface,
- a winter cover sized to match the pool,
- for recessed pipework, a compressor or a powerful vacuum with a blow-out function.
Winterizing your pool step by step
1. Thoroughly clean the pool and the filtration system
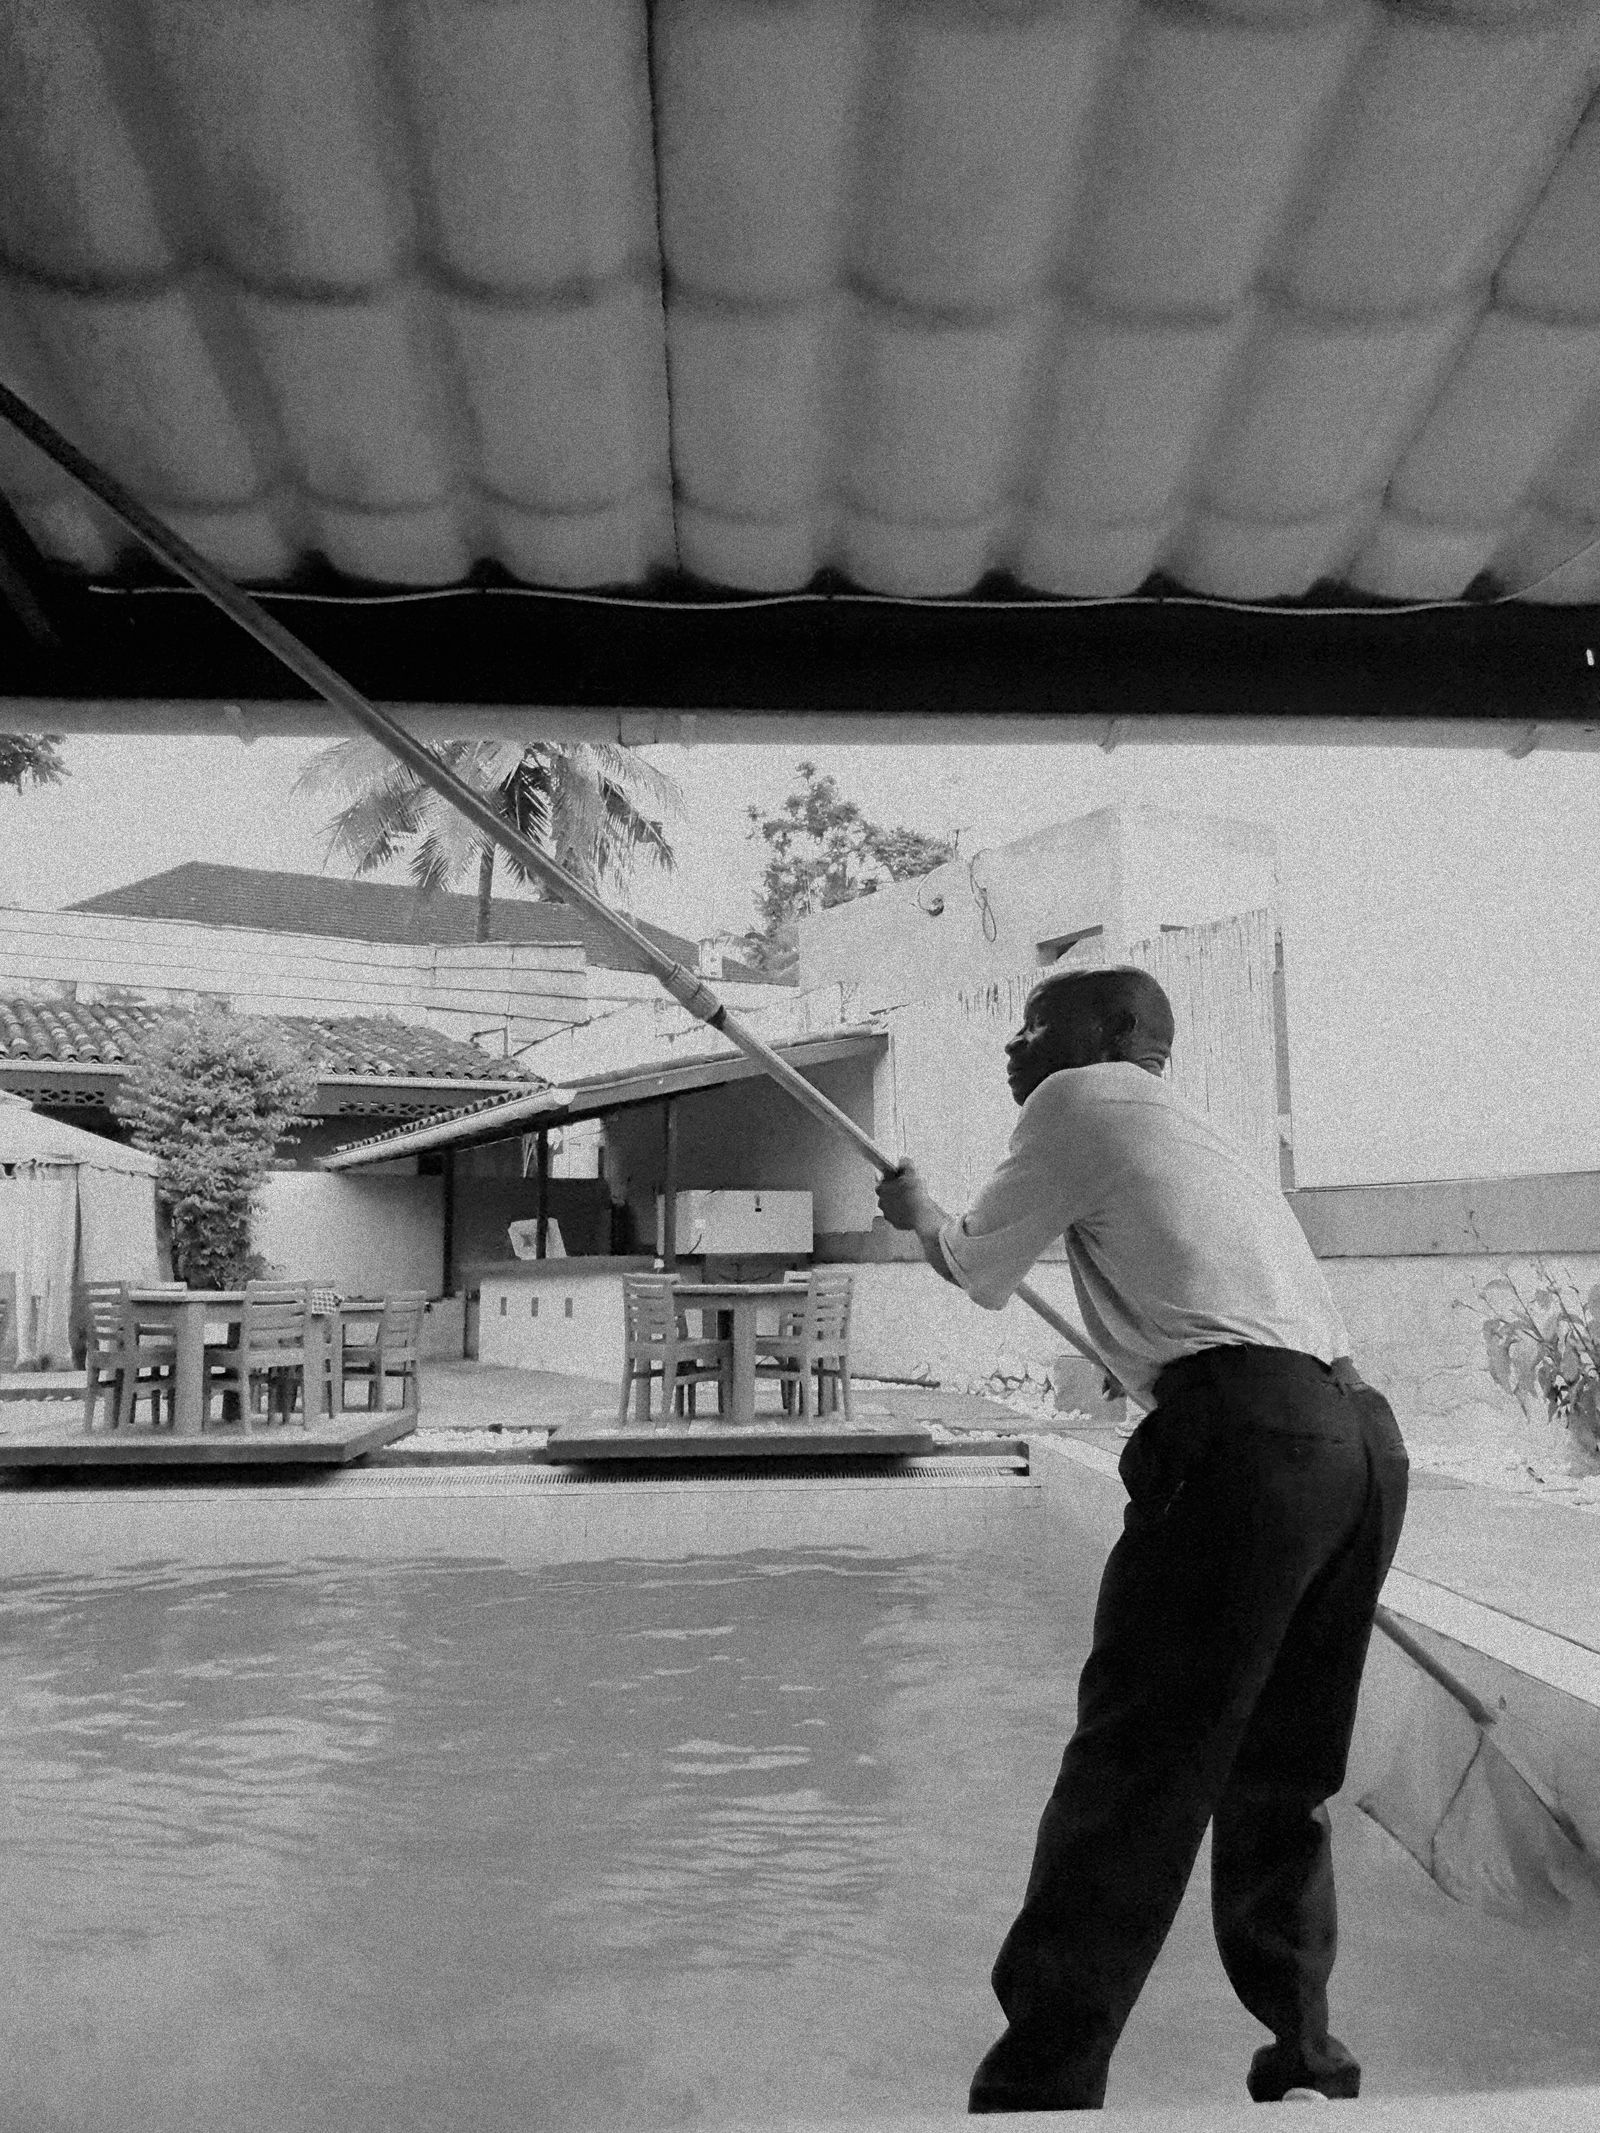
Fish out leaves, vacuum the bottom, and brush the walls and waterline. The rule is: never close a dirty or green pool. Organic debris becomes food for algae and bacteria over winter and will come back with interest in spring. Cleaning also covers the filtration system — backwash the sand filter thoroughly, and remove the cartridge filter, wash it, and let it dry.
2. Balance the water chemistry
Two to three days before winterizing, test the water and bring the values into the ideal range: pH 7.2–7.6, total alkalinity 80–120 ppm, water hardness 200–400 ppm. Balanced water protects the liner, stainless-steel parts, and seals, and ensures the winterizing chemicals will work throughout winter. The evening before winterizing, apply one last chlorine shock and let the filtration run overnight so the chlorine disperses evenly. By the time you close the pool, chlorine should have dropped back below 5 ppm — too high a level would break down the winterizing product. You’ll find everything you need in the water treatment category.
3. Add the winterizing solution
The winterizing product is a concentrated agent against algae and scale build-up that keeps working for several months in cold water. Dose it according to the pool’s volume as instructed by the manufacturer, and let the filtration mix the water for a few more hours. For harder water, it’s also worth adding a product against mineral and metal precipitation.
4. Lower the water level
Drain the water roughly 10–15 cm below the jets and the bottom edge of the skimmer; for pools with a ceramic edge, below the level of the tiling. The goal is simple: keep water from sitting where frost could crack the plastic or the joints. Never fully drain the pool — an empty liner or laminate shell can crack or deform due to groundwater and ground freezing.
5. Drain the pipework and equipment
The most important step in the whole process. Force the water out of the pipes with a compressor or let it drain out by gravity, then seal the jets and skimmer with plugs. Place a gizmo or an empty, sealed PET bottle into the skimmer — it will absorb the pressure of the ice if water gets in. Next, drain the equipment: empty the pump, filter, heater, and dosing units through the drain plugs, and keep the plugs somewhere safe for spring. Don’t forget the salt chlorinator and the heat exchanger or heat pump — these are the parts most often overlooked when winterizing. Ideally, remove sensitive components (the pump, cartridges, the salt cell) and store them in a heated room.
If you’re not sure you’ve managed to blow the pipes completely dry, there’s a safety net: pool antifreeze. This is a non-toxic product designed specifically for pool plumbing, which protects any residual water typically down to −12°C or lower. Never use automotive antifreeze — it’s toxic and has no place in pool water.
6. Place the expansion floats
Lay the winter floats diagonally across the whole pool surface and connect them together. When the surface freezes, the ice expands toward the floats, which compress — so the pressure doesn’t push against the pool walls. For smaller above-ground pools, an air pillow under the cover plays the same role; inflate it to only 50–60% so it has room to flex.
7. Remove accessories and stretch out the winter cover
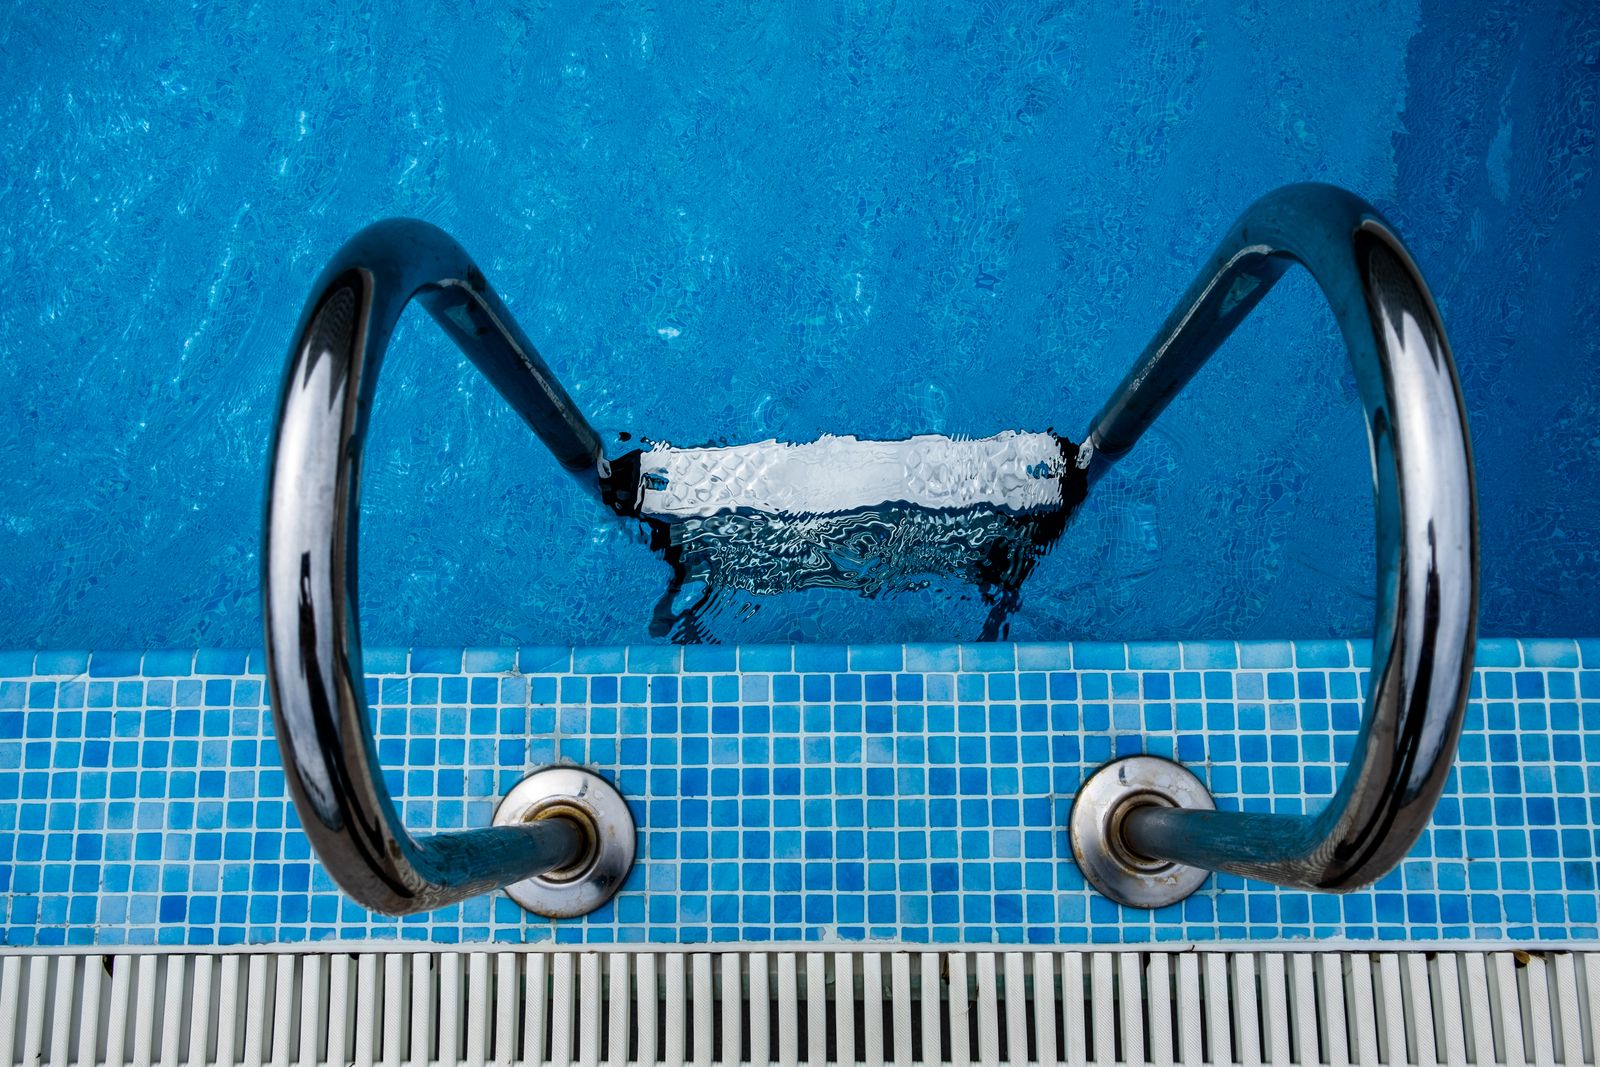
Remove the ladder, handrails, counter-current jet, and lighting where the construction allows — metal parts would otherwise corrode needlessly in winterized water. Finally, cover the pool with the winter cover and anchor it carefully around the perimeter so the wind can’t lift it. A mesh cover lets water through, so you won’t need to pump it out, while a solid cover blocks light completely — but expect to pump out rainwater with a sump pump during winter.
Active vs. classic winterizing: which to choose?
The classic winterizing described above isn’t the only route. More and more owners of in-ground pools are choosing so-called active winterizing: the pool stays filled to its operating level, and the filtration keeps running in a limited mode. The equipment is left running, and when temperatures drop, anti-freeze automation protects it by starting the filtration before the water in the pipes has a chance to freeze.
| Criterion | Classic winterizing | Active winterizing |
|---|---|---|
| Water level | Lowered below the jets | Operating level, unchanged |
| Filtration over winter | Off and drained | Runs 1–3 h a day, with anti-freeze protection |
| Energy consumption | Practically zero | Roughly €10–20 a month for running the pump |
| Risk during a power outage | None | High — pipes may freeze |
| Suitable for | All pools, cottages, above-ground pools | In-ground pools with quality equipment and supervision |
| Water condition in spring | Needs a spring refresh | Continuously maintained water, fast start |
Active winterizing makes sense at a home where you’re present all winter and can react to a power outage or a fault. For holiday properties and above-ground pools, the classic approach is safer — a drained system has nothing left to freeze.
Most common winterizing mistakes
- Winterizing too early. Covering water above 15–16°C means algae multiply under the cover and green water in spring.
- Winterizing too late. The first hard frost can crack undrained pipework and even the pump housing in a single night.
- Water left behind in the pump or filter. The costliest mistake — a cracked pump housing or filter lid means replacing the whole part in spring.
- Forgetting the salt chlorinator, heat exchanger, or heat pump. The electrolytic cell and heat exchangers hold water even after the rest of the equipment has been drained; they need to be drained separately.
- Closing a dirty pool. Organic debris uses up the winterizing chemicals and kickstarts algae growth.
- Fully draining the pool. An empty shell can “float up” or crack from frost due to groundwater.
- High chlorine at closing. A level above 5 ppm breaks down the winterizing solution and bleaches the liner.
Complete autumn checklist
| Step | What to do | When |
|---|---|---|
| 1 | Monitor water temperature — wait for a stable 15°C or below | October |
| 2 | Clean the bottom, walls, and waterline; backwash the filter | 3 days before winterizing |
| 3 | Test the water, adjust pH to 7.2–7.6 and alkalinity to 80–120 ppm | 2–3 days before |
| 4 | Chlorine shock, filtration overnight | Evening before winterizing |
| 5 | Dose the winterizing solution and let it mix | Winterizing day |
| 6 | Lower the water level 10–15 cm below the jets and skimmer | Winterizing day |
| 7 | Drain the pipework, plug the jets, gizmo in the skimmer | Winterizing day |
| 8 | Drain the pump, filter, heater, salt chlorinator, and heat exchanger | Winterizing day |
| 9 | Remove the ladder and accessories, store sensitive parts | Winterizing day |
| 10 | Place the expansion floats and anchor the winter cover | Winterizing day |
| 11 | Regularly check the cover and pump out rainwater | All winter |
What about the hot tub?
Hot tubs generally aren’t winterized — they’re built for year-round use, and winter is, ironically, the most pleasant season for a soak. Draining a hot tub for winter only applies to unoccupied properties. We’ve calculated in detail what year-round hot tub operation actually costs and how to cut costs in winter in our article Hot Tub Running Costs.
Frequently asked questions about pool winterizing
At what water temperature should I winterize a pool?
As soon as the water temperature stably drops below around 15°C, usually between mid-October and early November. Below this threshold algae practically stop multiplying, so the winterizing chemicals last until spring.
Do I have to drain all the water from the pool?
No, and you shouldn’t. The water level only needs to drop 10–15 cm below the jets and skimmer. A completely empty shell can crack or be pushed out of the ground due to groundwater and freezing terrain.
What if I winterize late and frost arrives?
A brief, mild ground frost won’t damage an open pool with circulating water. The danger is water sitting in switched-off pipework and equipment. If it’s freezing and you haven’t managed to winterize yet, keep the filtration running continuously and winterize at the next thaw.
Is active winterizing safe?
For an in-ground pool with anti-freeze automation and constant supervision, yes. The risk is longer power outages — without the filtration running, the pipes can freeze. For holiday homes and above-ground pools, classic winterizing with draining is more reliable.
When should I open the pool again in spring?
Ideally before the water temperature exceeds 15°C, which usually means April. The sooner you start the filtration and balance the chemistry, the lower the risk that algae get ahead of you.
Proper winterizing is mainly about thoroughness — every step in the checklist has a reason, and none can be skipped. You’ll find everything you need, from winterizing solutions to plugs and floats to winter covers, in the pool maintenance category, and we keep adding more seasonal guides to Guides.
