
A concrete shell is not watertight in itself — concrete is a porous material and water travels through it via capillaries and micro-cracks. Watertightness is therefore always provided by a system: either the concrete itself is watertight (mix design plus sealed joints), or a cementitious waterproofing membrane is applied under the tiles, or a liner takes over the whole job. Whatever you choose, service life is decided not by the product but by the execution of the details — the corners, the joints and the penetrations.
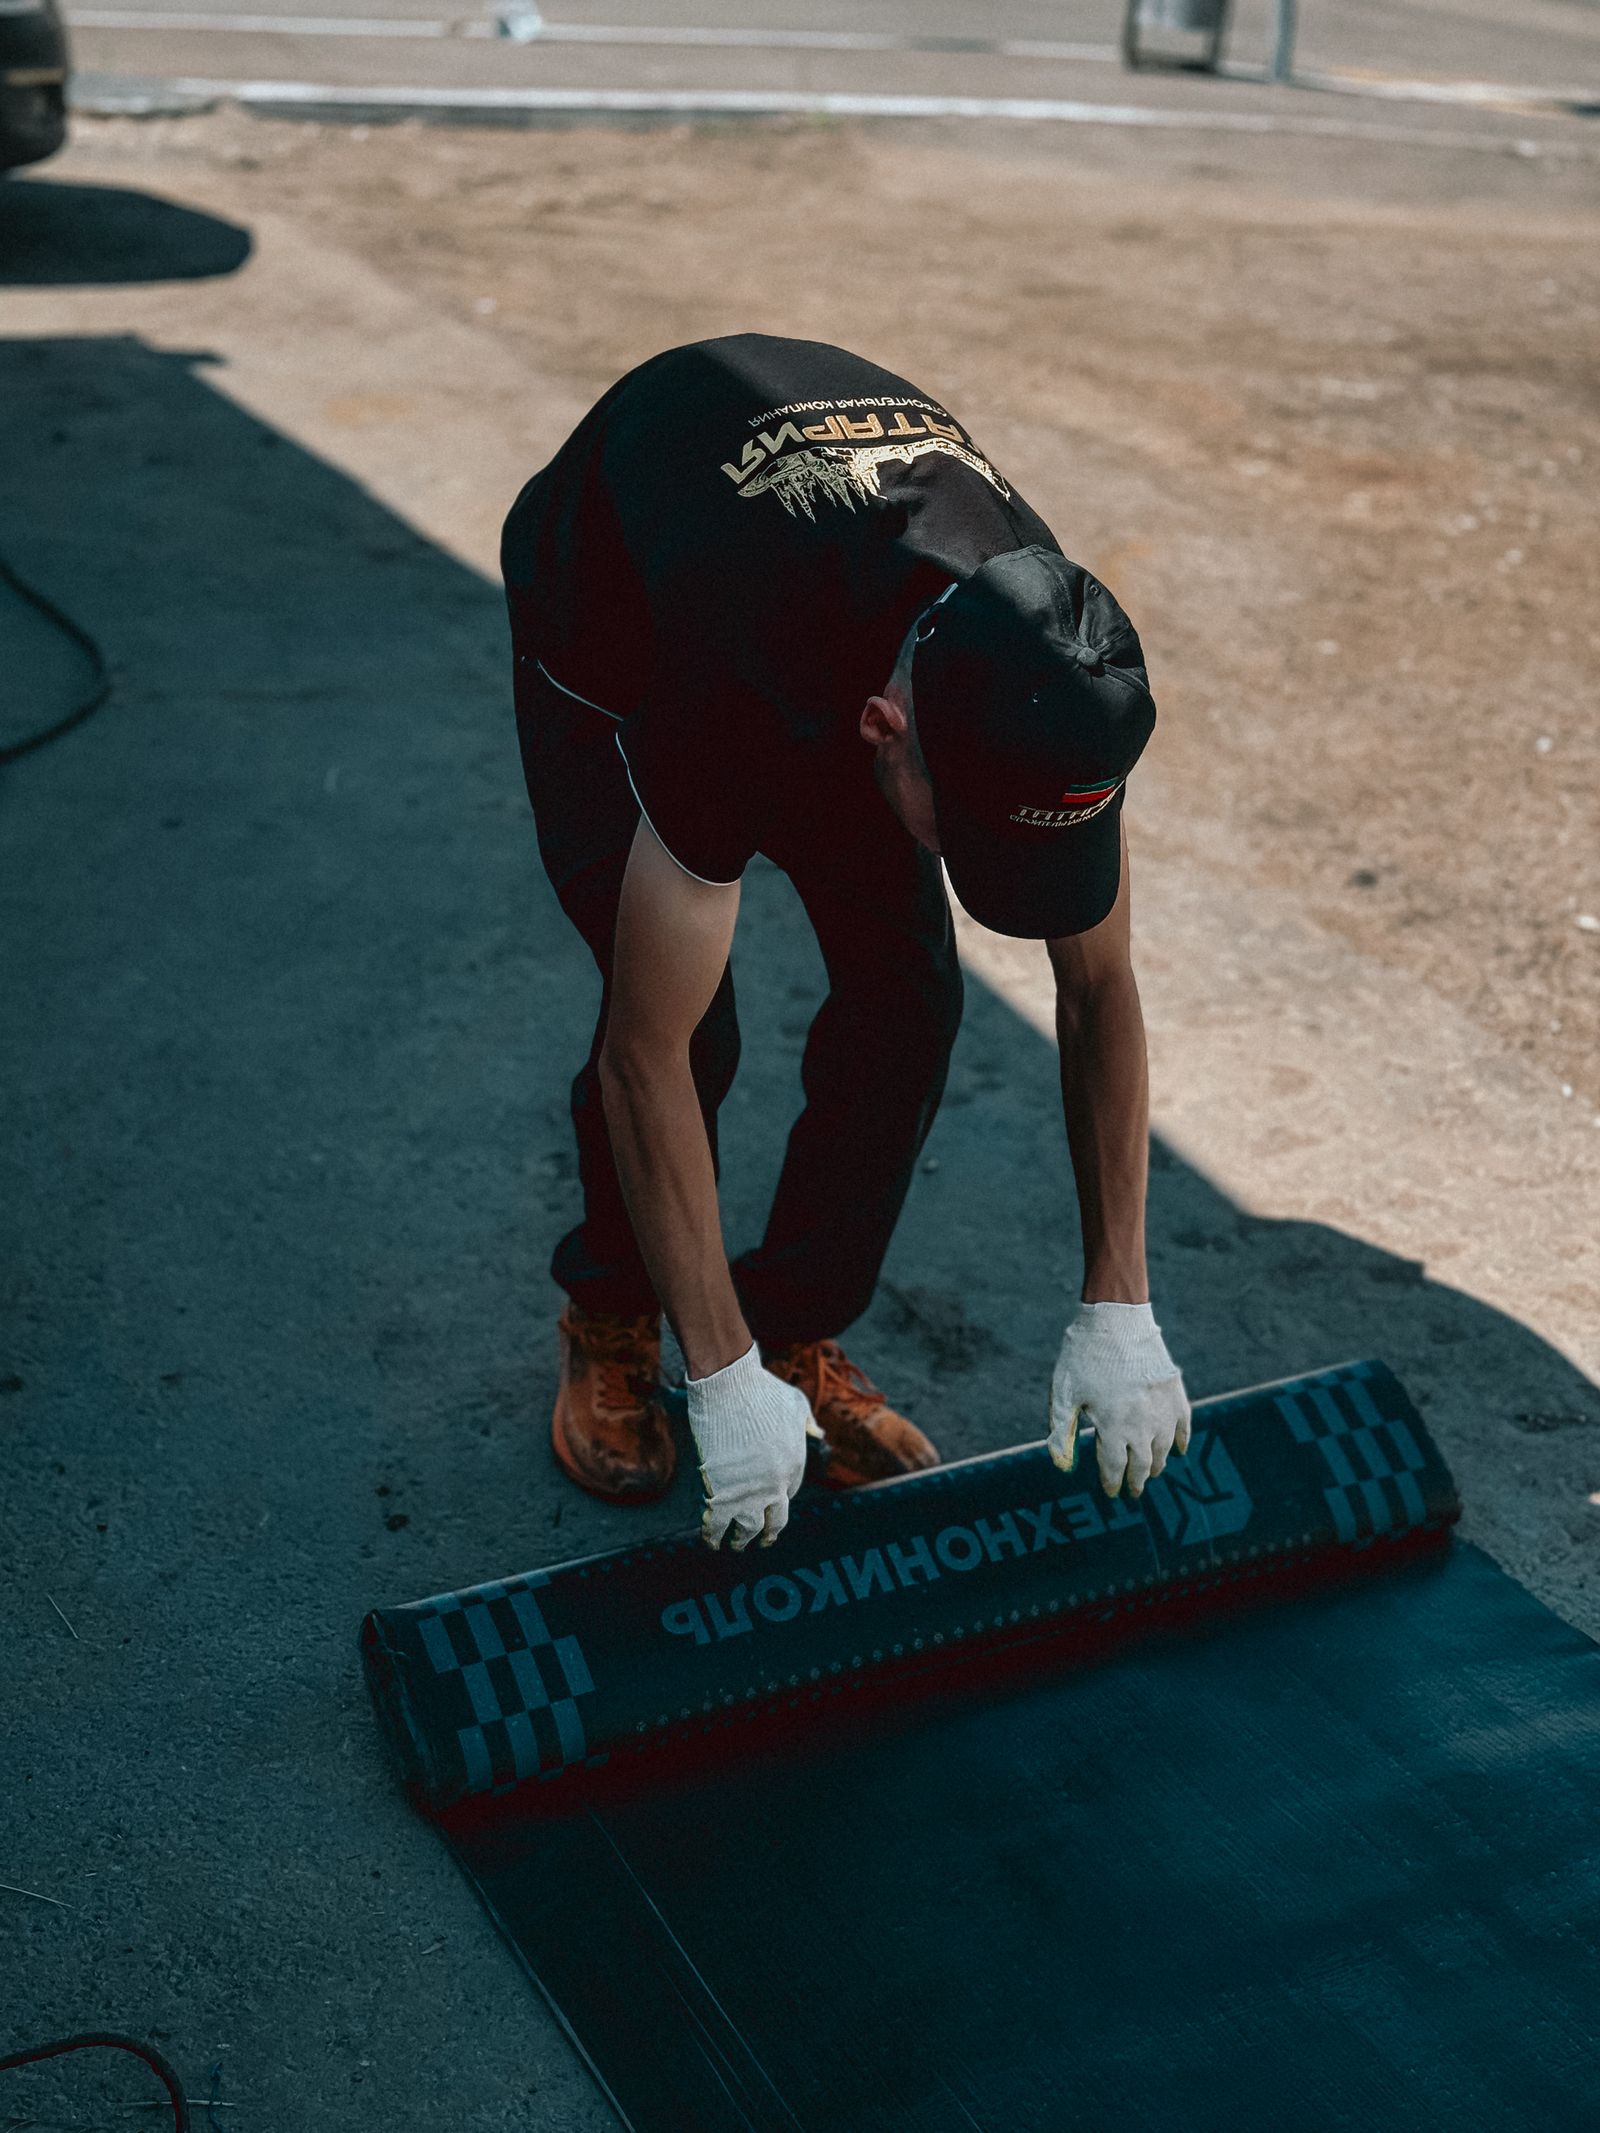
Why concrete does not hold water on its own
Hardened concrete contains a network of pores and capillaries created as the mixing water evaporates. Under the pressure of the water column in the pool, water seeps out through them — slowly, but permanently. At a depth of 1.5 m the pressure acting on the floor is roughly 0.15 bar, more in overflow tanks and deeper pools, and that pressure is continuous throughout the season.
The second problem is cracking. Concrete shrinks as it cures and dries, and if the shrinkage is restrained (reinforcement, a rigid base slab, the geometry of the shell), shrinkage cracks appear. Cracks from temperature changes and from settlement of the structure are added to them. A crack a few tenths of a millimetre wide may still not let water through; a crack over roughly 0.2 mm usually does.
The third factor is construction joints — the places where concreting was interrupted, typically the transition between the base slab and the walls. New concrete never bonds perfectly to old concrete there, and without deliberate sealing a reliable path for water is created. According to technical sources (ASB Portal, Mistakes in pool waterproofing), this very detail is one of the most common sources of leaks.
Three routes to a watertight pool
Three concepts are used in practice. They are not mutually exclusive — they are often combined, for example watertight concrete as the primary barrier and a membrane as the second line under the tiles.
| System | How it works | When it makes sense | What to watch out for |
|---|---|---|---|
| Watertight concrete (“white tank”) | Watertightness is provided by the structure itself: a dense mix with a low water/cement ratio, controlled reinforcement, sealed joints. A crystalline admixture closes the pores by growing crystals and partly “self-heals” fine cracks. | Demanding conditions, groundwater, overflow pools, turnkey builds with a concreting contractor. | It stands or falls with the design and with discipline on site — waterstop plates, swelling strips, injection hoses. Without sealed joints, “watertight” is just a name for the concrete. |
| Cementitious waterproofing membrane under tiles | A two-component flexible slurry membrane (cement + polymer dispersion) applied in two to three coats forms a continuous watertight film 2–3 mm thick. The tiles or mosaic are then bonded on top of it. | Pools with ceramic tiles, mosaic or natural stone; renovations of existing concrete shells. | It requires a sound substrate, sealing tapes in all the corners and observance of the waiting times between coats. The membrane must be rated for permanently immersed structures. |
| Liner (PVC/reinforced) | The liner is both the waterproofing and the visible surface. A reinforced liner is hot-air welded directly in the shell; a thin prefabricated (“vacuum”) liner is fitted as a ready-made bag. | The most widespread solution for domestic pools — fast, repairable, affordable. | The substrate carries it: unevenness, sharp edges and leftover mortar will telegraph through. Geotextile belongs under the liner. The flanges at the penetrations are the key point. |
We cover the third option separately in the articles How to choose a pool liner and Lining a pool with a reinforced liner. For a comparison of entire construction systems — concrete, polypropylene, fibreglass, panel walls — see our overview of pool construction types.
The critical details: this is where it is decided
The floor and wall areas are the easier part. Leaks practically always occur in the details, where the geometry changes or where something passes through the structure.
Corners and internal angles
Every internal corner — the floor-to-wall transition as well as the vertical corners — needs a flexible sealing tape bedded into the first coat of the membrane and covered by the second. The tape must sit loosely in the corner, not stretched over the edge, so that it can accommodate small movement. A badly bonded tape is worse than none: it creates a void through which water gets under the waterproofing and spreads further.
Expansion and construction joints
In a concrete shell, the construction joint between the slab and the walls is sealed with a waterstop plate, a swelling strip or an injection hose — and that has to be done during concreting, it cannot be added later. Expansion joints are handled with jointing tapes and a flexible filler; silicone sealant is the weakest and shortest-lived link in the whole system here, so plan on renewing it.
Penetrations for inlets, the skimmer and lights
Every inlet, skimmer, main drain, counter-current unit and underwater light is a hole in the waterproofing. With membrane systems the penetrations are handled with collars worked in between the coats; with a liner, with flanges, gaskets and correct tightening. A flange that is under-tightened or, conversely, over-tightened is a typical source of the slow leak that only shows up after a season. You will find spare parts and flanges in the pool construction parts category.
The overflow channel
With overflow pools the area to be waterproofed is significantly larger: not just the shell, but the channel and the balance tank too, plus all the transitions between them. On top of that, the overflow edge is permanently exposed to frost and to wet–dry cycling. This is where skimping on materials comes back to bite you fastest.
The cementitious membrane procedure step by step
- Substrate preparation. The substrate must be sound and cohesive, free of laitance, oils and release agents. Corners are rounded with a fillet, honeycombing and voids are filled with repair mortar. Moisture in the concrete matters less than grease — cementitious membranes bond with water.
- Wetting. Before application, the concrete is saturated with water to a matt-damp state (no puddles). A dry substrate would draw the water out of the fresh membrane, which would then neither bond nor cure.
- First coat and reinforcing mesh. The membrane is applied with a steel trowel; reinforcing mesh (glass-fibre scrim) is bedded into the first coat, along with the sealing tapes in the corners and at the penetrations.
- Second (and third) coat. Applied crosswise to the first. The aim is a continuous thickness of 2–3 mm — with two-component membranes this typically corresponds to a consumption of roughly 3.5–5 kg/m², always according to the technical data sheet of the specific product.
- Waiting times. Between coats you wait until the previous one can be stepped on without damage (a matter of hours, depending on temperature). Curing before filling is usually 7 days or more — the technical data sheets differ, but it must never be shortened.
- Watertightness test. The pool is filled and left standing for 7–14 days as a rule, with the water level monitored. Only after a successful test is it drained and the tiles bonded. This step is the only opportunity to uncover a fault while the repair is still cheap.
Tiles on the membrane: why ordinary adhesive is not enough
Tiling is not waterproofing. It is the visible, protective layer above it — but the materials used to bond and grout it must withstand permanent immersion and chemically treated water.
- Adhesive: a flexible cementitious adhesive of class C2 with S1 deformability, explicitly approved by the manufacturer for pools. It is applied to both surfaces (the buttering-floating method) so that no voids remain under the tile — water stands in voids and freezes in winter.
- Grout: for a permanently wet environment, use a class CG2 grout or, better, an epoxy one (RG). Ordinary cementitious grout gradually washes out its binder, the joints crumble and become a breeding ground for algae.
- Corner and expansion joints are not grouted rigidly, but with a flexible sealant for wet environments.
If a film keeps forming in the pool and the joints darken even with good water chemistry, the culprit is usually the wrong grout — we describe the connections in our article on algae in the pool.
The mistakes that never get forgiven
| Mistake | Consequence |
|---|---|
| Waterproofing only on the floor, because “the walls aren’t under that much load” | Water escapes through the walls, the surrounding soil becomes waterlogged, and in winter the structure is damaged by frost from the outside. |
| Sealing tape omitted in the floor–wall corner | A crack exactly at the point of highest stress; the leak shows up within one or two seasons. |
| Tiles bonded directly onto concrete with no waterproofing | The concrete soaks up water, water migrates through the structure, and in frost the tiling peels off in whole areas. |
| Rushing between coats and filling too early | An under-cured membrane peels off the substrate and even from itself; the repair means removing it completely. |
| No watertightness test before tiling | The fault is discovered through finished tiling — the cost of the repair goes up by an order of magnitude. |
| Ordinary “bathroom” adhesive and grout | Washed-out joints, voids under the tiles, loose pieces of mosaic. |
| Penetrations tightened “by eye” | A slow leak at an inlet or the skimmer, mistaken for evaporation for a long time. |
How to tell that the waterproofing is failing
The first signal is usually a dropping water level. Before you start looking for a crack, separate a genuine leak from evaporation — we describe the bucket test procedure in the article Water loss, or evaporation?. Evaporation of 3–5 mm a day is normal in summer; a drop of 2 cm a day is not.
Other symptoms:
- permanently damp or waterlogged soil around the pool, paving that is sinking;
- damp or efflorescence in the plant room or the technical chamber;
- loose pieces of tile, bulging spots, a hollow sound when tapped;
- with a liner, wrinkles that have newly appeared — a sign of water behind the liner;
- a level that drops only to a certain height and stops there (the height of the leak).
What to do next depends on the extent. A local leak at a penetration is dealt with by re-sealing; a wholesale failure of the membrane means removing the tiling and installing a new waterproofing system. With older shells a comprehensive approach often pays off — we go through the options and the costs in the article on renovating an old pool, where lining is a common way to solve watertightness and appearance in one go.
Frequently asked questions
Is a waterproofing admixture in the concrete enough for a concrete pool?
On its own, no. The admixture improves the structure of the concrete, but it does not solve the construction and expansion joints or the penetrations — and that is exactly where the water goes. Watertight concrete is a system: mix design, reinforcement, sealed joints and discipline during concreting.
How long does a cementitious waterproofing membrane last?
Properly executed and on a good substrate, decades — under the tiling the membrane is protected from UV radiation and from mechanical damage. Its life is usually ended by movement of the structure or failure of the joints, not by the ageing of the material itself.
Does the watertightness test always have to be done?
It is the cheapest insurance policy of the whole build. Filling the pool and watching the level for roughly one to two weeks before the tiles go on costs water and time; discovering the same fault after completion costs the entire tiling.
Can a membrane be applied to old, cracked concrete?
Only after remediation. Active cracks must first be stabilised and filled, and loose, degraded layers removed down to sound concrete. Applying a flexible membrane to a moving substrate only postpones the problem by a season.
Is a liner a worse solution than tiles on a membrane?
It is not — it is a different philosophy. A liner combines the waterproofing and the surface into a single layer, it is faster, cheaper and easily repaired by welding. Tiling on a membrane has a longer aesthetic life and looks more luxurious, but it is more demanding both to execute and to look after the joints afterwards.
In conclusion: this is not a weekend job
Waterproofing is the one layer of a pool that you cannot see once it is finished, and at the same time everything else rests on it. Materials today are very good and much the same across manufacturers; the difference between a pool that holds for twenty years and a pool that leaks after the second season comes down to the execution of the details and patience between coats. So hand this part of the build to a company that can document references on pools, works according to the technical data sheets of the specific system, and treats the watertightness test as a matter of course rather than a delay.
If you are dealing with repairing a penetration, replacing an inlet flange or sourcing parts during a shell renovation, take a look at the pool construction parts category. You will find more practical guides to construction, operation and maintenance in our Guide.
