
A pool’s water level drops even under normal circumstances — in summer, even a healthy, watertight pool can easily evaporate 3–5 mm of water a day. But when the level disappears by centimeters a week, it’s almost certainly a real leak, not the weather. A simple 24-hour bucket test can reliably tell the difference, which we describe below along with where leaks most commonly occur.
How much water does a pool normally lose to evaporation?
Evaporation is a physical phenomenon that no pool with an open surface can avoid. Water turns into vapor faster the warmer it is, the drier and windier the air above it, and the larger the surface area relative to the volume. In a temperate climate (including the Czech Republic), an uncovered pool on a summer day loses a rough range of 3–5 mm per day, i.e. roughly 2–3.5 cm per week.
This range isn’t a fixed limit — just a typical band for average summer conditions. Several factors can push it significantly higher:
- Wind — moving air over the surface carries away the saturated vapor layer and speeds up evaporation even at lower temperatures; windy days can double the evaporation rate.
- High water and air temperature — the warmer the water (typically in heated pools and whirlpools), the faster the evaporation regardless of the weather.
- Low air humidity — dry air can hold more water vapor, so evaporation happens faster than in humid conditions.
- Counter-current systems, water features, overflow edges — anything that sprays or spills water increases the effective evaporation surface and adds splash losses.
- No cover — a solar cover or enclosure can cut nighttime evaporation by tens of percent; we covered this in detail in the article pool enclosure and solar cover.
Under these circumstances, even a perfectly healthy pool can easily lose 4–5 cm of water in a hot, windy week — and that’s still no cause for concern. So the question isn’t “is the water level dropping?” but “is it dropping more than evaporation under these conditions can explain?”
The bucket test: how to reliably tell evaporation from a leak
The classic and most reliable home method uses an ordinary bucket and takes 24 hours. The principle is simple: you place a “control sample” of water next to the pool that evaporates at the same rate as the pool but can’t lose water anywhere else. The difference between the drop in the bucket and the drop in the pool is exactly the leak.
- Fill the bucket with pool water and place it on the first or second step of the pool so that the water level in the bucket is roughly at the same height as the water level in the pool.
- Mark the waterline inside and outside the bucket with a waterproof marker or tape — one mark for the level in the bucket, another for the level in the pool (e.g. on the skimmer wall).
- Turn off the filtration for the duration of the test if possible, or alternatively leave it running completely normally — the main thing is not to change anything mid-test.
- Wait 24 hours. A shorter interval is inaccurate, a longer one increases the risk that rain or a sudden weather change will affect the measurement.
- Compare the two drops. If both the bucket and the pool evaporate at roughly the same rate, it’s normal evaporation. If the pool’s level drops noticeably more than the bucket’s, you have a confirmed leak.
Feel free to repeat the test twice in a row — once with the filtration off and once with normal operation. If the pool loses water even with the filtration off, the leak isn’t related to the pump circuit but to the shell (the liner, shell seams) or to piping that stays under pressure even when the filtration is off due to a static height difference. If it only loses water while the filtration is running, look on the pressure side of the circuit — at the pump, the filter, or the pressure piping to the jets.
| Observation | Likely conclusion |
|---|---|
| Pool drop ≈ bucket drop | Normal evaporation, no action needed |
| Pool drops significantly faster than the bucket | A real leak in the circuit or the shell |
| Leak only with the filtration on | Pressure side of the circuit — pump, filter, piping to the jets |
| Leak even with the filtration off | Pool shell (liner, shell seams) or piping under constant pressure |
| The drop stops at a certain water level | A leak exactly at that height — skimmer, jet, or seam |
Where pool leaks most often occur
A water leak always has a specific location, even if you can’t see it at first glance. The following spots are statistically the most common and are worth checking systematically in this order — from the most easily accessible to those that require professional help.
The skimmer and its seals
The skimmer is the most common leak point in both liner and shell pools. Water escapes either around the plastic housing, where the liner or lining connects to the skimmer body, or through a cracked flange or a damaged lid seal. Cracks in the skimmer plastic caused by frost after incomplete winterizing are especially common in spring after opening the pool — more in the article opening a pool in spring.
Underwater light
The cable entry to the underwater light and the seal between the light body and the pool wall are typical weak points. If the water level drop in the bucket test stops exactly at the upper edge of the light, that’s a strong indication — above that height, the leak simply has nowhere left to drain from.
Jets and return jets
Inlet and return jets have their own seal and flange in the pool wall. Over time the seal hardens and cracks, especially in pools over ten years old or after repeated frost. You can also check how well a jet fits by looking from the inside — a slight misalignment or a visible gap around the rim is often a sign.
Underground piping
Underground pipework between the pool and the plant room is the hardest case because it’s out of sight. It shows up either as a constant drop in the water level regardless of whether the filtration is running, or indirectly — a wet, waterlogged patch of lawn near the pipe run, or an unusually damp equipment pit. Cracks arise from ground movement, tree roots, or aging PVC pipe joints.
Cracks in the liner or shell
In liner pools, it’s a puncture or tear in the liner — from a sharp object, ground movement, or a split along an old seam. In shell and laminate pools, hairline cracks appear in the gelcoat that let water through without being visible at first glance. Minor liner damage in accessible spots can be repaired with a patch; more extensive damage calls for a renovation, which we covered in the article renovating an old pool.
Valves and gate valves
Multiport valves, check valves, and gate valves in the plant room have their own O-rings and stem seals. A leaking valve often shows up as a small puddle under the equipment or a wet patch on the floor, without the pool’s water level dropping dramatically — the pool’s large volume can “hide” a small valve leak for a long time.
How to narrow the search systematically
Once the bucket test confirms a real leak, it pays to work from the simplest step to the most demanding — most leaks are found within the first two steps.
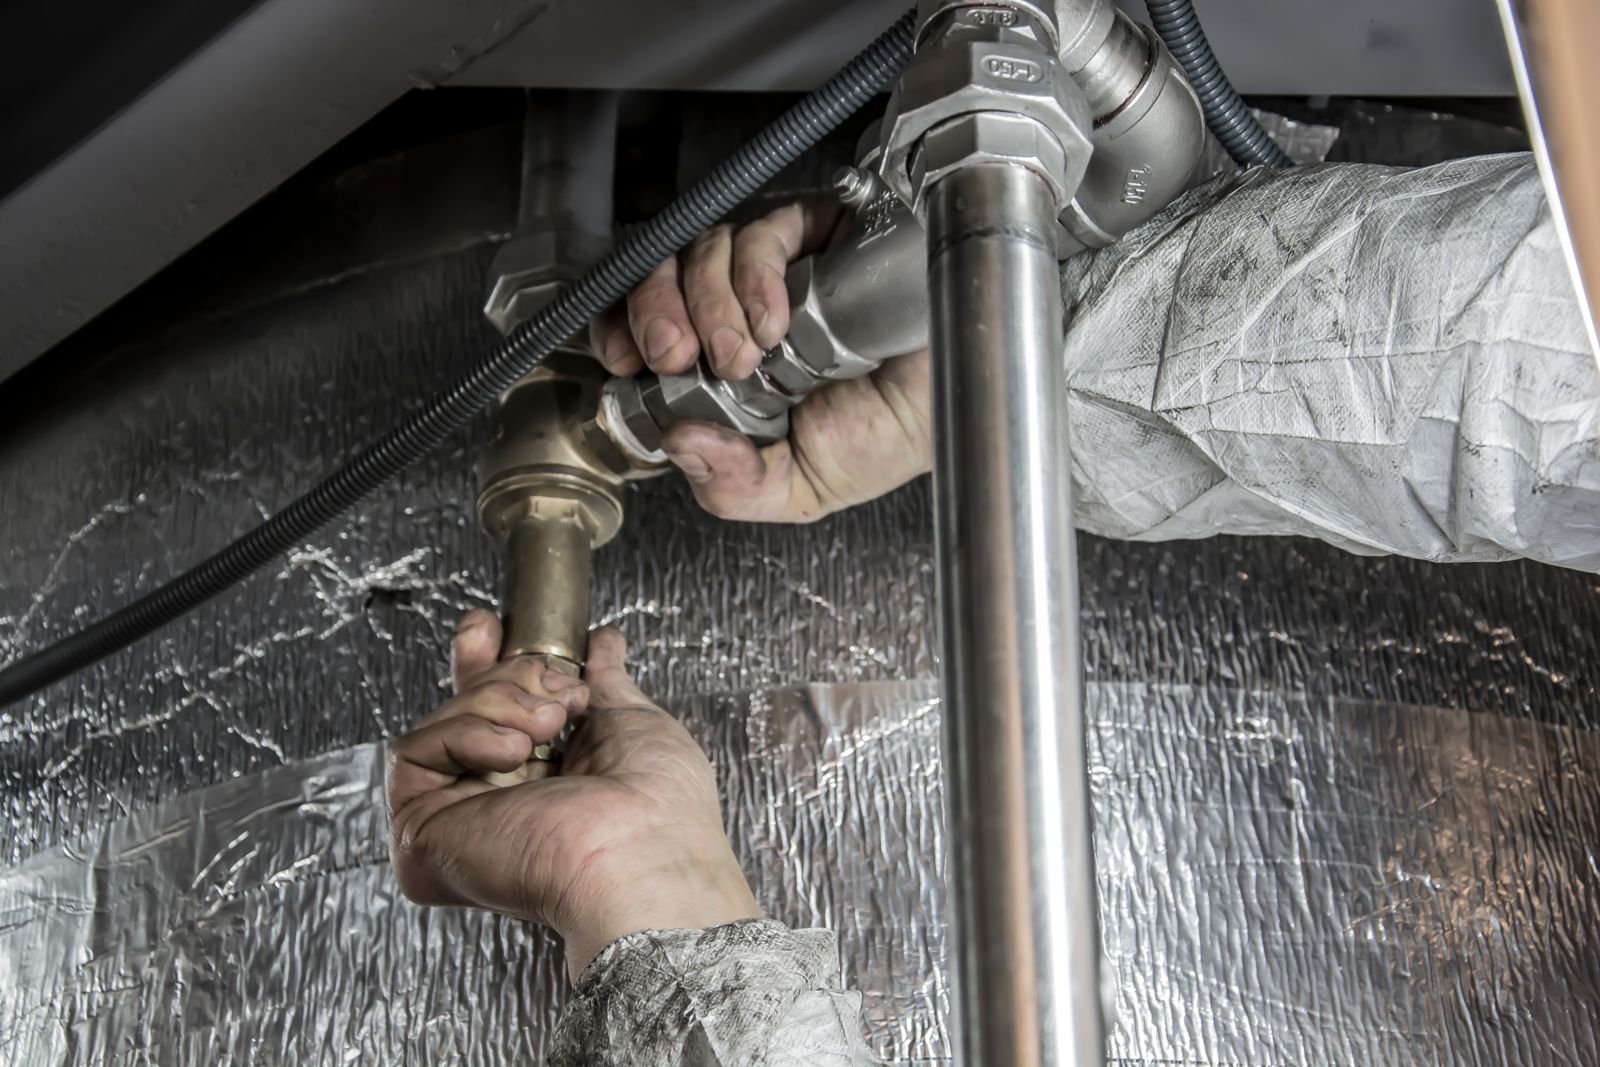
- Visual inspection of accessible joints and fittings. Go through the plant room, all unions, the O-rings at the filter and pump, hose connections, and valves. Look for moisture, drips, or white limescale traces left by evaporated leaked water — these will reveal even a leak that isn’t “dripping” right now.
- Checking the area around the pool. Waterlogged grass, sunken paving, or unusually damp soil along the pipe run point to an underground leak even before it’s confirmed by the test.
- Dye test at suspected underwater spots. At the skimmer, the light, jets, and visible cracks in the liner or shell, a leak finder dye helps — gently squirted from a syringe into still water near the suspected spot. If the dye disappears into a gap or crack, the leak is confirmed exactly at that location.
- Professional detection for underground piping. An underground leak with no visible traces (no wet patch has appeared, but the drop continues even with the filtration off and all accessible joints are fine) already calls for specialized diagnostics — acoustic detection, a pressure test of individual circuits, or a dye tracing test carried out by a professional company.
When not to fix a leak yourself and call a professional
Some situations aren’t worth trying to solve yourself — the risk of needlessly digging up the lawn or damaging the shell outweighs the cost of professional help:
- The drop continues even with the filtration off and all accessible joints are dry — this signals damage to the shell (liner, shell) or the underground piping, not an ordinary circuit fault.
- A waterlogged area has appeared around the pool that doesn’t match rain or watering — likely an underground leak along the pipe run.
- The leak is large and fast (several centimeters a day) — waiting risks damaging the base under the pool or washing out soil around the structure.
- The pool is in-ground or has a concrete/shell construction — repairing the shell or accessing the piping usually requires special tools and experience that a DIY liner repair on an above-ground pool doesn’t.
On the other hand, a minor leak at an accessible jet, skimmer, or filter O-ring can be handled by a more experienced pool owner — you’ll find replacement seals and structural parts in the structural parts category.
Frequently asked questions
How much water does a pool normally lose per week?
Under typical summer conditions, it’s roughly 2–3.5 cm per week (3–5 mm per day). In extreme heat, strong wind, or with a pool that has a counter-current system and an overflow edge, the loss can be even higher without indicating a fault.
How long should the bucket test take?
Standard practice is 24 hours. A shorter period is prone to inaccuracy, a longer one increases the risk that rain or a sudden weather change will affect the result — in that case, repeat the test under more stable conditions.
The pool loses water even with the filtration off — what does that mean?
It means the leak isn’t related to the pump or filter, but to the shell (liner, shell seams) or to piping that stays under pressure even when not running because of a height difference between water levels. At this point, it’s usually no longer an easy DIY repair.
Can a leak be found without draining the pool?
In most cases, yes. A visual inspection of the joints, checking the area around the pool, and a dye test at suspected spots underwater are all done with the pool full. Draining only makes sense once shell damage has been confirmed and repair is needed, not for the search itself.
Can a poorly adjusted overflow or skimmer also cause rapid water loss?
Yes, indirectly. An overflowing edge or a skimmer set too high increases losses through evaporation and splashing, even though technically it isn’t a leak. We describe the differences between overflow and skimmer solutions, and their water top-up requirements, in the article skimmer vs. overflow pool.
Before you start repairs, use the bucket test to check whether you’re really dealing with a leak or just normal summer evaporation — it will save you unnecessary searching. You’ll find seals, O-rings, replacement jets, and parts for skimmers and valves in the structural parts category, and pumps and filtration equipment in the pool technology category. You’ll find more pool maintenance and operation topics in our Guide.


