
An empty pool sitting in saturated ground behaves exactly like a boat: the water around it pushes upwards with a force equal to the volume of water displaced. With an 8 × 4 metre shell, the groundwater table only has to rise one metre above the floor and the structure is subjected to roughly 32 tonnes of uplift. That is why there is one absolutely fundamental rule — never drain a pool in spring, after a thaw or after heavy rain until you know where the groundwater table is. The following text explains the physics, the warning signs and the specific measures to take both during construction and on a finished pool.
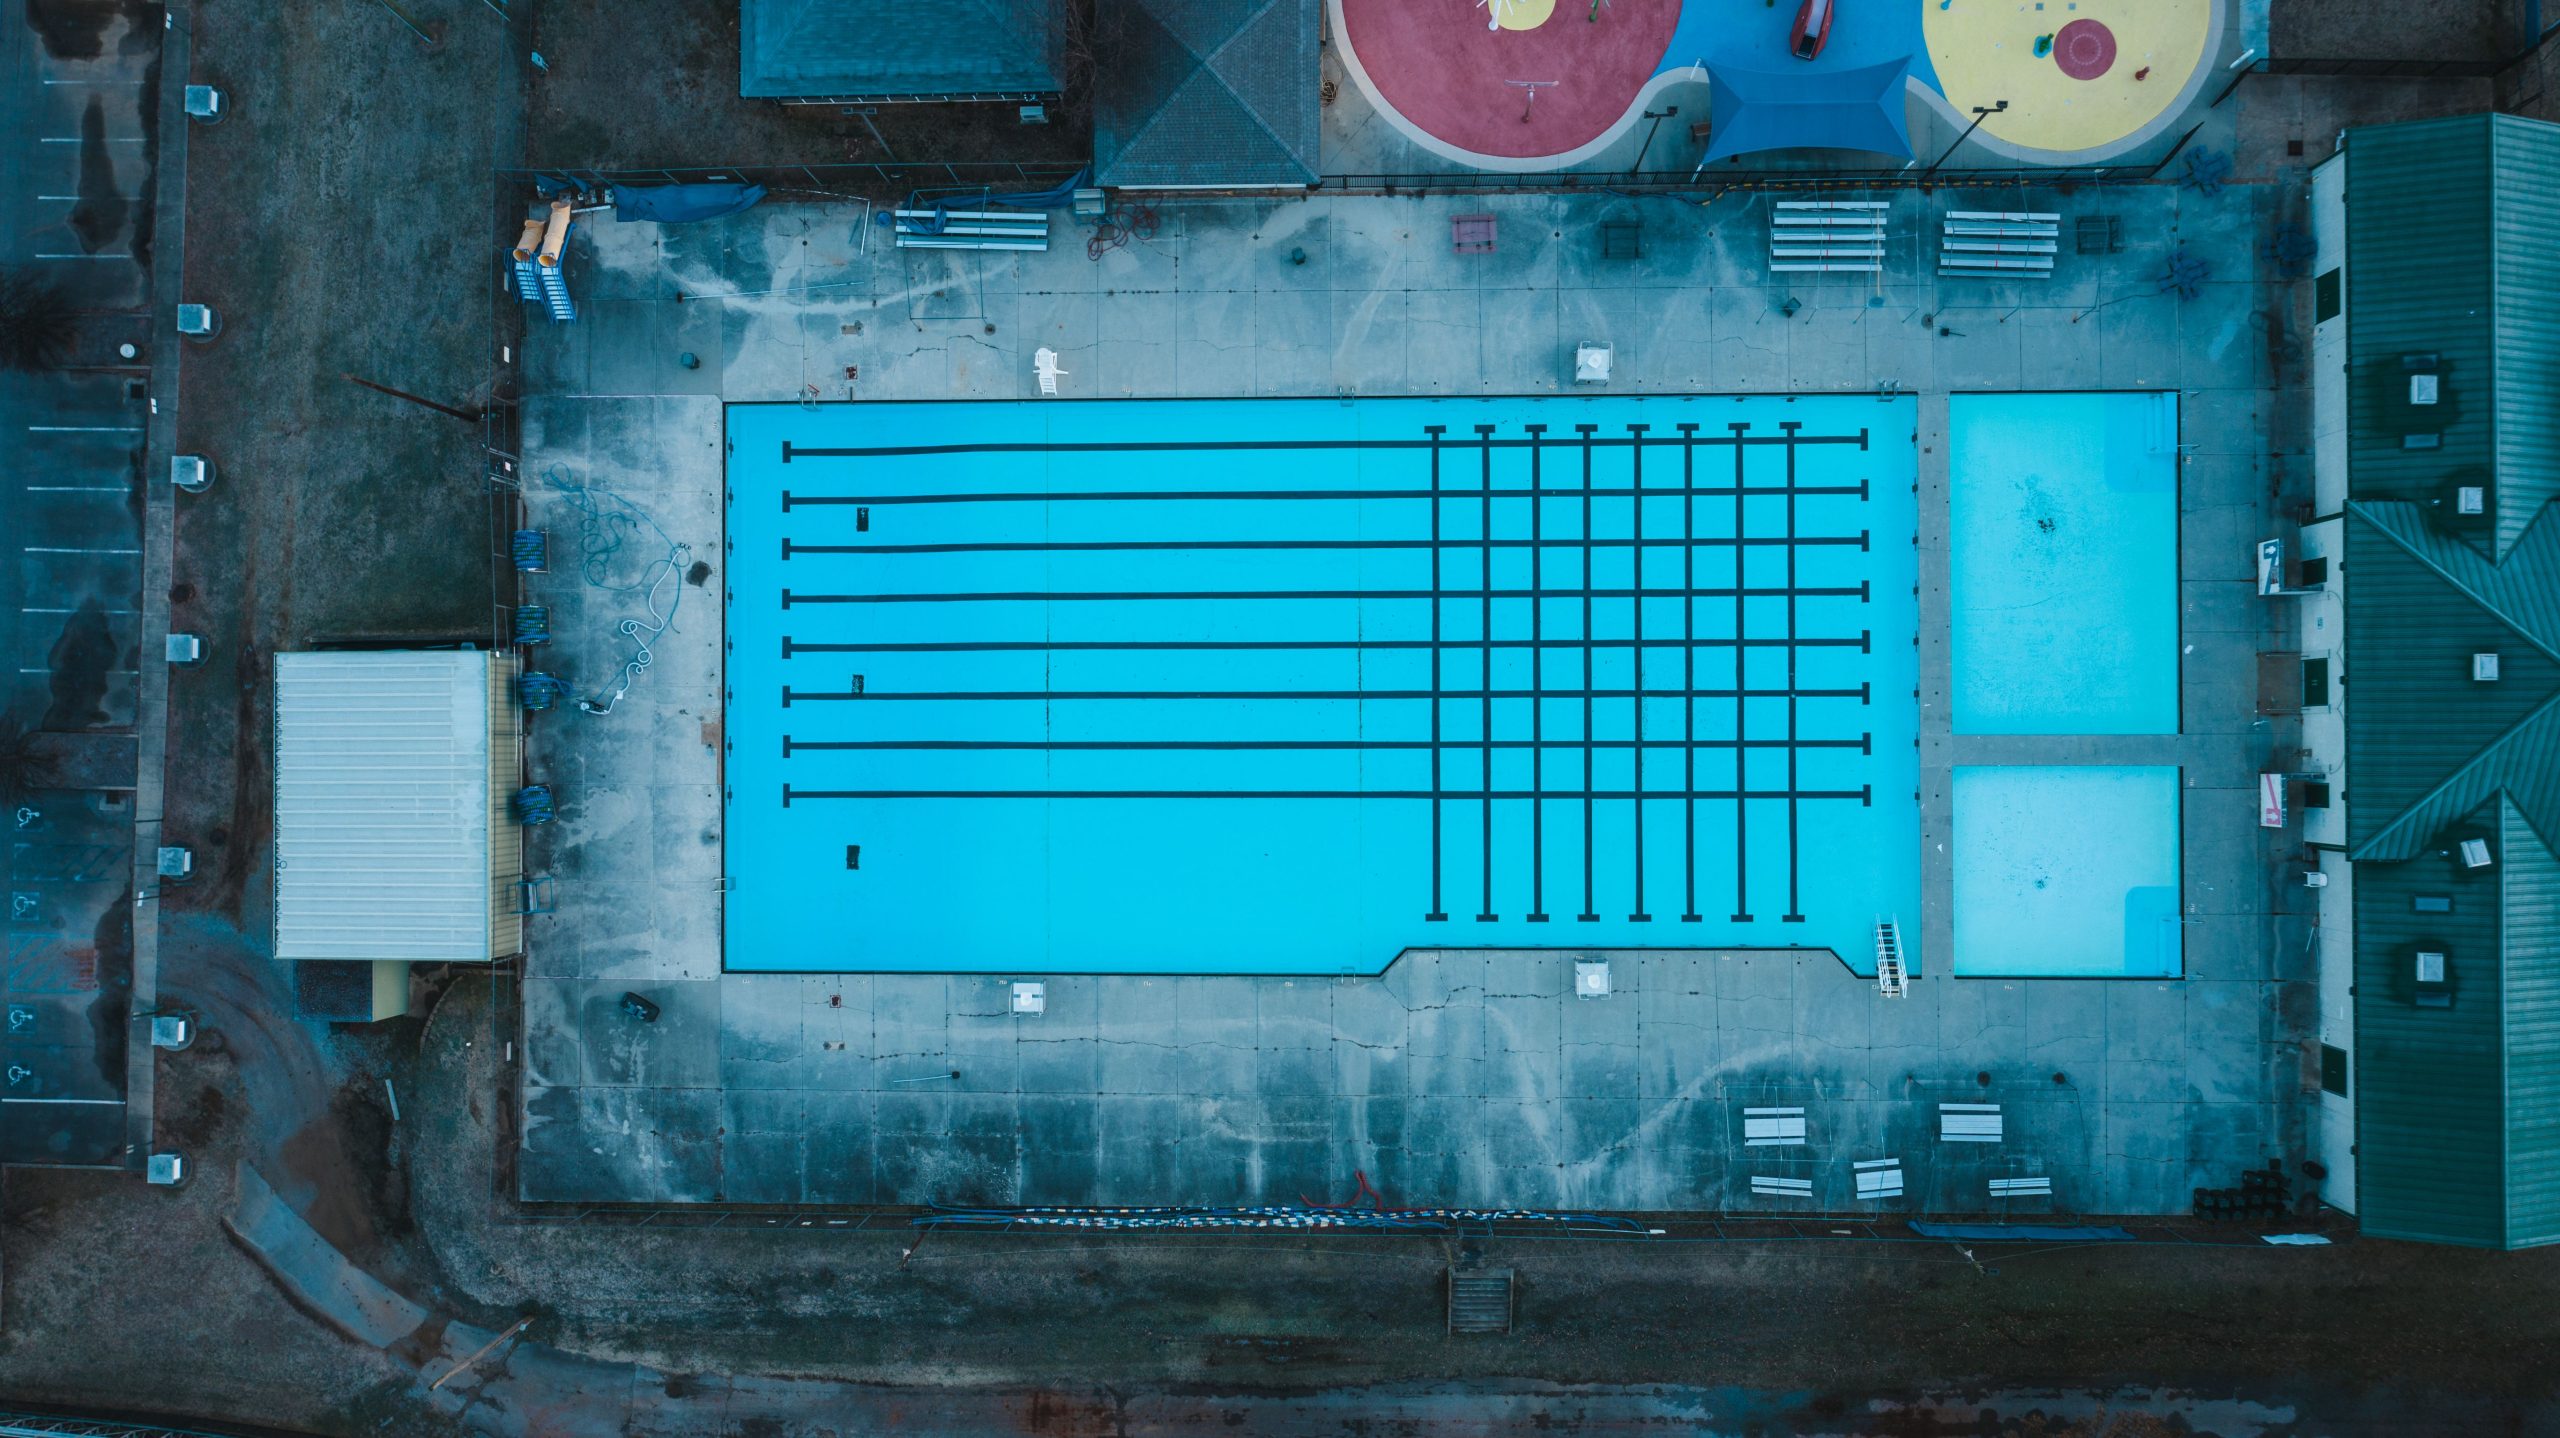
How uplift actually acts on a pool
Archimedes’ principle does not distinguish between a boat and a pool shell. A body immersed in water is buoyed up by a force equal to the weight of the liquid displaced. An inground shell is “immersed” the moment the soil around it is no longer dry but saturated with water — that is, when the groundwater or rainwater level rises above the level of the floor.
The practical conversion is simple: every metre of water column above the floor means uplift of roughly 1,000 kg on every square metre of the floor (9.81 kPa to be precise). A pool measuring 8 × 4 metres has a floor area of 32 m². With the water table one metre above the floor, that works out at some 32 tonnes of upward pressure. An empty fibreglass shell of this size, meanwhile, weighs a few hundred kilograms.
A full pool, on the other hand, is safe. Eight by four metres at a depth of 1.5 m means 48 m³ of water, i.e. 48 tonnes holding the shell down. The difference between “full” and “empty” is therefore not cosmetic — it is the difference between 48 tonnes and a few hundred kilograms working against the same uplift force. That is precisely why virtually all failures happen at the moment the shell is drained or partly drained.
One important and frequently overlooked point: the magnitude of the uplift is not determined by the amount of water around the pool, but by its height. Even a layer of water a few centimetres wide, trapped in clay around the shell but reaching a metre above the floor, creates the same pressure as an entire lake. The argument “but there’s hardly any water there” therefore does not stand up physically.
When the risk is genuinely real
Not every garden is at risk. The following factors, however, increase the risk significantly, and they add up in combination:
- A high groundwater table. Plots near watercourses, ponds, in floodplains and in lowland locations. The level also fluctuates — a summer measurement tells you nothing about the situation in March.
- Clay and loam subsoil. Clay does not let water through. An excavation pit dug into it behaves like a bathtub: rainwater runs down along the pool walls and has nowhere to drain away. This phenomenon is known as the “pool in a bathtub” effect.
- A sloping plot. Water moves down the gradient along the impermeable layer and accumulates on the upper side of a pool built on a slope.
- The spring thaw. Frozen ground does not let meltwater soak down to depth, so it stays just below the surface and runs into the excavation.
- Torrential rain. Fifty millimetres of rainfall in an hour can saturate the backfill faster than it can drain away — even where there is normally no groundwater.
- Undersized or missing concrete backfill. A shell backfilled only with gravel or sand has no mass of its own to resist the uplift.
The most expensive mistake: draining the pool at the wrong time
The most common failure scenario is not caused by nature but by the owner. In spring the water looks cloudy after the winter, so it is drained “right down to the floor” to give the shell a wash. That is exactly the moment when those 40-plus tonnes of ballast disappear and all that remains is the uplift from water that is at its peak around the pool after the thaw.
Hence the rules that admit no exceptions:
- Never drain the pool in spring until the groundwater table has dropped — which is typically not until May or June.
- Never drain the pool after heavy or prolonged rain. Wait for several dry days.
- Never leave the pool draining overnight unattended. Draining is done in a single day, with immediate refilling.
- If you have a hydrostatic valve or an inspection chamber in the floor, check them before draining, not afterwards.
Not draining does not mean not maintaining. For the vast majority of pools, a complete water change can be replaced with a partial change of 20–30 % of the volume plus correcting the chemistry — we cover the procedure in more detail in our article on opening the pool in spring. Winterizing, too, is nowadays done with water left in the pool, not dry, as described in pool winterizing step by step.
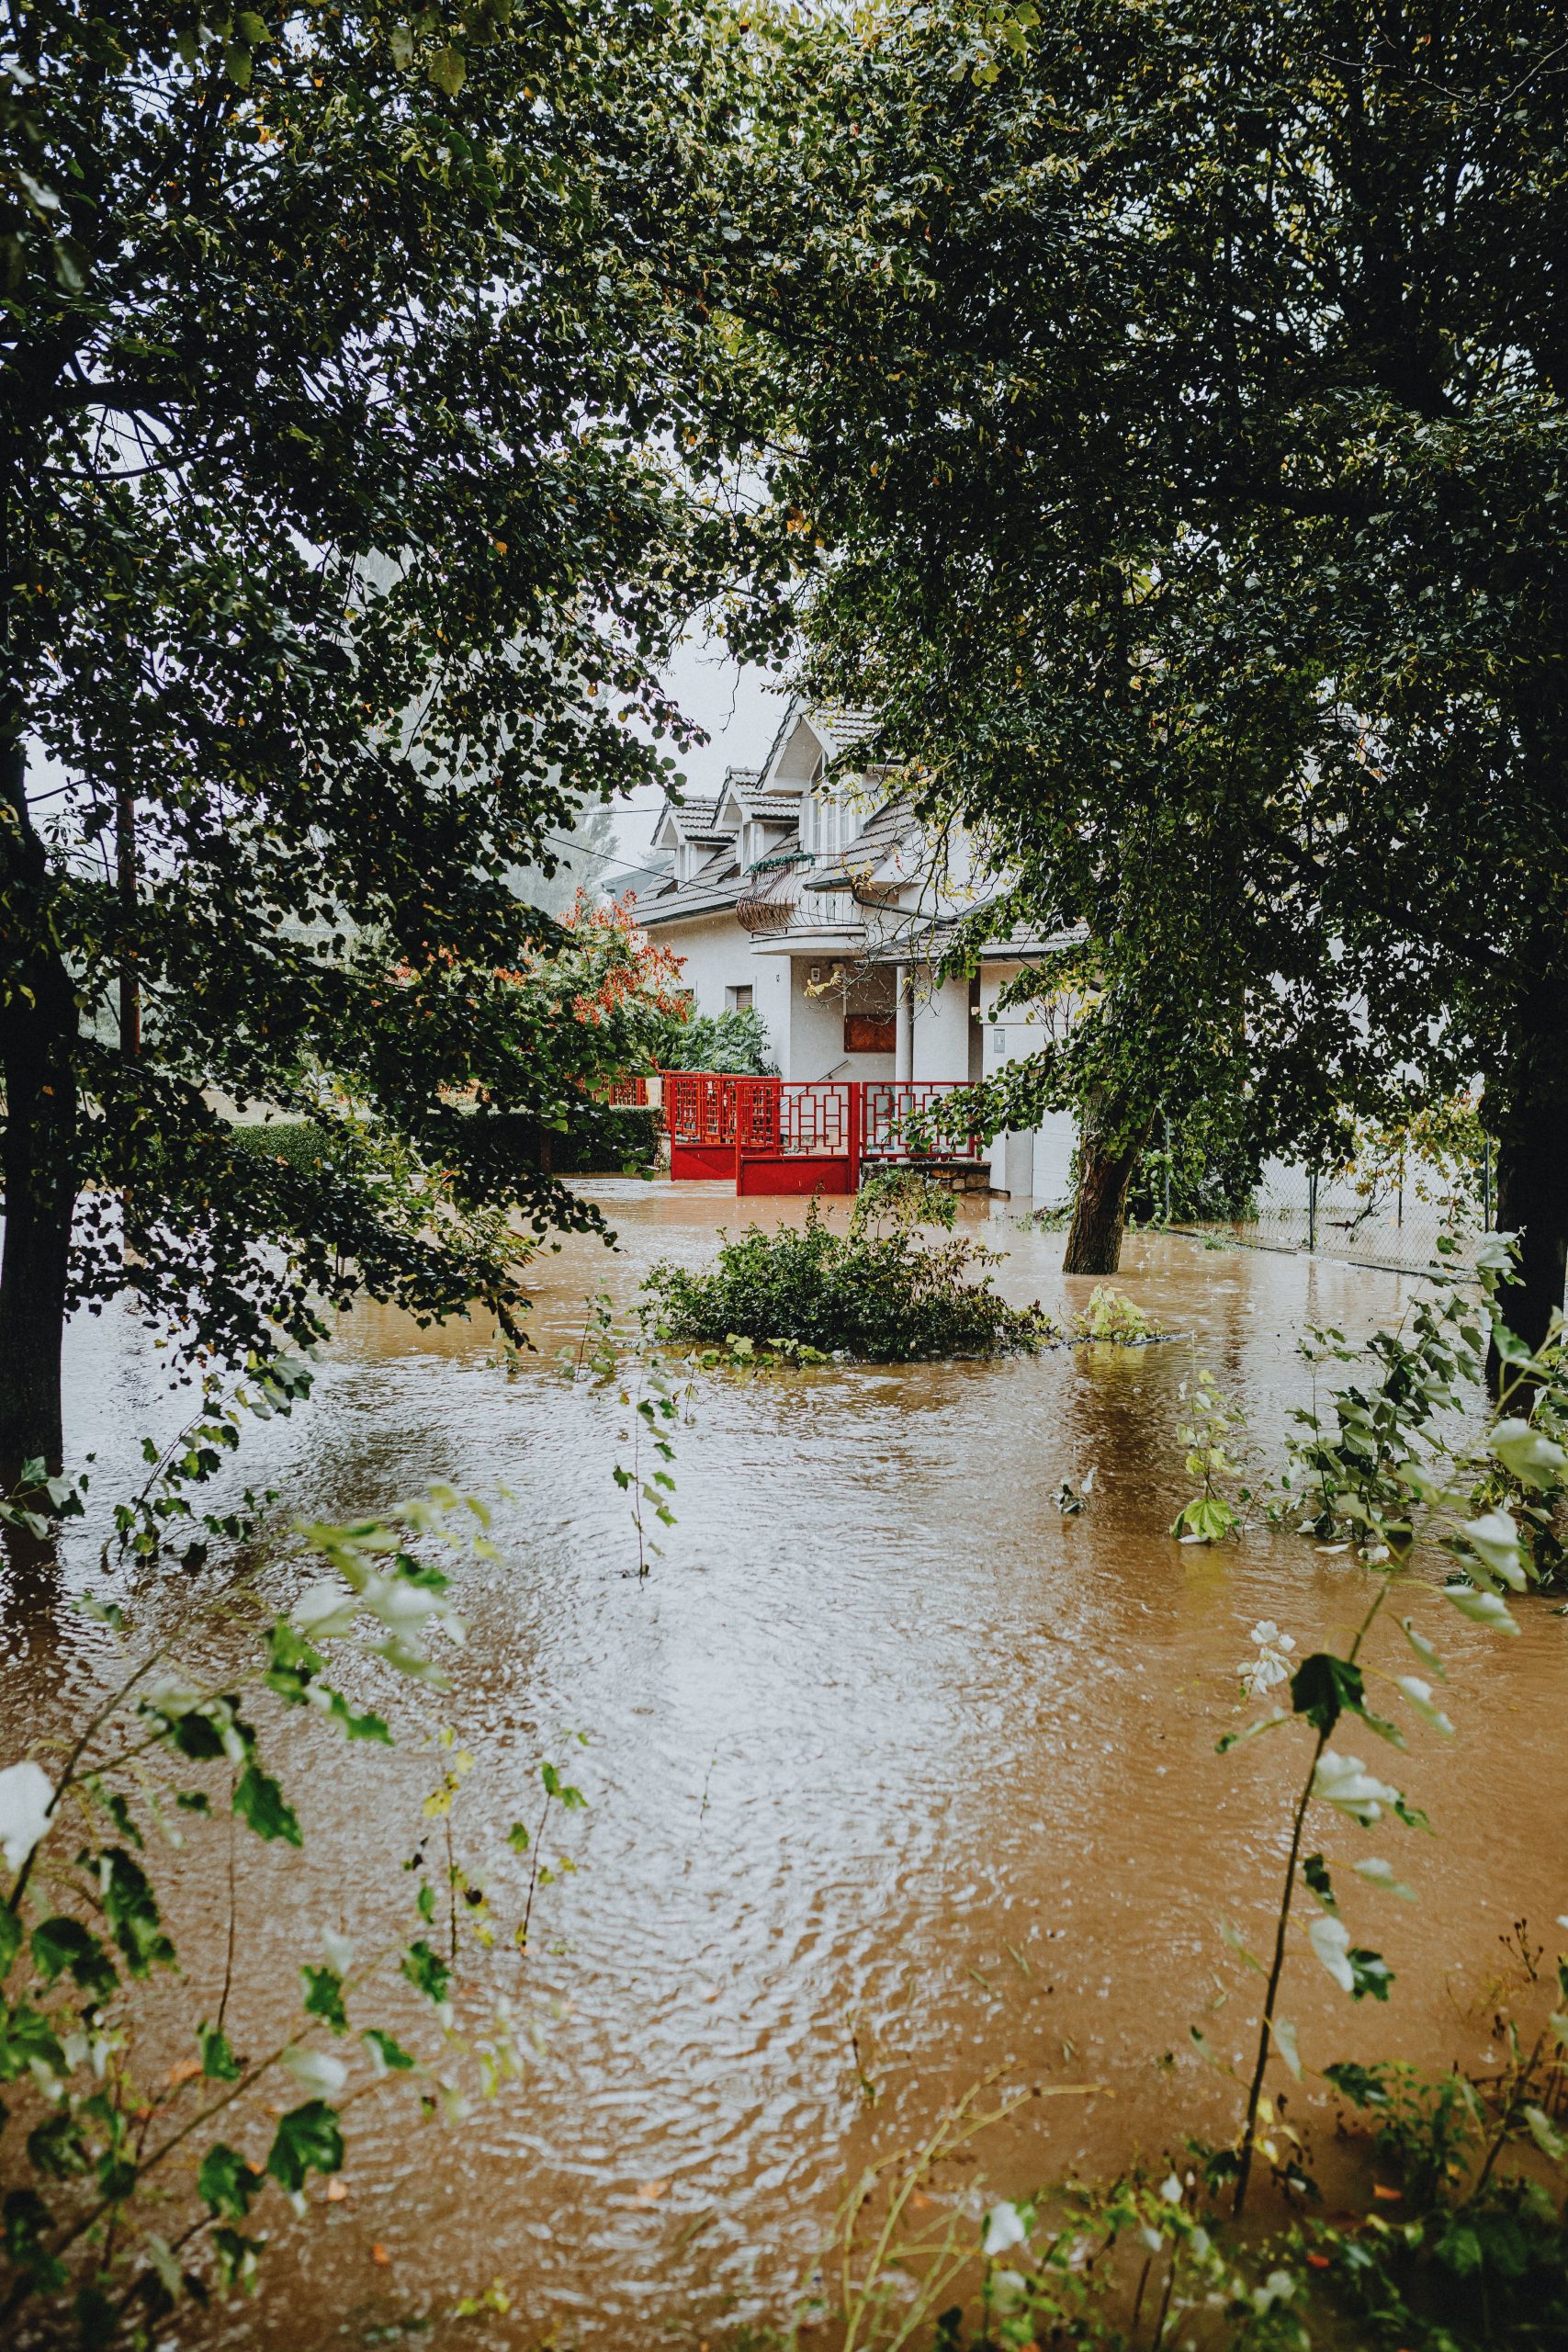
What a pool damaged by groundwater looks like
The shell floating up is the culmination. It is usually preceded by milder symptoms worth paying attention to:
- A lifted or bulging floor. In liner pools the floor “takes a breath” and the liner loses contact with the substrate.
- A bubble under the liner. Water that gets behind the liner forms a visible blister that moves around. This is not a liner defect but pressure from outside.
- Cracks in the fibreglass or concrete. Uplift that the shell does not yield to as a whole shows up as a crack — typically in the corners of the floor or at the floor-to-wall transition.
- A shifted or tilted shell. A pool that has floated often comes back down differently from how it started — crooked, several centimetres higher, with broken pipework.
- Torn-off penetrations and pipe runs. The skimmer, inlets and lines to the plant room are the first things to snap when the shell moves.
- Water in the excavation at the inspection chamber. The best warning signal of all — if you have a chamber, look into it regularly.
Putting it right is unpleasantly expensive. A shell that has floated normally has to be dug out, reseated, levelled, fitted with drainage and concreted in. Costs commonly run into thousands to tens of thousands of euros and the scope comes close to building a new pool — which is why this whole guide is about prevention, not repairs. When it does come to work on an older structure, the comparison in our article on renovating an old pool will help.
Prevention during construction: five measures that make the difference
1. A load-bearing, level bed. The basis is a compacted gravel bed with a reinforced concrete slab on top, 20–25 cm thick on problematic subsoils. We cover this in detail in our text on the pool base slab and foundation.
2. Perimeter drainage. Perforated drainage pipe in a gravel bed running around the perimeter of the shell at the level of the base slab, falling towards the discharge point. Drainage will not stop water arriving — it makes sure the water does not stand.
3. An inspection (relief) chamber. A vertical plastic or concrete pipe at least 250–300 mm in diameter, connected into the drainage and run below the level of the pool floor. It allows two things: checking visually at any time where the water table is, and if necessary pumping the water out with a submersible pump with a float switch. Without a chamber you are building blind.
4. A drainage outlet that actually goes somewhere. Drainage only makes sense if it has somewhere to discharge to — a soakaway lower down the slope, a ditch, or an automatic pump into the sewer. Blind drainage in clay is just a longer puddle.
5. Anchoring and mass. The shell is either anchored to the base slab or relies on the weight of the backfill. The backfill must be heavier than water — concrete, not screenings or polystyrene.
6. Filling and concreting in parallel. With one-piece shells the rule is that the water inside must always be roughly 20 cm higher than the concrete currently being placed outside, and concreting is done in layers of about 30–40 cm with a technological break. Otherwise the concrete will deform the wall or lift the shell. We go through the procedure and the typical mistakes in our article on backfilling and concreting a pool shell.
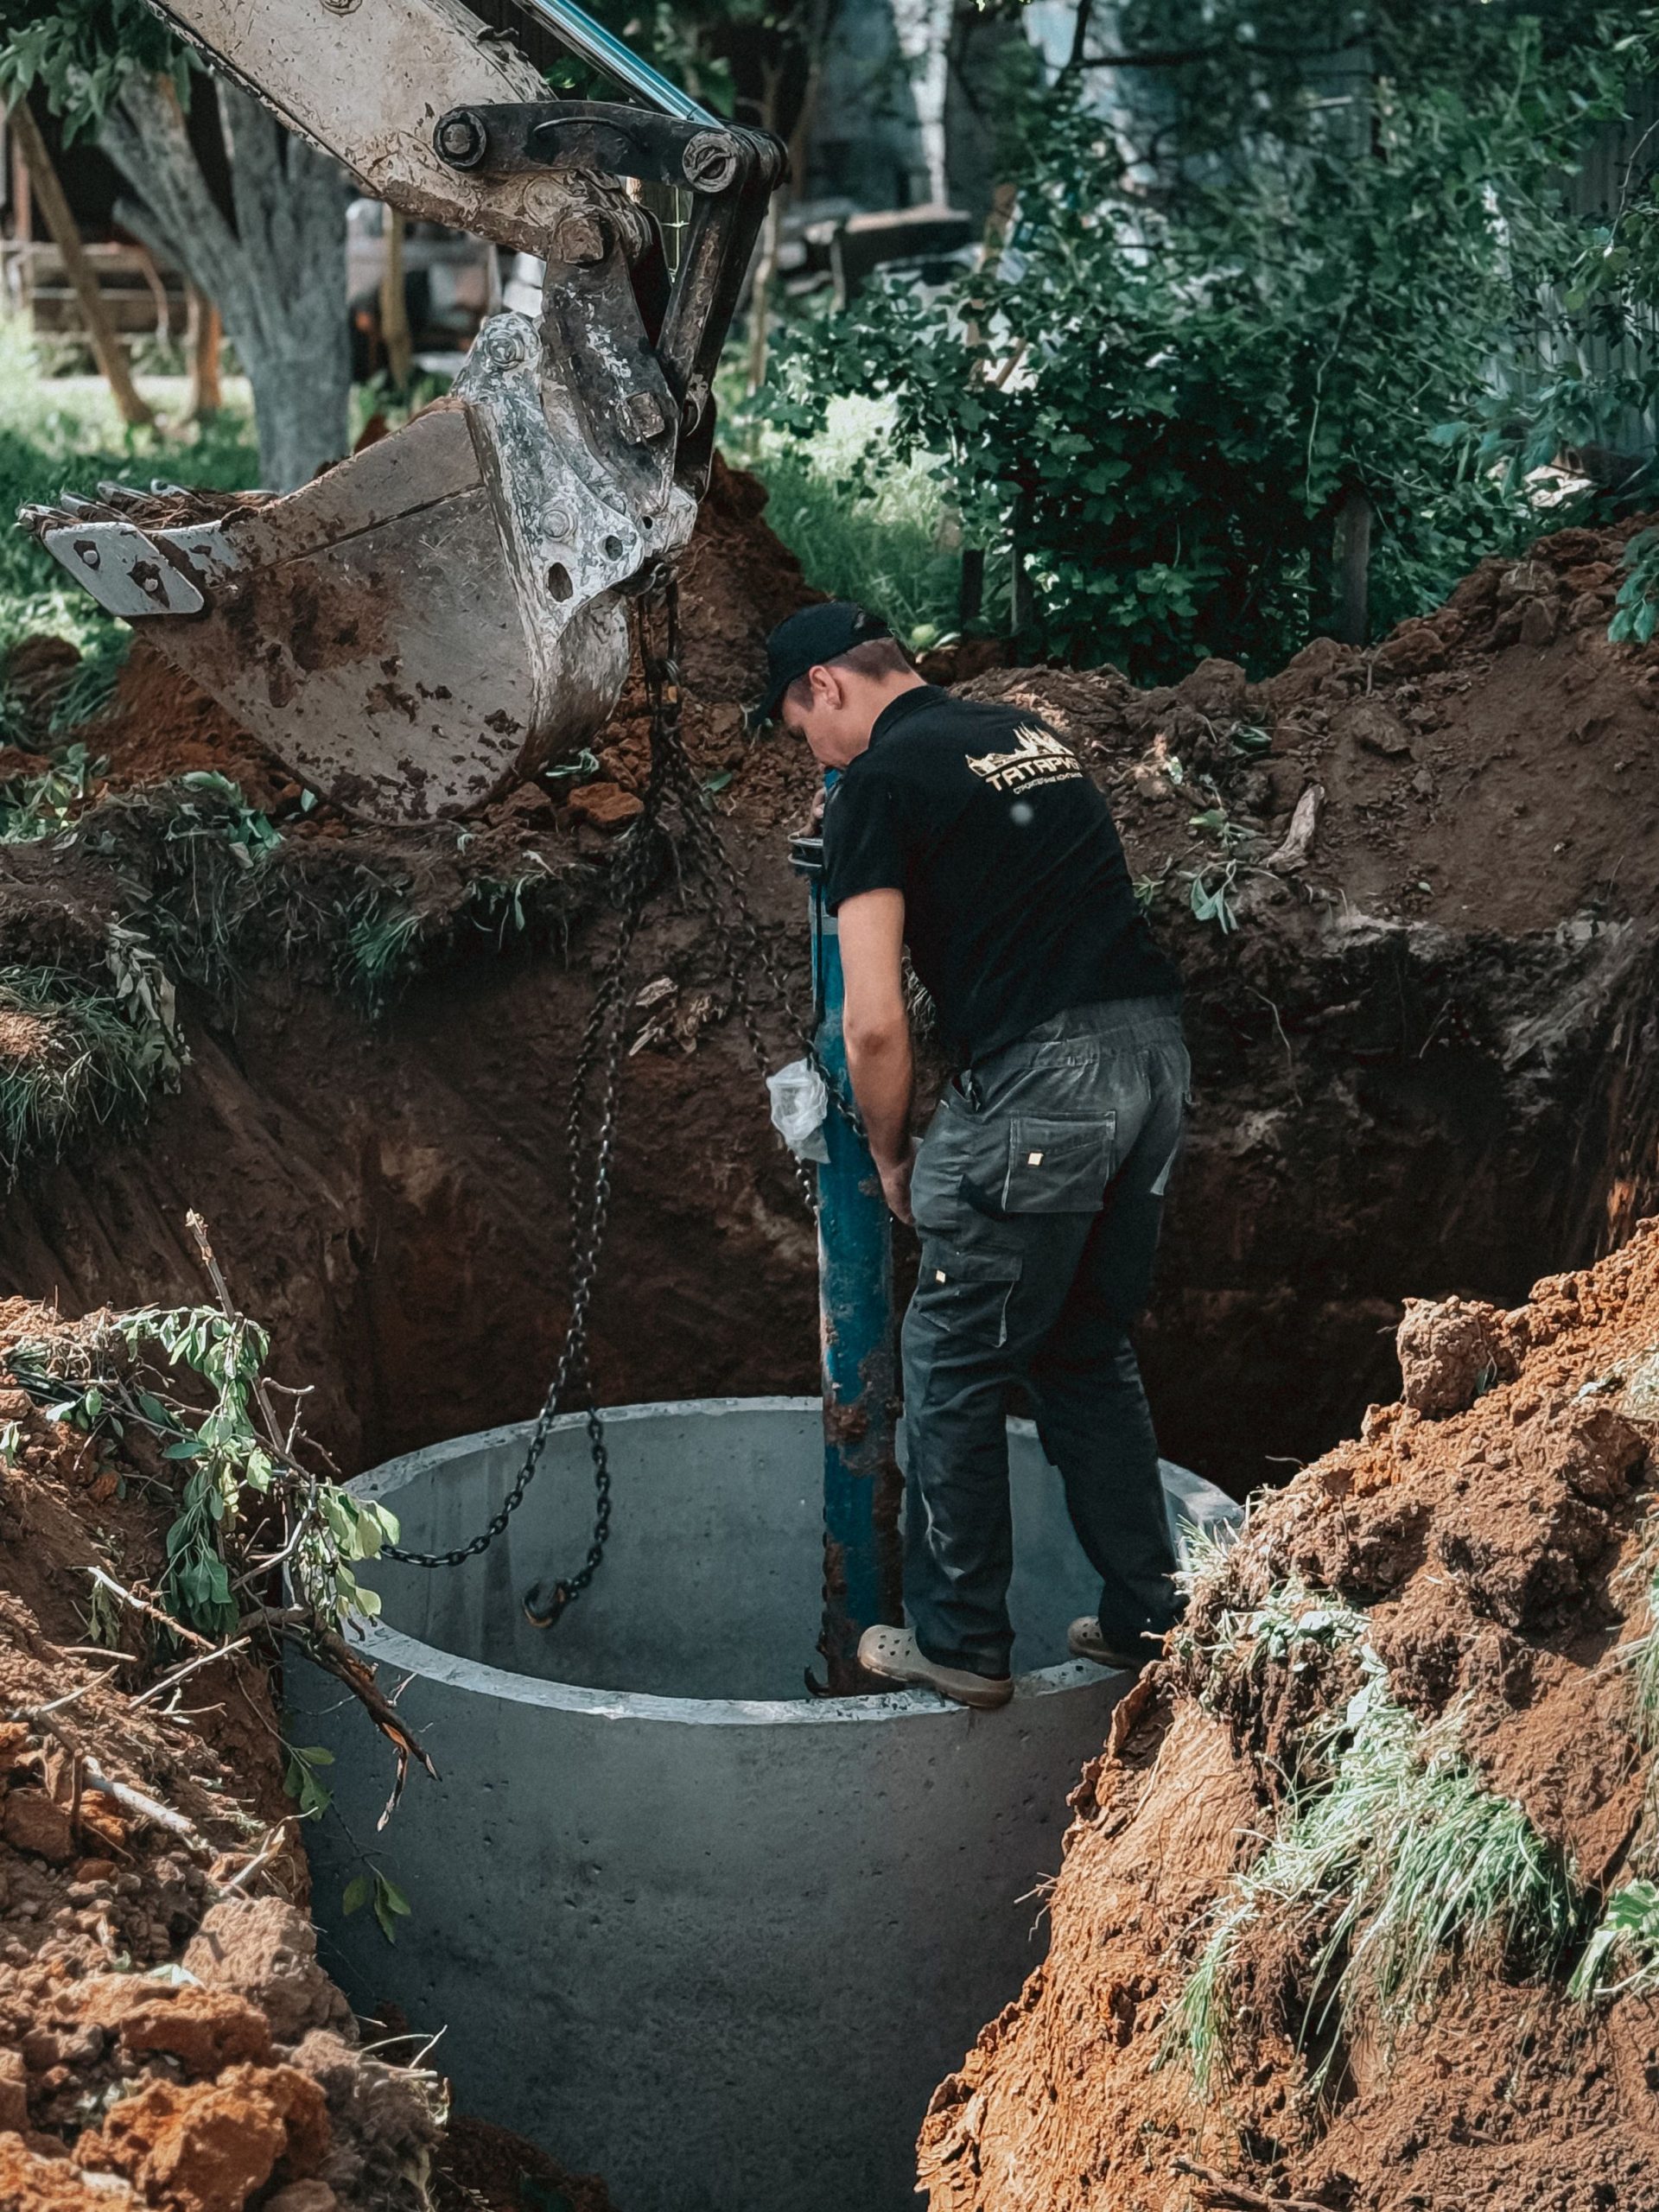
Table: risk factor and the corresponding measure
| Risk factor | How it shows up | Recommended measure |
|---|---|---|
| Groundwater table permanently above the pool floor | Uplift acts all year round | Perimeter drainage + inspection chamber with an automatic pump, anchoring of the shell, concrete backfill |
| Clay or loam subsoil | Water in the excavation stays for weeks after rain | Gravel backfill with drainage led away from the excavation, discharge into a soakaway below floor level |
| Sloping plot | Water accumulates on the upper side of the shell | Interceptor drain above the pool along the contour, drainage falling across the slope |
| Spring thaw | Short-lived but sharp rise in the water table | Leave the pool full, postpone draining until late spring, check the chamber |
| Torrential rain | Backfill saturated within hours | Take rainwater from roofs and terraces away from the pool surroundings, fall the paving away from the shell |
| Pool without drainage (existing structure) | Bulges under the liner, cracks | Retrofitted drainage chamber next to the shell, never drain without pumping out first |
| Winter operation | Combination of ice and saturated ground | Winterizing with water in (30–50 cm below the skimmer level), floating ice compensators |
What to do with an existing pool that has no drainage
A great many older pools have no drainage and work without any trouble for years — until they are drained. Proceed as follows:
Find out where the water table is. The cheapest method is a probe: using an earth auger or a core drill, make a hole 1–2 metres away from the shell that is deeper than the pool floor, and insert a perforated plastic pipe (KG 110–160 mm) surrounded by gravel. Lower a measuring tape with a weight into the pipe and read off the level. Measure repeatedly — in autumn, after the thaw and after heavy rain. Data on boreholes in the area can also be found in the geological maps of the national geological survey, but your own probe is more conclusive.
Add a relief chamber. The same pipe in a larger diameter at the corner of the pool, connected below floor level, will serve as a point from which the water can be pumped out before draining and kept low during draining. A submersible pump with a float costs a couple of hundred euros and is the cheapest insurance policy you can buy.
Consider retrofitting drainage. With pools on a slope, an interceptor drain above the pool works well — a trench along the contour, perforated pipe in gravel, geotextile, discharge into a soakaway lower down. It catches the water before it reaches the shell and does not require excavating around the whole pool.
Adjust your winterizing rules. Leave the water in the pool over winter, lower it only below the level of the skimmer and inlets, and use floating ice compensators. An empty pool over winter is the riskiest state of all: it combines zero ballast with the period of the highest groundwater table.
Filling after winter and controlled draining
When you do have to drain — because of a liner replacement, a repair or a renovation — stick to this sequence:
- Choose a dry period in late summer or early autumn, after several weeks without rain.
- For several days beforehand, pump the water out of the inspection chamber and watch how quickly the level comes back. A rapid return means draining is not an option.
- Drain in stages and check the floor as you go — if it starts to rise or a bubble appears, refill immediately.
- Plan the work in the drained shell for a single day. Do not leave the pool empty overnight.
- Refill steadily and evenly; with shells that have not been concreted in, ideally in parallel with the backfilling.
With spring filling after winterizing the principle is the same, just reversed: top the level up as soon as possible, do not wait for nice weather with an empty shell.
Frequently asked questions
How do I know whether I have a high groundwater table on my plot?
Most reliably with a drilled probe with a perforated pipe next to the planned pool, measured repeatedly over the course of the year. Indirect clues: a well with a shallow water level, a damp cellar at the neighbours’, reeds or willows on the plot, water in the excavation the day after digging. A one-off summer measurement is not enough — the level commonly fluctuates by a metre or more over the year.
Will concreting the shell in on its own protect me sufficiently?
Quality concrete backfill increases the mass of the structure and is essential, but on its own it does not deal with water accumulating behind the shell. In locations with groundwater, concreting is combined with drainage and an inspection chamber. Documented cases from German pool forums show that even a concreted-in shell has lifted when drainage was missing or blocked.
Does a hydrostatic valve in the floor help?
A hydrostatic (relief) valve is a one-way valve usually located under the main drain cover. When external pressure prevails, it opens and lets groundwater into the pool — the pool gets dirty, but it does not crack. It is used mainly in concrete pools. The drawback: valves silt up and can start to leak, so they require checking. With one-piece shells the more common solution is drainage with a chamber and a pump.
Can an above-ground pool or a hot tub float up too?
An above-ground pool standing on the ground faces no uplift because it is not surrounded by soil. The risk does return, however, with partly sunken installations and with sunken hot tubs or swim spas, where the shell sits in a pit. The same rules apply there: drainage, an inspection chamber and a plant chamber that must not be allowed to flood.
What if the floor has already bulged — can it be saved?
Sometimes yes. The first step is to pump the water out from around the shell (via a probe or chamber) and leave the pool full so that the ballast pushes the structure back down. If the deformation is fresh and the liner has not split, the floor often returns to its original position. With cracked fibreglass or a shifted shell you are already into structural work, and you should not attempt it without a professional assessment.
Summary
Groundwater is not an exotic problem — it is the most common cause of failures in inground pools, and it can almost always be prevented. During construction, what counts is the gravel bed, perimeter drainage with a real outlet, an inspection chamber below floor level and filling in parallel with concreting. On a finished pool, what counts is a single decision: do not drain the shell until you know where the water table is.
Drainage components, inspection chambers, wall penetrations and the other parts that decide the outcome long before the shell itself does can be found in our construction parts category. Further texts on planning, running and maintaining a pool are in our Advice Centre.
