
Concreting around the shell is the riskiest phase of the whole build for both polypropylene and fibreglass pools. One golden rule governs it: the water level inside the shell must always be higher than the layer of concrete outside — typically by 10 to 20 cm — and the concrete is placed in layers of roughly 25–30 cm with a curing break in between. Break that rule and you get a wavy wall or a bulged floor, and because it is a breach of the installation manual, the manufacturer will not accept such a defect as a warranty claim.
Why a plastic shell has to be concreted around at all
A pool shell made of polypropylene or fibreglass is a watertight vessel, not a load-bearing structure. On its own it cannot carry the pressure of the surrounding soil — and that pressure is far from negligible: the soil pushes against the wall horizontally, the force grows with depth and rises sharply after rain or when machinery drives around the pool.
The concrete around the shell therefore does not act as a “wrapper” but as a load-bearing shell that takes over the soil pressure. The pool body then only holds the water and the shape. Without concreting (or with concreting done carelessly) the wall gradually deforms as the surrounding soil settles — and this can happen several seasons after the build, so the owner often no longer connects the cause with the construction.
The structural logic is the same as with the choice of pool type in general: every construction has its own way of transferring loads. You will find an overview in the article Pool construction types compared.
The extent of the concrete used by Czech manufacturers is typically around 15–25 cm thick around the perimeter, with at least one reinforcing mesh. The specific value, however, is always dictated by the installation manual for the particular model — for overflow and deeper shells the requirement tends to be higher.
Preparation: what has to be finished before the mixer truck arrives
Concreting around a shell cannot be “fine-tuned as you go”. Most fatal mistakes are made before the first shovel of concrete.
A level, load-bearing base slab
The shell is set onto a finished, fully cured and precisely horizontal concrete slab. An unevenness can no longer be corrected in the concrete — it is only locked in place. This is covered in detail in the article Pool base slab and foundation.
Bracing and stiffening the shell
Before concreting, the shell is braced — with wooden or metal props between opposite walls, or by tying the shell’s stiffening ribs together with reinforcing wire (8 mm rebar) threaded through pre-drilled holes in the ribs. The purpose is a single one: to eliminate deformation of the wall while the concrete sets. Some manufacturers also prescribe bracing the top edge so that the wall cannot “tip” inwards.
Checking geometry and flatness
Before concreting, check the diagonals, the squareness of the walls, the levelness of the top edge all the way around and the flatness of the walls (a long straightedge and a spirit level will do). A deviation you find now in five minutes cannot be corrected later. Write down the measured values — in the event of a claim they are priceless.
Conduits, penetrations and bonding
Everything that will pass through the concrete has to fit into it: conduits for the pipework to the skimmer and jets, the cable to the lighting, a conduit for sensors and possibly a future counter-current unit. Core drilling into the shell of concrete around the pool afterwards is expensive and risky. At the same time you deal with the earthing and bonding of metal parts and of the reinforcement — see Pool bonding and grounding.
The golden rule: the water inside always higher than the concrete outside
This is the one thing you must remember from the whole article. Fresh concrete is a heavy, flowing mass and it exerts considerable pressure on the wall of the shell. The only thing that can balance it is the pressure of the water column from the inside.
The procedure is simple: you fill the pool with water to a height of roughly 25–30 cm, and only then place the first layer of concrete — and only up to a level that is 10–20 cm lower than the water level. Before the next layer you top the water up. Czech installation manuals most often state a water-level lead of 10–20 cm; the smaller value appears with rigid fibreglass shells, the larger one with polypropylene shells that have a large wall area.
If you top the water up too far above the concrete, nothing happens — the rule works in one direction only. The only dangerous situation is when the concrete gets ahead of the water. That is why the water is topped up continuously and the hose stays in the pool for the whole of the concreting.
Concreting in layers and the curing break
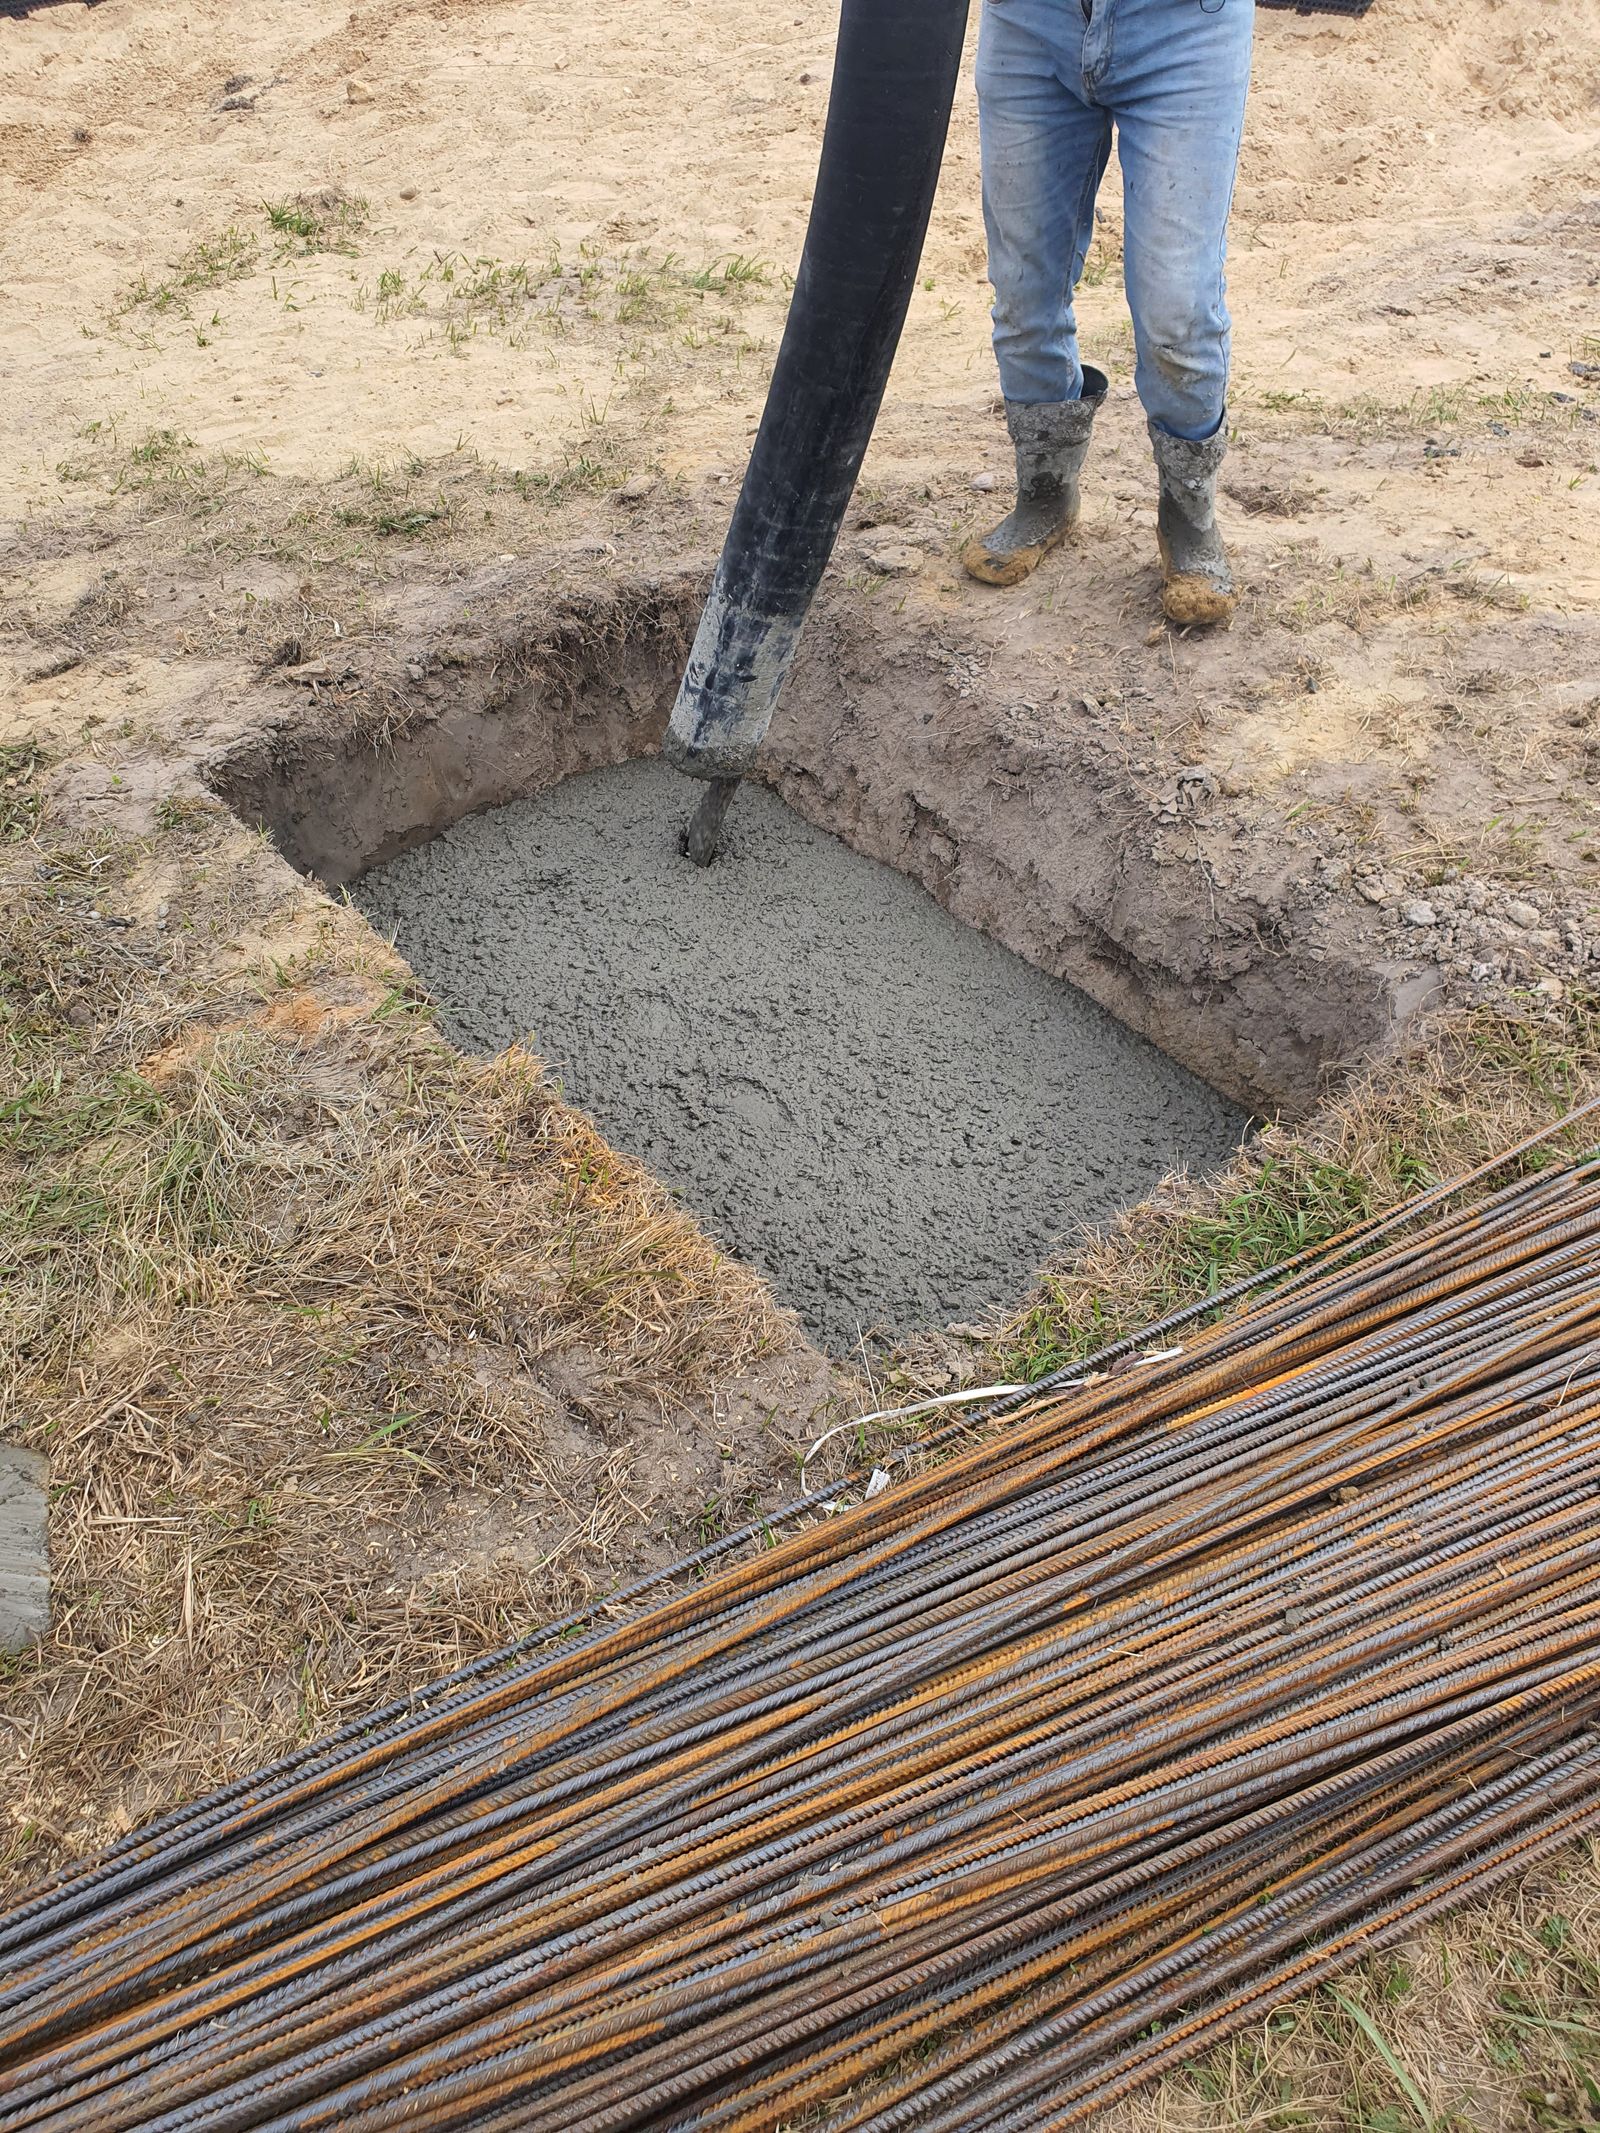
The concrete is placed evenly around the entire perimeter of the shell, not from one side. Uneven loading will shift the shell even if all the other rules are followed.
One layer is typically 25–30 cm high. Once it is placed, a technological break follows — around 24 hours in most Czech manuals, in other words “one layer a day”. For a pool 1.2 m deep that means roughly three working days, for a depth of 1.5 m four. The concrete order has to be adjusted accordingly: four smaller deliveries, not one large one.
Once the concreting is finished, the water is not drained from the pool. The concrete has to cure — manuals generally state a minimum of 14 days during which the shell stays filled. Draining it “for a clean-up” on the third day after concreting is a classic mistake that costs you the shell.
What consistency the mix should have
This is where lay intuition goes most badly wrong. The space around the pool shell is no place for a thin, fluid concrete, but for a semi-dry to dry mix that can be tipped in and only lightly levelled.
The reason is hydrostatic: a thin mix behaves like a liquid and pushes against the wall in proportion to its height. A semi-dry mix holds itself by its own friction, the pressure on the wall is incomparably lower and the risk of bulging drops. That is why many manufacturers explicitly write “backfill with dry or slightly moistened concrete” and forbid compacting and tamping next to the wall.
Vibrating is related to this. An immersion vibrator held against the wall of the shell is a certain route to deformation and many manuals ban it outright. If the manual does permit compaction, then only gently and at a sufficient distance from the shell.
Reinforcement: where the steel belongs
The concrete surround is reinforced with welded mesh (commonly 100 × 100 × 6 mm), or with a combination of mesh and vertical bars tying the surround to the base slab. The mesh belongs inside the concrete, not at its edge — with cover on all sides so that the concrete protects it against corrosion.
The reinforcement must not rest directly against the wall of the shell. The pressure of a sharp wire end against the plastic wall while the concrete sets creates a local notch that will show up in time. A layer of concrete, or of insulation, must remain between the reinforcement and the shell.
All reinforcement and metal parts must be included in the bonding system — and that has to be done before they disappear under the concrete.
XPS insulation: how many centimetres, when the sources disagree
Extruded polystyrene between the shell and the concrete serves two purposes: it insulates thermally (reducing losses into the soil) and it mechanically separates the shell from the hard concrete. At the same time, though, it creates a compressible layer — and the thicker it is, the more it can deform under the pressure of the concrete.
Here we have to be honest: manufacturers’ recommendations differ. Some Czech manuals state that the shell should be lined with XPS around 2–3 cm thick, other suppliers work with greater thicknesses, usually with higher-grade XPS of greater compressive strength. What is decisive is not the centimetres, but the declared compressive strength of the XPS and what your particular installation manual allows.
A practical recommendation: never choose insulation “from the neighbour’s catalogue”. Ask the shell manufacturer in writing what thickness and what strength class of XPS is permitted for the given model, and keep the answer. Insulation chosen beyond what the manual allows is a typical reason why the manufacturer later disowns a deformation.
Working in frost and in heat
Concreting is a temperature-sensitive operation. When the temperature of the fresh mix falls below +5 °C, hydration practically stops, and if it drops below 0 °C during setting, the structure of the concrete is irreversibly damaged. The minimum temperature when placing the mix is therefore +5 °C and the surface of the concrete must not freeze.
In winter there is a second risk on top of that: the water in the pool, which has to stay there for 14 days. With a pool concreted in the autumn, the shell has to be protected against a freezing water surface just as it is during ordinary pool winterizing.
In hot weather the problem is the opposite — the mix dries out before it manages to hydrate. Above roughly 30 °C, concrete in the morning or in the evening, protect the surface from direct sun and, if necessary, cure it by moistening. Watch the water temperature too: a plastic shell filled with cold water under the midday sun changes its dimensions, which is not ideal while concreting is going on.
The most common mistakes and their consequences
| Mistake | Consequence | How to avoid it |
|---|---|---|
| Concreting to full height in one go | Bulged or wavy wall, at the bottom even the shell being pushed upwards | Layers of max. 25–30 cm, a break of approx. 24 h between them |
| An empty or insufficiently filled shell | Permanent deformation of the walls — the most common and most expensive mistake of all | Water level always 10–20 cm higher than the concrete, hose in the pool the whole time |
| Thin, fluid concrete | High hydrostatic pressure on the wall, bulging even when working in layers | Semi-dry to dry mix, tipped in and only lightly levelled |
| Missing bracing of the shell | Walls “pulled” inwards, out-of-square shape, problems with the liner and the coping | Props and tying of the stiffening ribs before the first layer, checking the diagonals |
| Vibrating next to the shell wall | Local deformation, with fibreglass also cracks in the gelcoat | Do not compact next to the shell; vibrate only where the manual expressly permits it |
| Concreting from one side only | Shifting of the whole shell, misalignment with the slab and the penetrations | Place the concrete evenly around the whole perimeter |
| Draining the water within 14 days | Deformation by uncured concrete, cracks in the concrete surround | Leave it filled for at least 14 days as the manual requires |
| Forgotten conduits and penetrations | Core drilling into the finished concrete shell, risk of damaging the pool | Approve the pipework layout before concreting, including a spare conduit |
| Concreting below +5 °C | The concrete does not cure, lower strength, risk of disintegration | Postpone the date, or use winter measures and surface protection |
Checks after concreting: what to measure before access disappears
Before the area around the pool is backfilled and the paving is laid, go through a checklist:
- Diagonals and squareness of the walls — compare with the values measured before concreting.
- Levelness of the top edge all the way around (with a level instrument, not by eye).
- Flatness of the walls with a straightedge — you are looking for bulging in the middle of the long walls, where the pressure is greatest.
- Tightness of the penetrations and functioning conduits (pull a draw wire through before backfilling).
- Stability of the water level — after a week without concreting it should not drop by more than evaporation accounts for. The difference between evaporation and a leak is analysed in the article Pool losing water: leak or evaporation.
- Photo documentation of every phase including the date. It is the only proof that the procedure followed the manual.
It is precisely the documentation that decides how any dispute turns out. Without it, it is one claim against another — you will find a practical overview in the article Warranty claims for pools and hot tubs.
Turnkey or DIY?
With a turnkey supply this phase is handled by the supplier, who bears responsibility for it — including keeping to their own manual. With a self-build, concreting around the shell is unambiguously the riskiest step of the whole project: a mistake shows up irreversibly, it is practically impossible to repair, and the manufacturer will not accept it as a warranty defect.
A sensible compromise is usually to hire an experienced crew for the concreting itself, or at least to get technical supervision from the shell supplier for the first layer. A comparison of the two routes, and of what can realistically be managed on your own, is in the article Turnkey pool or DIY.
Frequently asked questions
Does there have to be water in the pool even when the very first layer is concreted?
Yes. Before the first shovel of concrete, fill roughly 25–30 cm of water and place the first layer of concrete so that it stays 10–20 cm below the water level. A dry shell with no water is the most common cause of wall deformation.
How long does concreting around a normal pool take?
Depending on the depth, three to four working days — one 25–30 cm layer a day. That is followed by roughly 14 days of curing, during which the pool stays filled and must not be drained.
Can I use ordinary ready-mixed concrete?
Yes, but order it in a semi-dry consistency and in batches corresponding to the individual layers. The standard fluid mix intended for pumping into formwork is risky for concreting around a shell. Always follow the specific strength class stated in the installation manual.
How much XPS should I put under the concrete?
There is no single figure valid for every shell. Manuals range from thin layers of around 2–3 cm to thicker insulation of XPS with high compressive strength. Always have the thickness and the strength class confirmed by the manufacturer of the particular model, ideally in writing.
What if the shell is already deformed — can it be repaired?
As a rule not without dismantling the concrete surround, which costs more than the original build. With smaller bulges the situation can sometimes be stabilised, but it will remain visible aesthetically. That is why it pays to invest time in checks before concreting and in photo documentation while it is under way.
Concreting around the shell is the phase where one hurried afternoon is paid for over decades. If you keep to three things — layers of 25–30 cm, water always higher than the concrete and a semi-dry mix — you have won. And if you are still choosing a shell, browse the offer in the pools category; every model comes with a specific installation manual, which in matters of concreting always takes precedence over general advice.
