
A filled swim spa weighs 10-15 tonnes — two to three times more than a large hot tub. Installation isn’t something to improvise: you need a reinforced concrete slab, a crane, and a decision that has to be made before you even place the order — whether to set the spa freestanding on the slab, sink it partway into the ground, or recess it fully and build a deck around it. This guide walks through all three installation options, the requirements for the foundation slab, the electrical setup, and the crane day itself, finishing with a checklist and the most common mistakes.
How much does a swim spa actually weigh?
The catalogue weight refers to the empty shell — and for a swim spa that’s typically 1,000 to 2,500 kg depending on length and equipment. But the real load on the foundation is the sum of the empty spa, the water, and the bathers. Water volume for 4-6 m models runs between 6,000 and 10,000 litres, i.e. 6-10 tonnes.
A typical example: a 5.8 × 2.3 m swim spa weighs roughly 1,400-2,000 kg empty, holds around 8,000-9,500 litres of water, and four people add another 320 kg or so. That’s a total of 10 to 12 tonnes — and over 14 tonnes for dual-zone models (a swimming section plus a separate hot tub zone). Spread across a 12-14 m² footprint, that works out to a load of 800-1,100 kg/m² — figures you should always verify against the technical data sheet for your specific model and pass on to a structural engineer.
If you’re still deciding what length and equipment makes sense, start with our guide on how to choose a swim spa. And if you’re torn between a swim spa and a traditional pool, our comparison of swim spa vs. pool will help.
Three installation options: on a slab, partially recessed, or fully recessed
Freestanding on a slab: the cheapest and most flexible option
The spa sits at its full height (typically 130-155 cm) on a concrete slab. It’s the fastest and cheapest solution — apart from the slab and a power supply, no excavation is needed. The equipment stays accessible from every side through the service panels in the cabinet, and the spa can be relocated or resold later on.
The downside is getting in: climbing over a wall more than a metre high via steps may not suit children or older users. Visually, a freestanding swim spa can look bulky — building a wood or composite deck around it helps, creating a walkable surface at spa height so you step in “from the deck.” One thing to watch: even a decked-in spa needs removable deck panels next to the equipment bay, or you’ll block off servicing.
Partial recessing: comfortable access at a reasonable price
The spa is sunk roughly half to two-thirds of its height, so the rim ends up 40-60 cm above ground level — you step in as easily as into a bathtub, and the bulk of the spa visually disappears. It’s a popular compromise between cost and appearance.
The key condition: the spa must never be backfilled directly with soil. You need an inspection trench running around the full perimeter — a walled or concreted space roughly 60-80 cm wide that lets you remove the cabinet panels and reach the pumps, heater, and control unit. The trench is covered with walkable grating or deck sections and needs proper drainage (a drain or soakaway) so rainwater doesn’t collect inside it.
Full recessing: the premium look, the highest demands
The spa’s rim sits flush with the deck, or the ground rises only slightly above it — the result looks like a recessed pool and is the cleanest architectural solution. It’s also the most expensive and technically demanding: you excavate a pit more than 1.5 m deep, pour concrete for the floor and walls, and treat the whole perimeter as a service pit with access to the equipment from at least one side, ideally two.
The critical issue is water in the pit. Rain and groundwater have nowhere to drain on their own, so the pit needs drainage routed to the sewer or a soakaway — and where the gradient doesn’t allow that, a sump pit with a submersible pump, ideally with a water-level sensor. A flooded equipment bay is the most expensive failure a recessed spa can suffer. Plan for the future too: the spa will eventually need replacing, and a crane will have to lift it back out of the pit — so nothing should be permanently concreted to the structure.
| Criterion | Freestanding on a slab | Partially recessed | Fully recessed |
|---|---|---|---|
| Excavation and construction work | Slab only | Pit approx. 0.7-1 m + inspection trench | Pit over 1.5 m, sump, drainage, pump |
| Approximate extra cost on top of the spa price | Slab approx. €1,200-2,800 | Approx. €4,000-10,000 | Approx. €10,000-20,000 or more |
| Access | Via steps over a 130-155 cm wall | Comfortable, 40-60 cm rim | Like a recessed pool |
| Access to equipment | Cabinet panels, unrestricted | Through the inspection trench with grating | Service pit — must be planned in advance |
| Rainwater drainage | Handled by the slab’s slope | Trench drainage | Drainage + sump pit |
| Option to relocate later | Easy | Limited | Difficult (crane, deck removal) |
| Appearance | Utilitarian, can be decked in | Compromise | Premium, blends with the deck |
Construction costs are approximate and vary by region, site access, and materials — always get an itemised quote.
The foundation slab: where you can’t cut corners on 15 tonnes
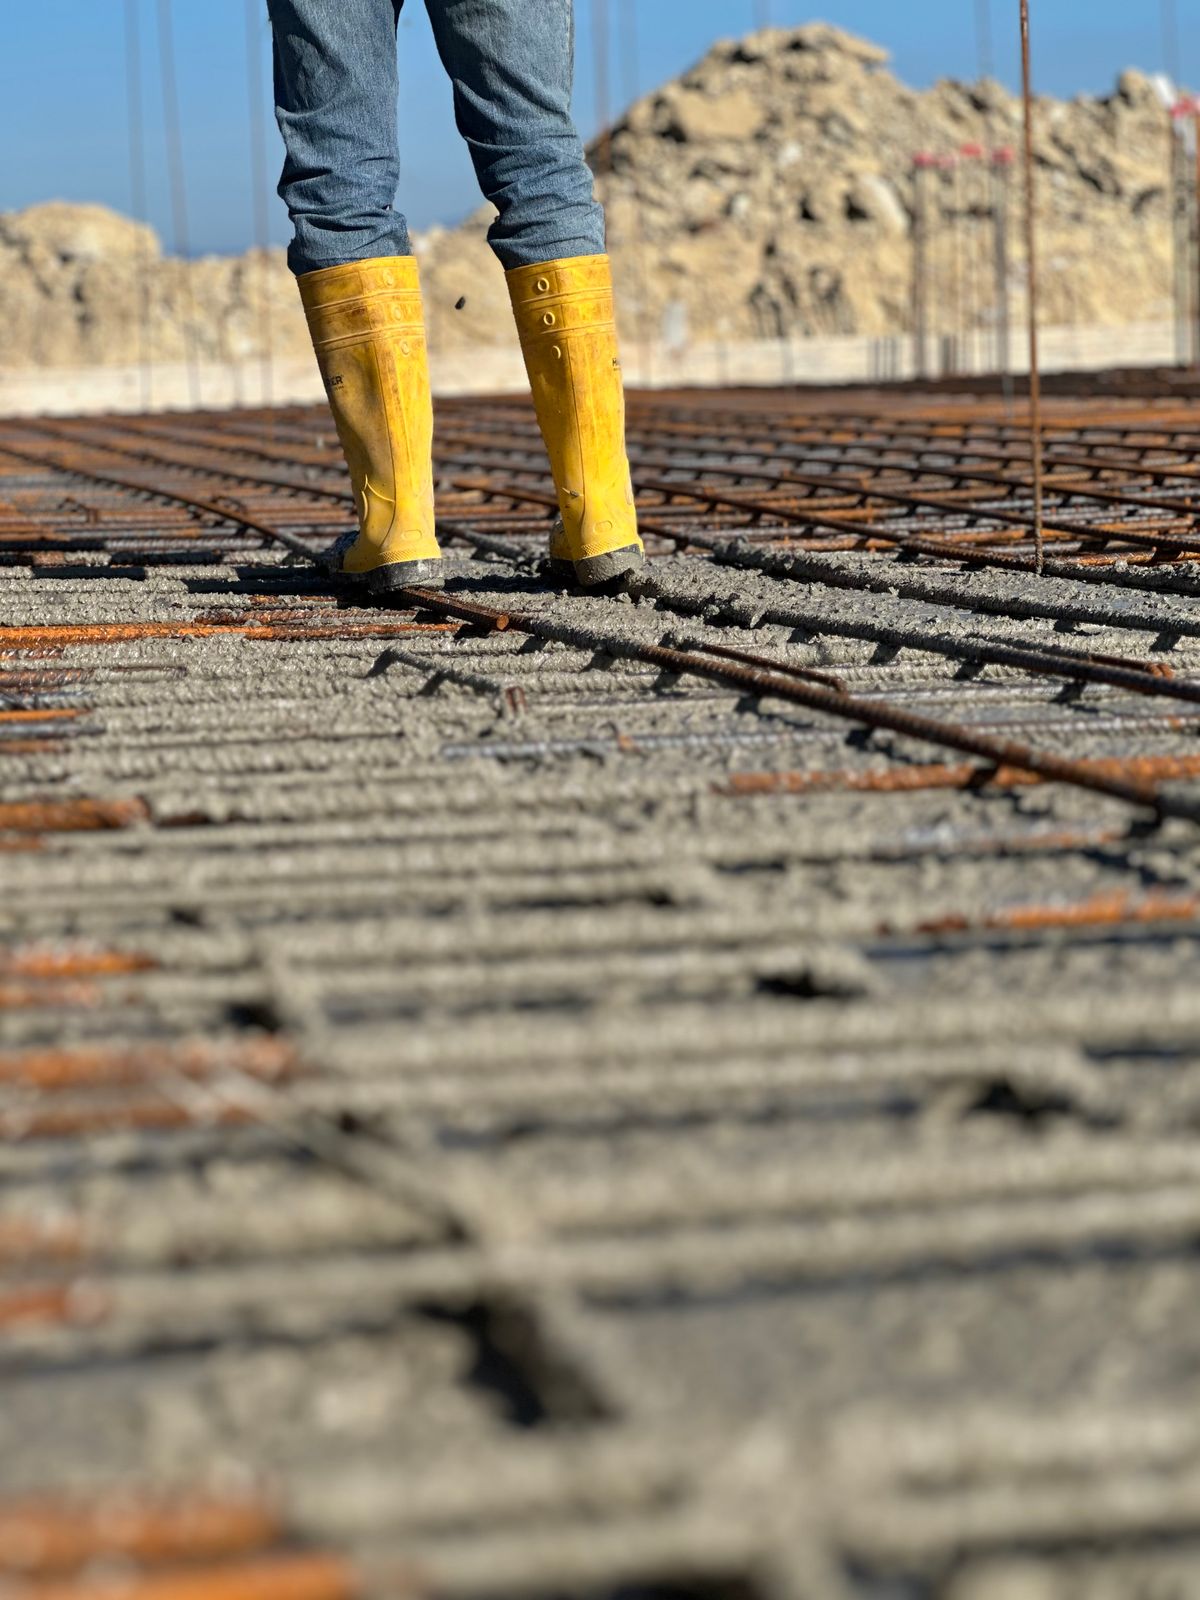
Whichever option you choose, the spa always sits on a reinforced concrete slab. General parameters most manufacturers work to: a compacted gravel base 15-20 cm deep, a concrete slab in strength class C20/25 to C25/30, 20-25 cm thick, reinforced with mesh (often in two layers) or rebar cages, extending 30-50 cm beyond the spa’s footprint on every side.
What matters most is flatness — manufacturers typically require a tolerance of no more than 5 mm over a 2 m straightedge, some as tight as 3 mm. An uneven slab puts point loads on the shell, can twist the cabinet, and lead to cracks in the acrylic that are usually not covered by warranty. The spa should never be levelled with shims.
The exact slab thickness and reinforcement should always be confirmed by a structural engineer based on the load-bearing capacity of your site’s soil — clay, fill, or waterlogged ground may require deeper foundations. For installations on a raised deck or roof structure, a structural engineer’s assessment is essential; we cover this in detail in our article on structural load for a hot tub on a terrace — and for a swim spa, everything there applies doubly, since the load is two to three times higher.
Installation day: crane, access, and coordination
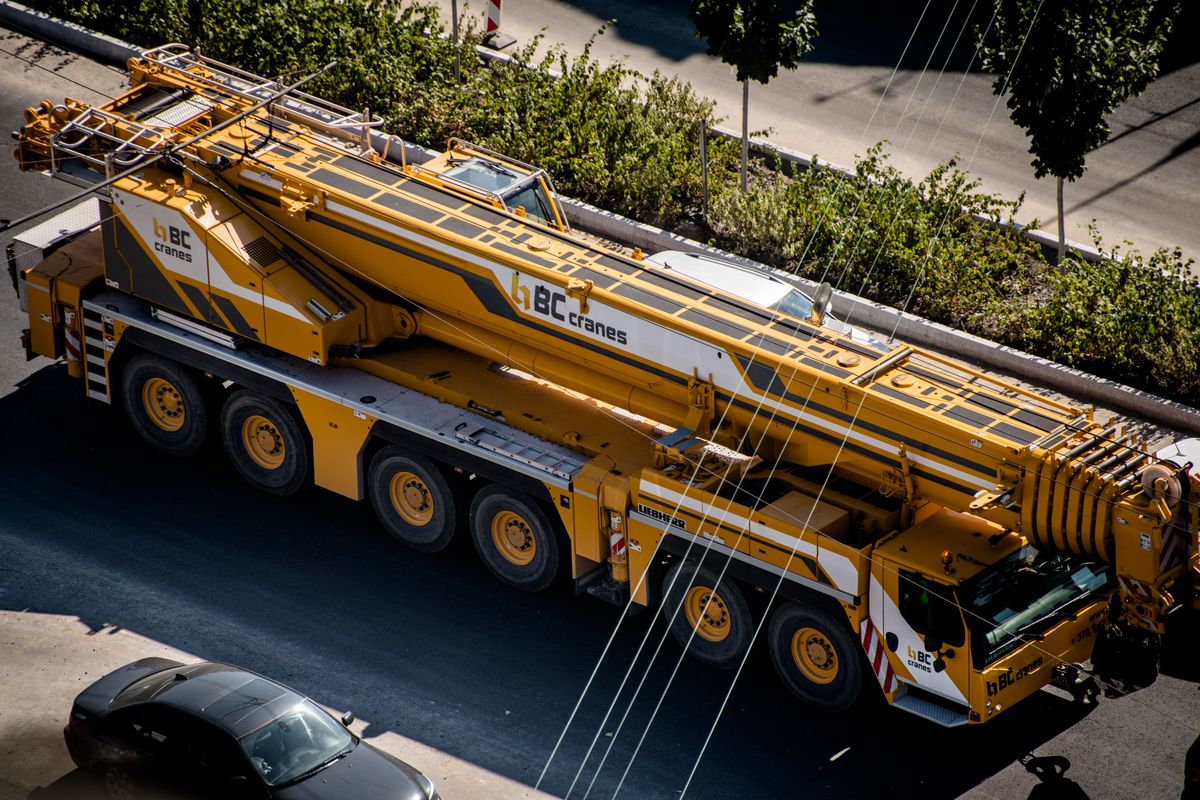
An empty swim spa weighs 1,000-2,500 kg and measures 4-6 m in length. Unlike smaller hot tubs, you can’t wheel it round the back of the house — lowering it in with a mobile crane is the standard method, with heavy handling equipment used only in exceptional cases. The spa is lifted in special slings or a lifting beam, carried over the fence or the house, and set directly onto the slab — or straight into the prepared pit for a recessed installation.
What determines the crane size isn’t the weight but the reach — the distance from where the crane stands to where the spa is set down, and the height of any obstacles (the house, trees). For a short reach over a fence, a mobile crane of around 20-30 tonnes is enough; lifting over a house typically calls for a 40-70 tonne crane. Approximate cost: a smaller mobile crane runs €400-800 per callout with 2-4 hours of work, a larger crane with a long reach €800-1,600. The crane company will confirm the exact price after a site visit — send them photos, dimensions, and ideally a site sketch.
What to watch for on installation day
- Crane position: a firm surface for the outriggers, and if it stands on a pavement or road, a public space permit arranged with the local authority beforehand.
- Coordination: the crane operator, the spa’s carrier, and the dealer’s technician all need to be on site at the same time — crane downtime is billed by the hour.
- Weather: strong wind can halt the lift; keep a backup date in your calendar.
- Overhead lines and obstacles: power lines, branches, lamp posts — walk the lift path with the crane operator beforehand.
- For recessed installations: the pit must be finished, drained, and measured with a margin; check the dimensions against the technical data sheet before the crane arrives.
Electrical installation: 400 V, a dedicated breaker, and inspection
A swim spa with its heater, two to three pumps, and possibly a counter-current jet system needs a three-phase 400 V supply with its own breaker — typically 3×16 A to 3×32 A depending on equipment (the manufacturer specifies exact figures). The supply runs through a cable of the appropriate cross-section (commonly CYKY 5×4 to 5×6 mm², depending on cable run length) in conduit buried underground, and the circuit must be protected by a residual current device rated at 30 mA.
Only a licensed electrician should carry out the connection, and they’ll issue an inspection report for the finished installation — without it, the spa technician won’t start up the unit, and you’d forfeit the warranty. Leave the cable at the future equipment location with plenty of spare length before the spa is set in place. Also consider a data cable or Wi-Fi coverage if you want to control the spa via an app.
Checklist: what to prepare before installation day
- The model’s technical data sheet — dimensions, weight, water volume, and breaker requirements (needed by both the structural engineer and the electrician).
- A structural engineer’s assessment of the slab, or, for recessed installations, a design for the pit and service sump.
- A finished, fully cured concrete slab (concrete needs roughly 28 days to cure), with flatness checked with a straightedge.
- For recessed installations: drainage, or a sump pit with a pump, tested before the spa is set in place.
- A 400 V supply with spare cable length at the equipment location, and an inspection technician arranged in advance.
- A crane booked after a site visit, any public space permit sorted, and a backup date in case of wind.
- A water source for filling (6,000-10,000 litres — a garden hose takes many hours) and starter pool chemicals.
- A clear, firm access route for the truck delivering the spa.
Common mistakes that get expensive to fix
- Recessing without access to the equipment. A spa that’s been concreted or backfilled in means breaking up the deck the moment something goes wrong. An inspection trench or service pit is a necessity, not an upgrade.
- An undersized or uneven slab. A cracked shell caused by a settling slab isn’t covered by warranty. The few thousand you save by skipping the structural engineer becomes the most expensive saving in the whole build.
- Forgetting water drainage. A sump without drainage and a pump turns into a pool around the equipment after the first downpour — corrosion, short circuits, ruined insulation.
- Ordering the spa before confirming access. If it turns out there’s nowhere for the crane to stand, everything gets more expensive. A site visit by the crane company belongs at the start of the process, not the end.
- Leaving the electrics “for later.” The spa sits in place but won’t start without a supply and an inspection — and pulling a cable under a finished deck is a headache.
Frequently asked questions about swim spa installation
Do I need a building permit for a swim spa?
A freestanding swim spa counts as a product, not a structure, and generally doesn’t require a permit. For recessed installations involving excavation, retaining structures, and a sewer connection, the requirements can vary depending on scope — check your specific situation with the local building authority before starting any work.
Can a swim spa stand on paving or gravel?
No. Ten tonnes or more requires a reinforced concrete slab sized by a structural engineer. Neither paving nor compacted gravel guarantees flatness and load-bearing capacity over time — uneven settling will damage the shell.
How long does the installation itself take?
Setting it with a crane takes anywhere from a few dozen minutes to two hours. Add filling time (several hours, depending on your water source), the electrician’s connection, the inspection, and the first heat-up — warming the water from 10°C to 34°C takes one to two days. Realistically, you’ll enjoy your first swim on the second or third day after installation day.
Can a fully recessed swim spa be removed later?
Yes, provided the installation was designed correctly: the spa isn’t concreted in anywhere, the deck sections over the perimeter are removable, and a crane has access to the pit. That’s exactly why the shell should never be permanently walled in.
Can I install it myself, or do I need a contractor?
A construction company can handle the slab and excavation from the manufacturer’s specifications, but leave the setting, connection, and commissioning to the dealer’s technician — for most brands, professional installation is a condition of the warranty.
A well-planned installation is half of what makes owning a swim spa enjoyable — the other half starts with choosing the right model. Browse our range in the hot tubs and swim spas category, where you’ll find models suited to both freestanding and recessed installation, and read more guides in our Advice Centre.
