
Your own pool is the ideal environment for learning to swim: the child knows the water, there is no rush, and a lesson can last exactly as long as a child’s attention span allows. The key is to progress in small steps, build everything on play and never force the child into anything. In this guide you will find the journey from the first splashes to the first strokes, specific games, an overview of swim aids and the mistakes that most often bring learning to a halt.
When to start teaching swimming?
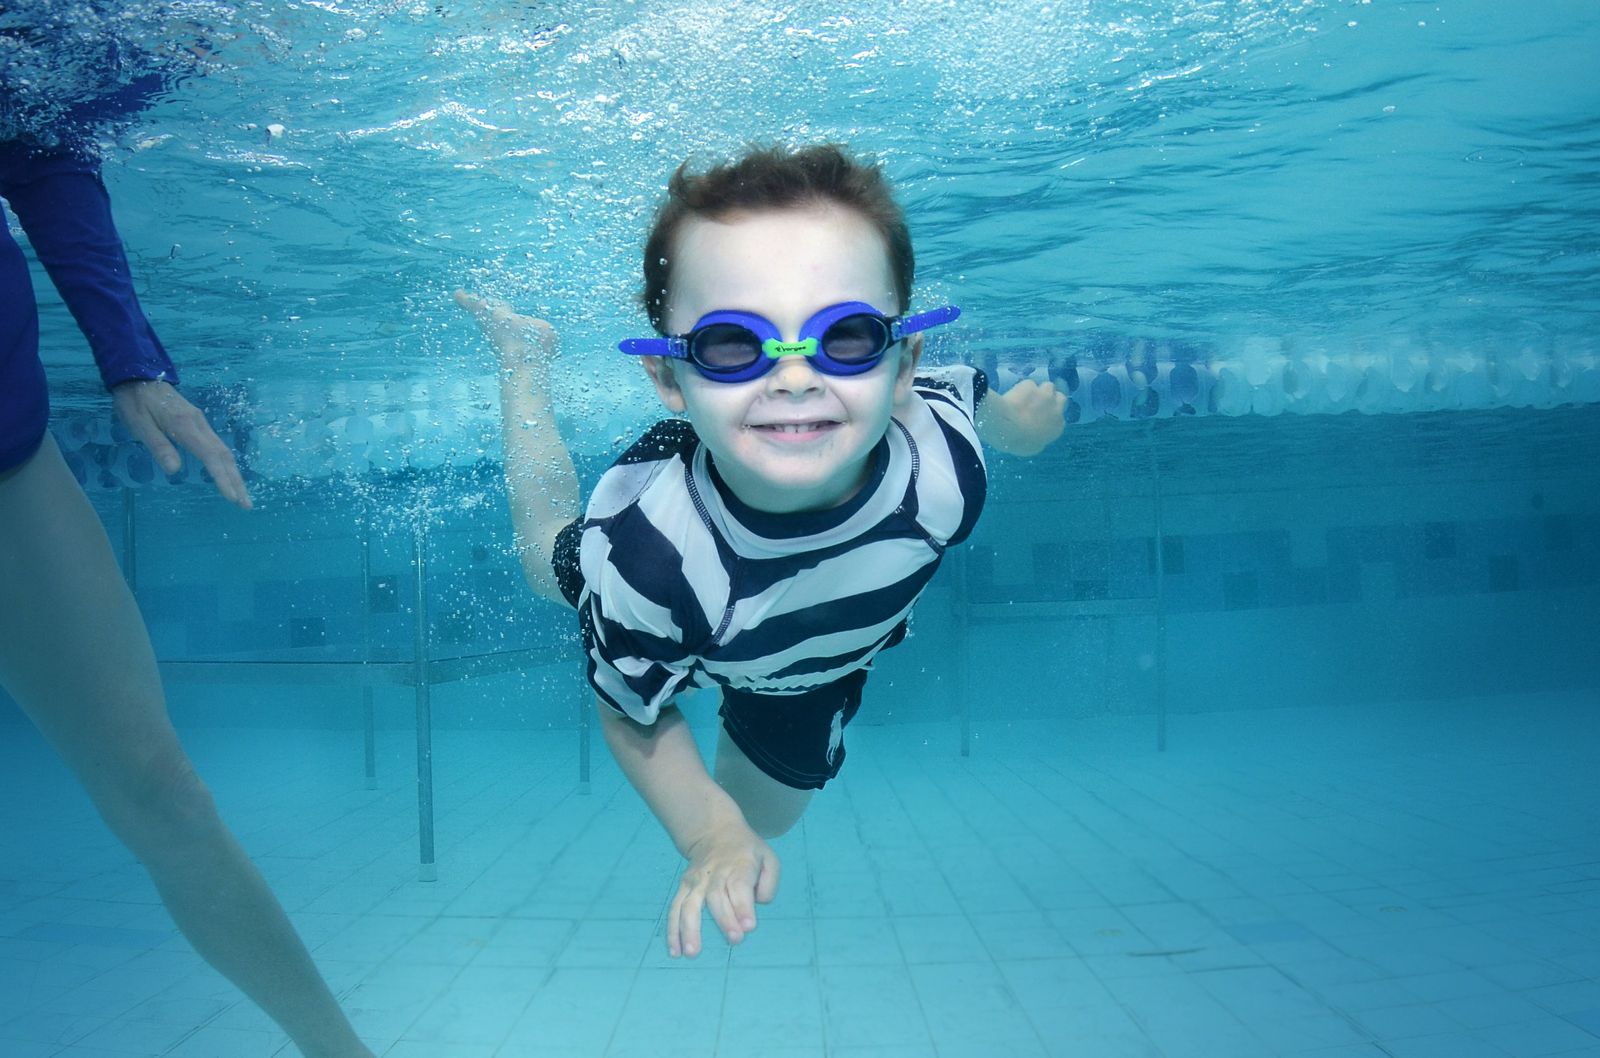
It is never too early to get familiar with water. A toddler can splash, paddle and get used to water on the face in a parent’s arms from the age of one — this is not swimming, it is about making water a familiar, pleasant environment rather than a source of fear.
Systematic teaching of swimming skills usually makes sense around the age of four to six. At this age a child can coordinate leg and arm movements, hold attention for a short lesson and understand simple instructions. This is a general guideline, though, not a rule — every child matures differently, and readiness decides, not the date of birth.
Signs that a child is ready: they want to get into the water themselves, they are not afraid of getting their face wet, they can hold their breath on cue and they enjoy copying what you demonstrate. If a child is afraid of the water, take a step back to games in the shallows — fear dissolves through play and deepens under pressure.
Five principles the teaching stands on
- Play instead of drills. The child is not learning to swim, the child is playing in the water — and swimming is the by-product. Wrap every skill in a game, a rhyme or a little competition.
- Short lessons. 15–20 minutes of focused activity is the maximum. It is better to swim briefly and often (every other day, say) than once a week for an hour.
- Never force anything. A single forced experience — being dunked against their will, being pulled off the edge — can set learning back by months. When the child does not want to, the lesson ends, with no comments and no guilt.
- Warm water. 28–30 °C is ideal for teaching. In cold water a child stiffens up, shivers, and the only thing they take away is discomfort. More detail in our article on the ideal water temperature.
- End on a high note. Always close the lesson with an activity the child can do and enjoys — the last impression decides how much they will look forward to next time.
Step by step: from splashing to the first strokes
The stages build on one another and none can be skipped. Stay with each one until the child manages it with ease and a smile — for some that takes a week, for others a month. The table is a map, not a timetable.
| Stage | What the child learns | A game that helps |
|---|---|---|
| 1. Splashing and face in the water | Not fearing water on the face, splashing, pouring water over their head | “Rain” — pouring from a bucket, blowing on the surface, washing toys |
| 2. Bubbles | Exhaling into the water through nose and mouth — the foundation of swim breathing | “Cooking soup” — bubbling into the surface, who makes bigger bubbles |
| 3. Gliding with a kickboard | Stretching out on the surface, head in the water, body relaxed | “Arrow” — push off the wall with the board, who glides furthest |
| 4. Kicking | A steady kick with straight legs from the hips | “Motorboat” — kicking with the board while the parent makes engine noises |
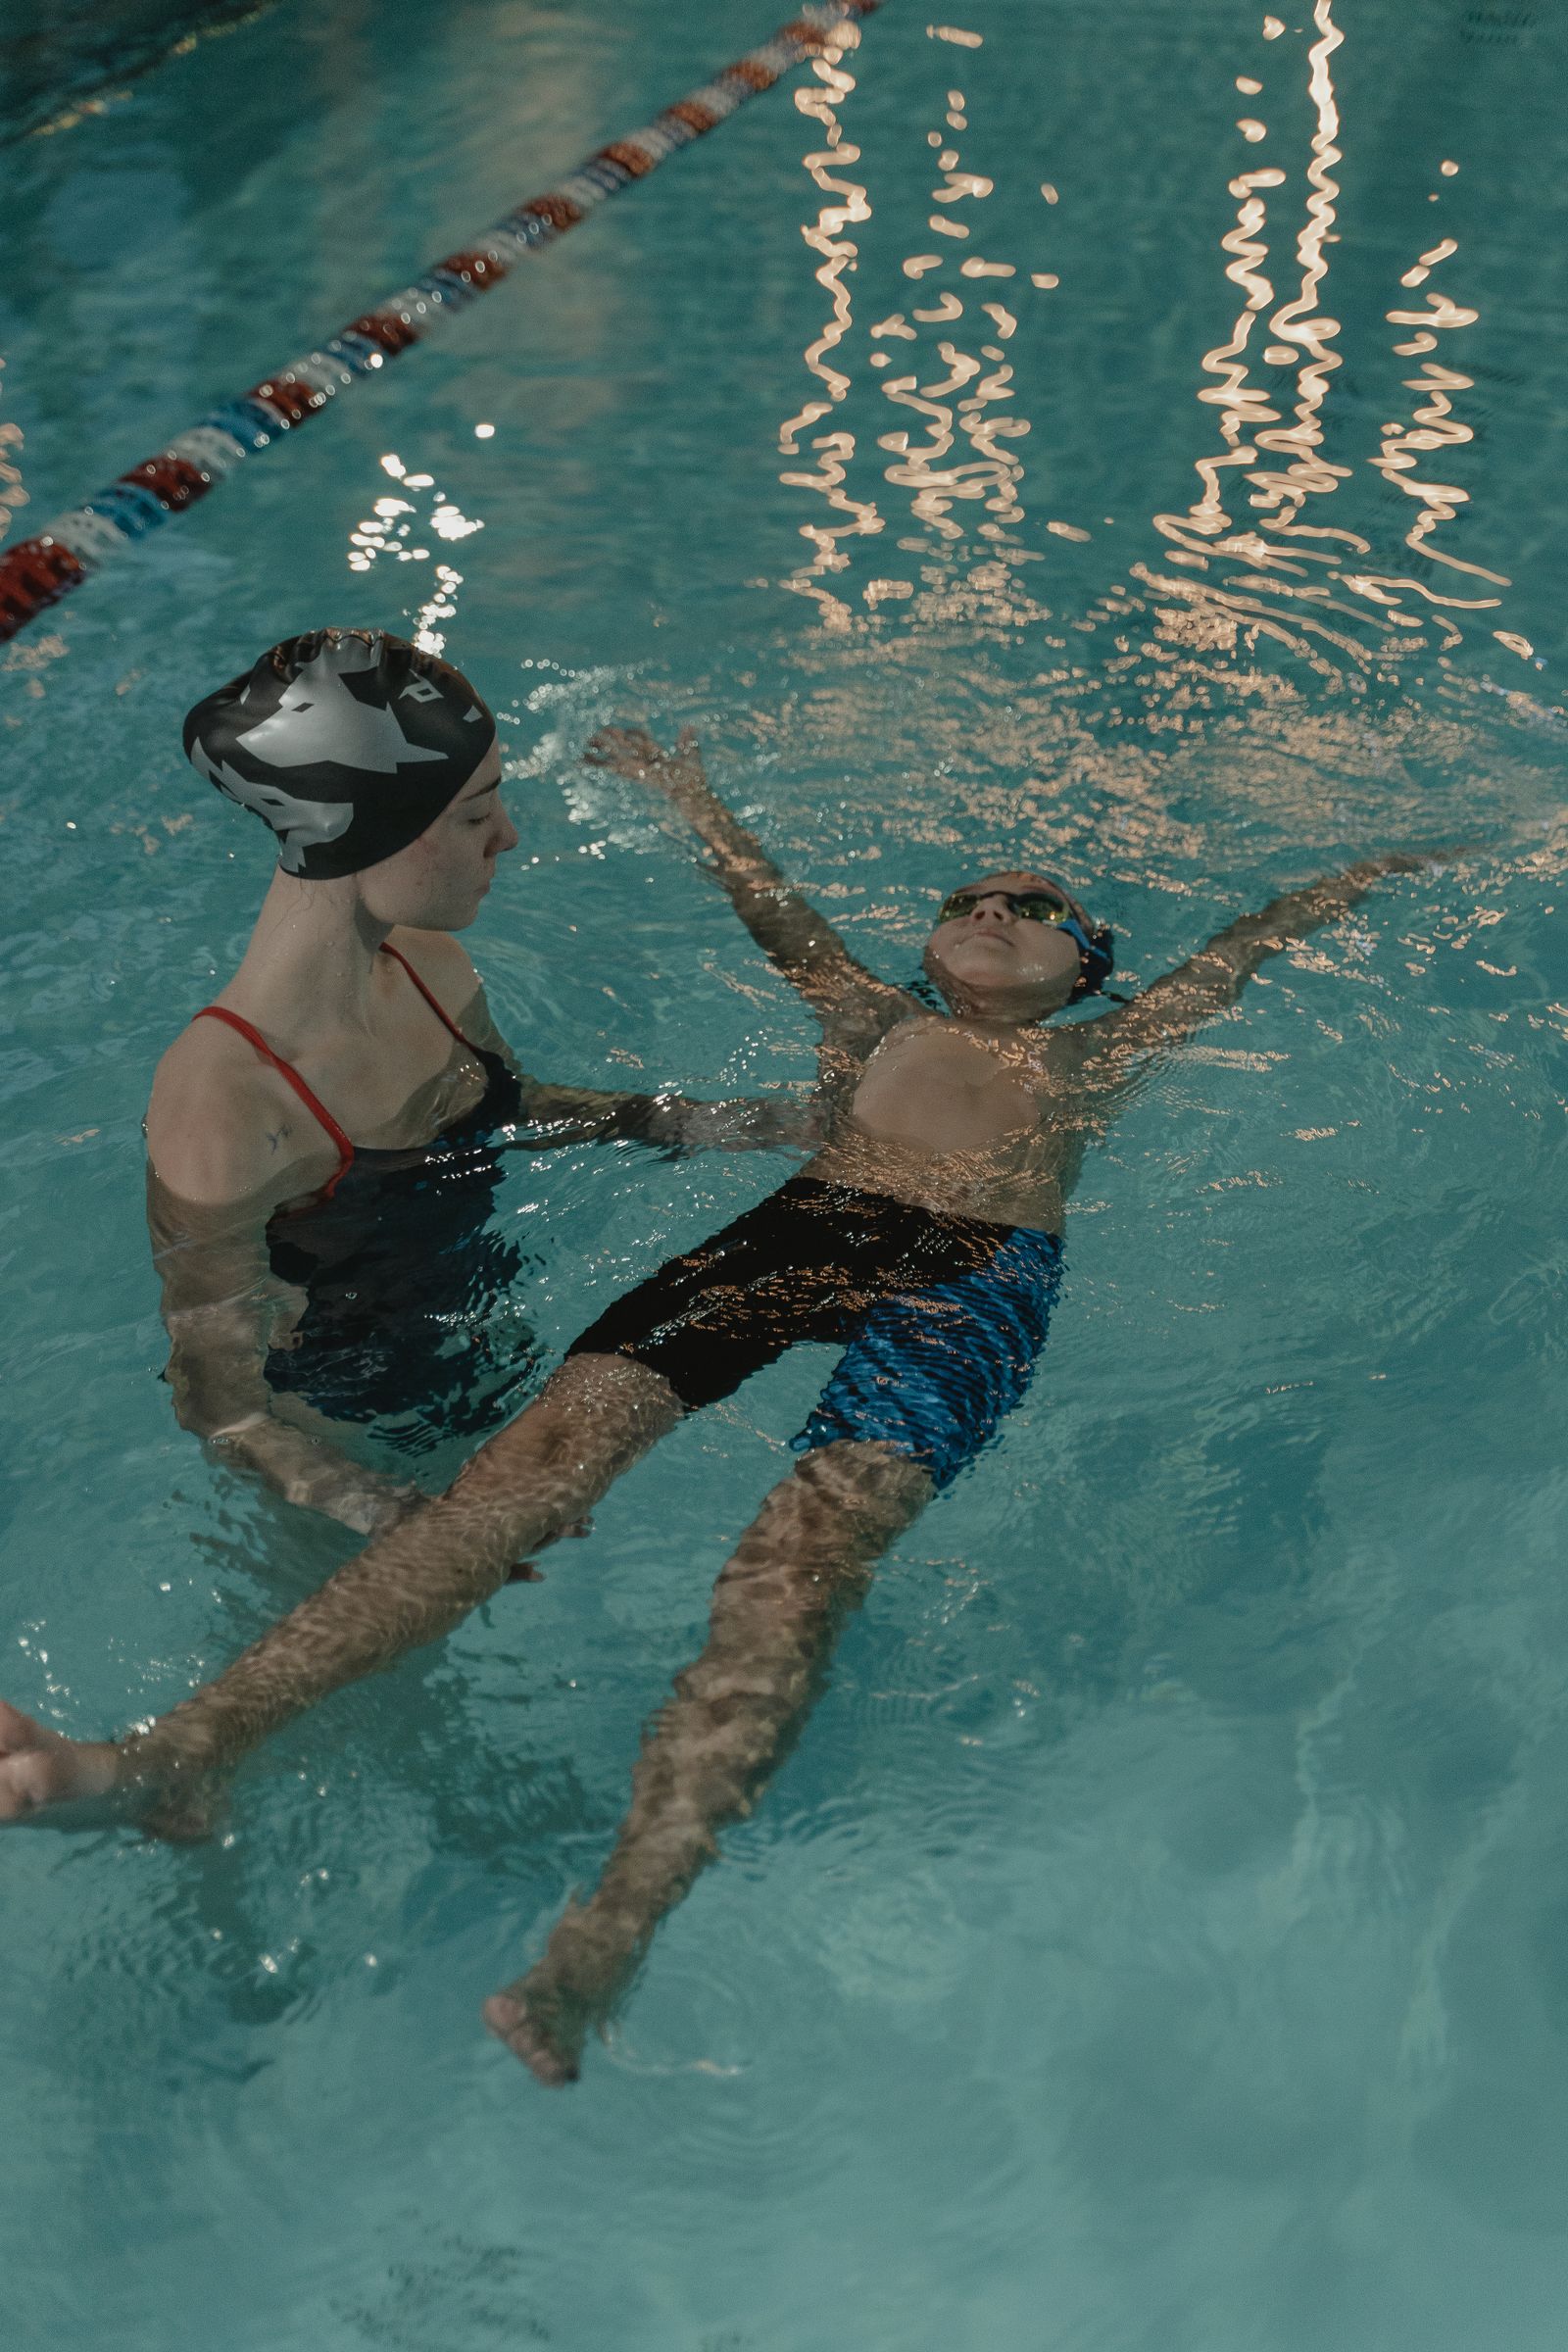
| 5. Starfish float on the back | Lying back on the surface and letting the water carry them | “Sleeping starfish” — the parent supports under the shoulder blades at first |
| 6. First doggy-paddle strokes | Coordinating legs and arms, independent forward movement over a short distance | “Swim to the toy” — a few strokes towards a floating toy or the parent |
| 7. Basics of breaststroke and front crawl | Correct stroke technique and breathing to the side or to the front | Imitation and simple rhymes to the rhythm of the stroke |
Stages 1 and 2 can be done even with a toddler as pure play. Stages 3 to 6 form the core of teaching around ages 4–6. Stage 7 is technique — and this is precisely where an instructor’s help is most valuable, so the child does not lock in faulty habits.
Games that make the lesson fun
Games are not a diversion from the teaching — games are the teaching. A child fishing a toy off a step is practising putting their face under and orienting underwater without knowing it. A few proven favourites:
- Toy diving: dive rings or toys on the steps and later on the bottom of the shallow end. It naturally teaches submerging the head, opening the eyes underwater and holding the breath.
- Swimming through a hoop: a hoop held vertically in the water, the child glides through it like a “dolphin through a gate”. It practises gliding and pushing off.
- Rhymes and songs: action rhymes in the water (ring-a-ring-o’-roses in the pool, a “rain, rain” song with pouring) draw attention away from worries and give movement a rhythm.
- Statues: whoever holds the starfish float motionless the longest wins. It teaches relaxing on the surface — the hardest and most important skill of all.
- Traffic lights: green means kick at full power, amber means slow, red means stop. It teaches controlling movement and following instructions in the water.
Swim aids: what helps and what only reassures the parents
Buoyancy aids have their place in teaching, but they need to be chosen with care — and one rule applies without exception: no aid is a life-saving device and none replaces adult supervision. Not even for a second.
Buoyancy belt vs. armbands
A buoyancy belt (or a swim vest with removable floats) holds the child in a horizontal position close to real swimming and leaves the arms free for strokes. The buoyancy can be reduced gradually by removing floats, so the child transitions smoothly to independent swimming. The downside is that the child does not feel the belt and easily forgets they cannot yet swim without it.
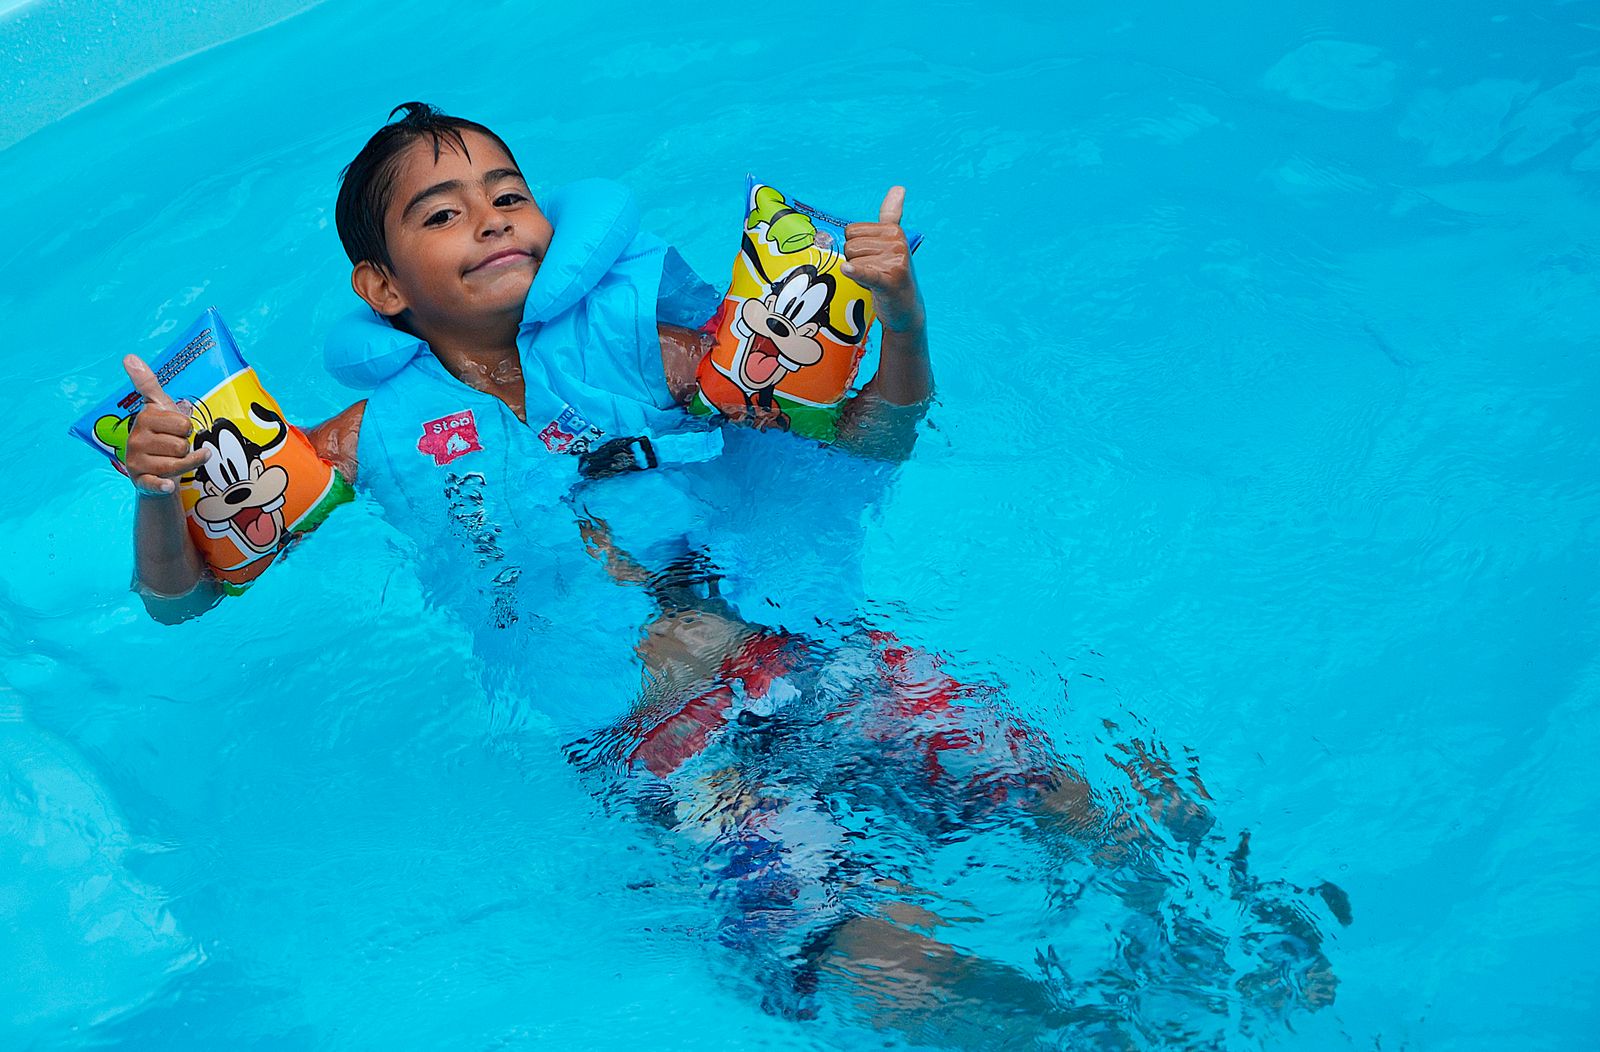
Armbands are cheap and easy to find, but they hold the child in a vertical “puppet” position, block natural arm movement, and the habit is hard to break later. They will do for a short play session in the water; for learning to swim they are more of an obstacle.
Kickboard and noodle
The kickboard is the most useful aid of the whole journey — it isolates the legs while practising the kick and gives the child confidence when gliding. The foam noodle is great for games, for support during the starfish float and for the first strokes; the child holds it in front of them or under the arms. Both aids are actively held by the child, so unlike armbands they do not build the false feeling that the water “holds them up by itself”.
Typical parenting mistakes
- Throwing the child in. The myth of “throw them in and they’ll learn” does not work. An unexpected dunking triggers panic and a fear you will then spend weeks undoing. Into the water only ever with the child’s knowledge and consent.
- Rushing and skipping stages. A child who cannot exhale into the water will not learn breaststroke — they will only learn to swim with their head clenched above the surface. Go back a stage whenever tension or fear appears.
- Teaching in cold water. Below 26 °C a small child chills quickly and can focus on nothing but being cold. Blue lips and shivering mean the lesson ends immediately.
- Lessons that run too long. After 20 minutes concentration drops and mistakes and frustration pile up. Finish before the child asks to.
- Comparing with siblings and peers. “Your sister could swim at your age” moves the teaching nowhere and only adds pressure. Compare the child only with themselves a month ago.
- Negative comments and dramatising. When the child swallows some water or gets a fright, react calmly and with humour. The child reads your reaction — a terrified parent means something terrible has happened.
When to consider lessons with an instructor?
A home pool and swimming lessons are not mutually exclusive — on the contrary, they complement each other beautifully. The instructor provides the technical foundation; the home pool provides the volume of water practice there is no time for in a course. Lessons are worth considering when:
- the child “doesn’t perform” for the parent — with an outside authority they often cooperate more willingly and without negotiating,
- you are moving on to breaststroke and front crawl technique (stage 7) and do not trust yourself to demonstrate it correctly,
- the child has a stronger fear of water that you do not know how to handle — an experienced instructor works with apprehension systematically,
- you want the child to train in a group of peers, where the natural motivation of imitation kicks in.
Even if the child attends lessons, the home pool remains key: a skill the child playfully repeats ten times between lessons takes root much faster.
The safety minimum that always applies
Learning to swim increases safety, but it does not replace it. Even a child who “can already swim” can get carried away by a game and into trouble. The basic rules: near water the child is always under the active supervision of one designated adult (not “everyone”, which means no one), outside swimming time access to the water is blocked by an enclosure, a cover or fencing, and buoyancy aids never serve as a substitute for supervision. For the complete overview, from barriers through alarms to first aid, see our article on child safety around pools and hot tubs.
Frequently asked questions
At what age does a child learn to swim independently?
Most children manage a few independent strokes between the ages of four and six and swim confidently around six to seven. The spread is wide and perfectly normal, though — what decides is the child’s readiness and the amount of time spent in the water, not the age on the calendar.
How long does it take to teach a child to swim in a home pool?
With two to three short lessons a week in warm water, a ready child usually covers the journey from bubbles to the first independent strokes within one to two seasons. A child with a prior fear of water needs more time — which is exactly why it pays to start the playful familiarisation as early as possible.
Are armbands suitable for learning to swim?
For the actual teaching, not really — they hold the child in a vertical position and block arm movement. A buoyancy belt or a vest with gradually removable floats, a kickboard and a noodle are better choices. No aid is a life-saving device, though; adult supervision is always required.
What water temperature is ideal for teaching children?
For teaching young children, 28–30 °C. In cooler water a child chills quickly, stiffens up and deals with discomfort instead of swimming. A heated home pool has a big advantage here over public pools — you set the temperature precisely.
What to do when a child is afraid of the water?
Take a step back: no submerging, just games in the shallows, pouring, bubbles — and let the child set the pace. Fear of water cannot be “broken through”, only gradually dissolved with positive experiences. If it persists long-term, an experienced instructor can help.
In closing: the pool as the best classroom
Teaching a child to swim is one of those skills that stay with them for life — and a home pool offers the most precious ingredients: plenty of time, warm water and a stress-free environment. Build on play, keep the lessons short and never rush. If you are still choosing a family pool, get inspired by our article on how to choose a pool for a family with children and browse our range of pools — from above-ground models for the first seasons to in-ground pools where children swim their way from doggy paddle to front crawl.
