
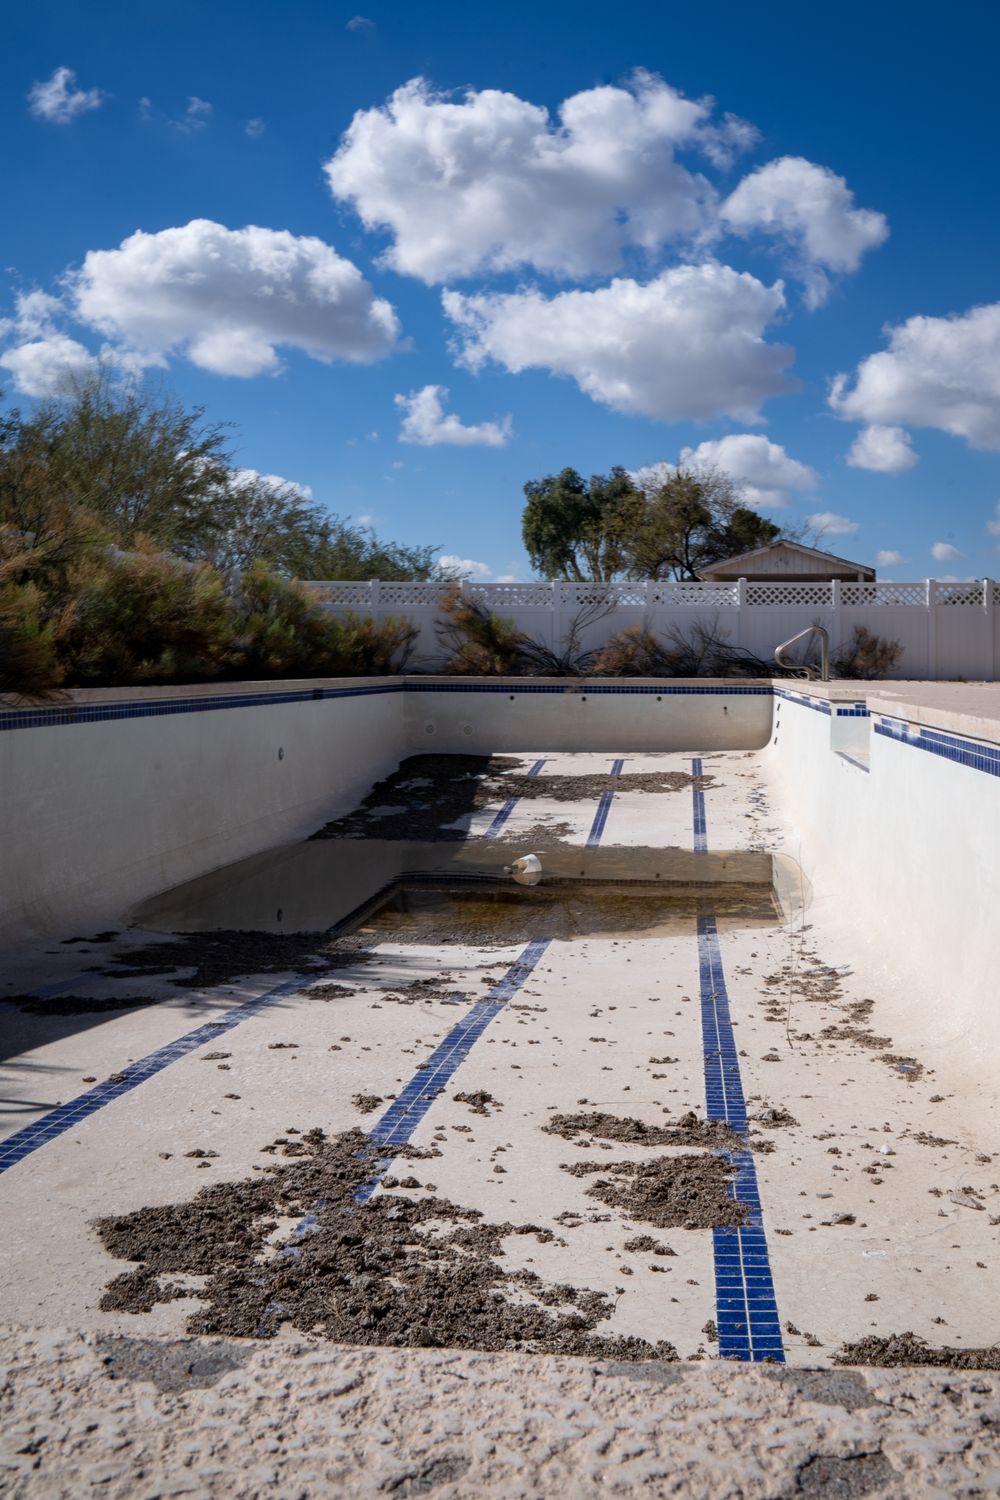
Lining a pool with a reinforced membrane is the most common way across Europe to rescue an old concrete pool that is losing water or whose tiling has fallen off. A welded PVC membrane 1.5 mm thick with a textile reinforcement is fitted into the existing shell — creating a new watertight layer that stands on its own. The job typically takes three to five days and costs from roughly 32 €/m² including labour (2026 prices, based on installer quotations).
This article goes deep into one single method. If you are still weighing up which route to take, start with the general overview of renovating an old pool and come back here once you know that a membrane is your direction.
What a reinforced membrane is and how it differs from a made-to-measure thin liner
A reinforced (armoured, sometimes “heavy duty”) membrane is a PVC sheet made of two PVC layers with a polyester textile mesh welded in between. That reinforcement is the whole difference: it prevents the material from stretching, holds its dimensional stability and dramatically increases tear resistance.
The standard thickness is 1.5 mm; for heavily used pools 2.0 mm is also available. Rolls are usually 1.65 m or 2.0 m wide and are hot-air welded on site into a single continuous skin.
A made-to-measure thin liner (0.6–0.8 mm, the classic vinyl liner) is something else entirely. It is manufactured in a factory to the exact dimensions of the pool; on site it is simply hooked into a coping track and pulled tight by the water. It is cheaper and faster, but it cannot handle unusual shapes, does not tolerate an uneven substrate and cannot be repaired locally by welding.
| Parameter | Reinforced membrane 1.5 mm | Made-to-measure thin liner 0.6–0.8 mm |
|---|---|---|
| Fabrication | welded on site from rolls | prefabricated bag hooked into a track |
| Shapes | any, including unusual shapes and steps | only simple rectangular or oval |
| Substrate requirements | more forgiving, geotextile backs it up | needs a smooth and accurate substrate |
| Repair | local welded patch | usually replacement of the whole bag |
| Typical lifespan | 15–20 years | 8–12 years |
| Price | higher | lower |
A detailed comparison of types, surfaces and patterns is covered in a separate article on how to choose a pool liner. For renovating old concrete, however, the reinforced version is practically always the choice.
Which pools are suitable for a membrane lining
A reinforced membrane is the answer for shells that are structurally sound but leak or look bad. Typically:
- Concrete pools with cracks, rising damp or a degraded coating
- Tiled and mosaic pools where tiles are falling off and the grout is breaking up
- Older fibreglass shells with osmosis, cracks and a dull gelcoat
- Pools built from permanent formwork or polystyrene blocks
- Unusual shapes — kidney, figure-of-eight, curves, integrated steps, benches, a water surface with an island
The precondition is a structurally healthy shell. A membrane is waterproofing, not a load-bearing element: if the shell is moving, settling or has a continuous crack running through an entire wall, the structure has to be repaired first. An honest company will tell you this during the site survey.
Before you start the renovation, make sure the pool really does leak and that you are not simply losing water to evaporation — the difference and a simple bucket test are described in the article on water loss vs. evaporation.
The process step by step
1. Site survey and measuring up
The installer comes to the emptied pool, assesses the state of the substrate, measures the dimensions, records the number and type of penetrations (skimmer, inlets, main drain, lights, counter-current unit) and the condition of the coping. From this comes a quotation and a layout drawing of the membrane rolls.
Insist on an on-site survey. A quotation made “from the desk” based on photos and dimensions almost always ends up being increased during the work.
2. Substrate preparation
The most labour-intensive and most important stage. All loose parts are removed — flaking coating, loose tiles, degraded concrete. The surface is chipped back, ground down and cleared of dust.
Significant unevenness is levelled with repair mortar. Sharp edges are rounded off, hollows filled. The aim is not a mirror-smooth wall, but a flat plane with no sharp protrusions that would press into the membrane over the long term.
3. Treating cracks
Active cracks and joints are bandaged over — routed out, filled and covered with a strip of geotextile embedded in a liquid waterproofing membrane (liquid rubber). This creates a flexible band that absorbs small structural movement without tearing.
This layer also works as a second barrier should the membrane ever fail. The wider context and alternatives are described in the article on waterproofing a concrete pool.
4. Fitting PVC-coated profiles
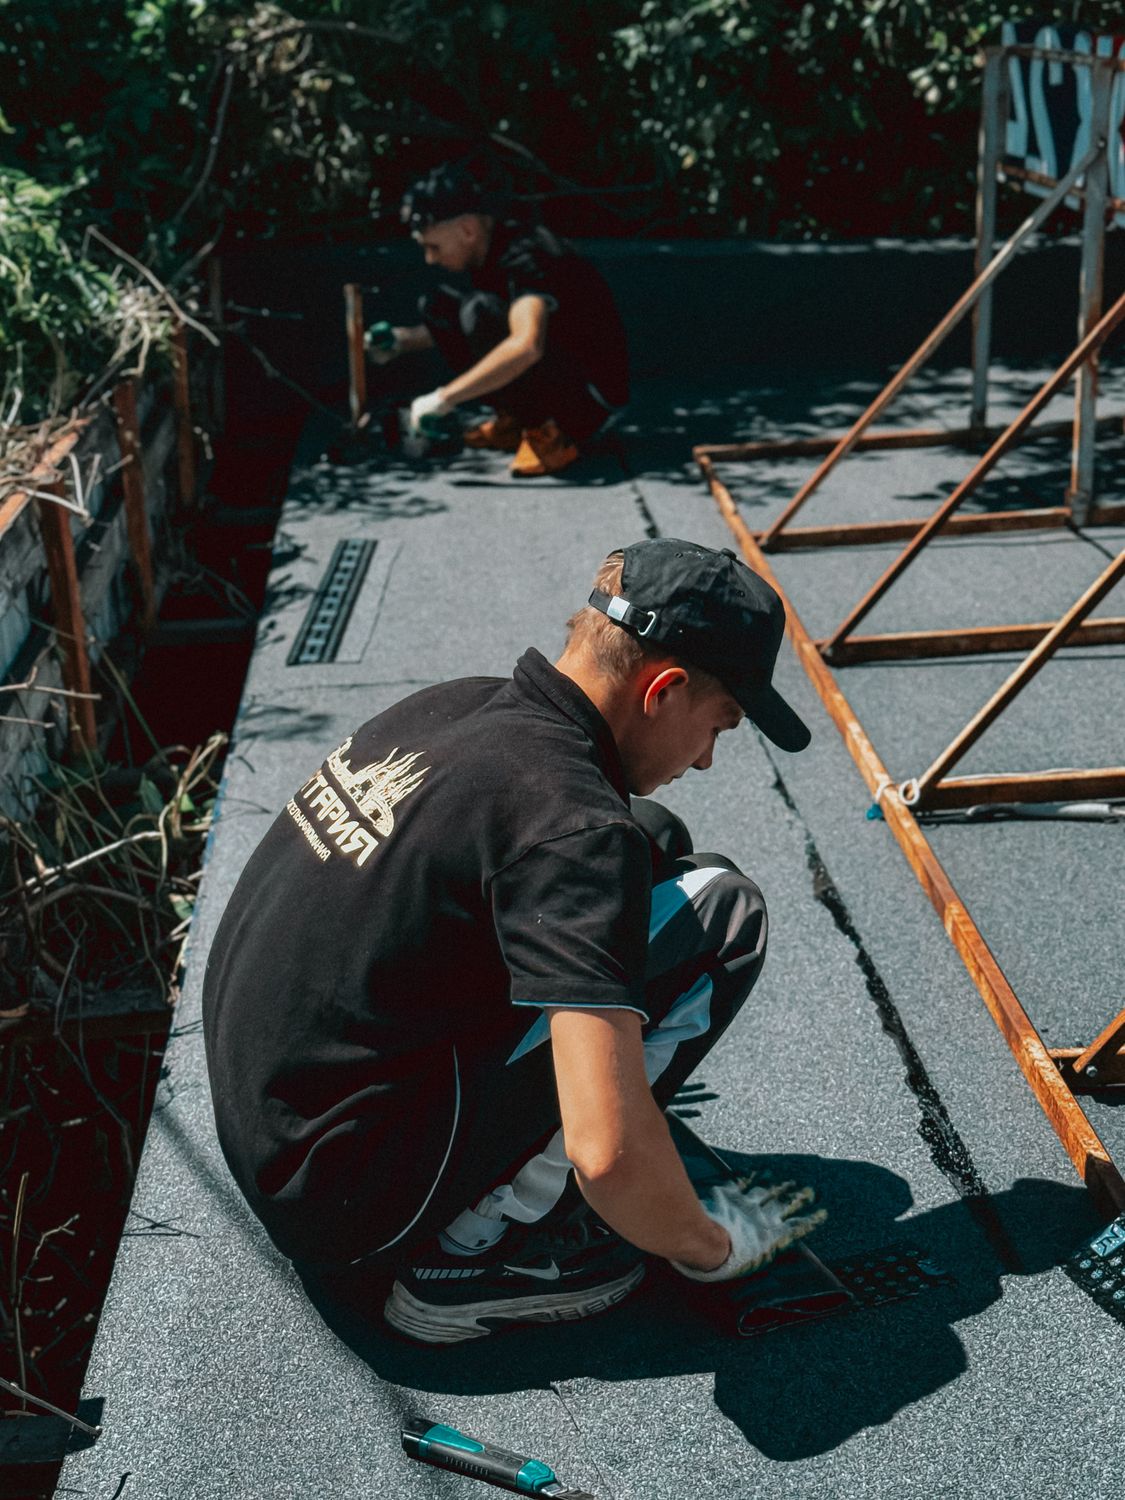
PVC-coated (laminated) metal profiles are mechanically fixed to the top edge of the pool, into the corners and around all penetrations. This is galvanised sheet metal with a rolled-on PVC layer to which the membrane can be welded.
These profiles are exactly what decides whether the pool will still be watertight in ten years’ time. The membrane is never fixed directly into concrete.
5. Geotextile
A non-woven geotextile with a weight of 400–500 g/m² is laid on the floor and walls. It has three functions: it spreads point loads, protects the membrane from abrasion against the concrete and slightly cushions minor unevenness in the substrate.
Cheaper firms often economise here and use 300 g/m², or leave the geotextile off the walls altogether. Ask about the weight and have it written into the contract.
6. Rolling out and welding the sheets
The sheets are rolled out according to the drawing, first on the floor and then on the walls. Adjacent sheets overlap by roughly 4 cm and are joined by hot-air welding — with a hand gun or a welding machine that blows air at approximately 400–600 °C between the sheets, while a pressure roller presses the material together.
A weld is a homogeneous joint, not a glued one. A properly executed weld is stronger than the membrane itself.
7. Forming corners, steps and penetrations
Corners, internal angles, steps, benches and curves are shaped by hand while hot, from separate pieces. This is where the craftsman shows: almost anyone can manage a flat wall, but a clean corner or a staircase without wrinkles is a matter of experience.
Penetrations are handled with flanges: the membrane is cut, welded onto the PVC-coated collar and clamped down with a flange and gasket. The skimmer, inlets, main drain and lights each get their own detail.
8. Checking the welds and filling
Every weld is checked with a needle or screwdriver — the technician runs the tip along the entire weld line looking for a spot where the tool slips under the membrane. Any defects found are re-welded and sealed with liquid PVC.
Then the pool is filled. The water presses the membrane against the substrate and settles it for good; small wrinkles at the start normally smooth out over the first few days. We have a separate article on the options and costs of filling a pool with water.
How long it takes and what it costs
Installation time: typically 3–5 days. An experienced crew will finish a simple rectangular pool with no steps faster; an unusual shape with an integrated staircase, a bench and several penetrations will take longer. The membrane itself is not what eats up the time — it is the substrate preparation, and that is the hardest thing of all to estimate in advance.
Indicative price (2026): installers across Europe quote a complete lining with a 1.5 mm reinforced membrane including material and labour from roughly 25 €/m² excluding VAT, i.e. around 30–32 €/m² including VAT. That is, however, the lower limit for a single-colour membrane and a simple shape.
A realistic calculation lands more in the 36–60 €/m² range depending on the pattern (printed and 3D embossed membranes cost more), the complexity of the shape and the extent of substrate repairs. The membrane on its own without installation costs from roughly 16 €/m².
The area billed is the wetted surface, i.e. floor plus walls — not the plan area. For an 8 × 4 m pool with a depth of 1.5 m that works out at around 68 m², which at 40 €/m² means roughly 2,700 €. Treat this as a guide, not a quotation; only a site survey gives a binding price.
Add to the price the items that quotations often leave out: new flanges and penetration gaskets, a possible skimmer replacement, filling with water and the start-up chemicals. You will find replacement built-in parts in the pool construction parts category.
Lifespan and warranty
A quality reinforced membrane from a reputable brand (Alkorplan, Elbe, Cefil, Avfol) will last 15–20 years with normal maintenance, and even longer in indoor pools with no UV exposure. Manufacturers usually give a ten-year warranty on the watertightness of the material.
The warranty on the work itself, i.e. on the installer’s craftsmanship, tends to be shorter — typically two to five years. Keep these two things apart, because a claim for a leaking weld concerns the work, not the material. How to pursue a claim is summarised in the article on warranty claims for pools and hot tubs.
What shortens the lifespan: long-term low pH, over-chlorination, aggressive manual cleaning, sharp objects on the floor and leaving the pool empty through the summer in direct sun.
Membrane lining vs. new tiling vs. a new shell
| Reinforced membrane lining | New tiling / mosaic | New fibreglass shell | |
|---|---|---|---|
| Indicative price | from approx. 32 €/m² (typically 36–60) | usually several times the price of a membrane | tens of thousands of euros including installation |
| Installation time | 3–5 days | several weeks | weeks to months |
| Lifespan | 15–20 years | 30 years and more if flawlessly executed | 20–30 years |
| Disruption to surroundings | minimal, the equipment stays put | medium, dusty work | major, demolition and machinery |
| Unusual shapes | no limits | no limits, but expensive | limited by the manufacturer’s range |
| Weak point | mechanical damage, end of service life | corrosion and grout breakdown, cracking tiles | cost and complexity of the build |
| Suitable when | the shell is structurally sound | you want maximum durability and have the budget | the original shell is beyond saving |
In practice a membrane is the compromise that makes sense for the vast majority of domestic pools: the best ratio of price, speed and reliability. Tiling is beautiful and the most durable, but expensive and vulnerable in the details around penetrations and lights. A new shell only pays off when the old structure really is at the end of its life.
What to watch out for when choosing a company
Lining a pool is a job where the quality only shows up five years later. There are a few things you can spot straight away, though:
- An on-site survey before the quotation is issued, not a calculation based on photos
- An itemised budget — substrate preparation separately, geotextile with the weight stated, membrane with the brand and type stated, profiles, penetrations
- Provision for hidden defects — how repairs discovered after chipping back will be handled and charged
- References nearby, ideally three or more years old, that you can go and look at
- A written contract with a deadline, a warranty on the work and a precise material specification
A suspiciously low price usually means omitted geotextile, a thinner membrane, fixing without PVC-coated profiles or skipped substrate preparation. A membrane on unprepared concrete lasts a few seasons and then starts leaking in places you cannot get to.
Membrane lining is one of those jobs that genuinely does not make sense to do yourself — hot-air welding of PVC requires both equipment and practice. If you are weighing up where the boundary between your own work and a contractor lies, the comparison of a turnkey pool vs. DIY will help.
Maintaining a membrane-lined pool
A membrane is durable but chemically more sensitive than ceramic. A few rules will add years to its life:
Keep the pH in the 7.0–7.4 range. Long-term low pH dries the membrane out, leaches out plasticisers and leads to cracking and colour fading. High pH, on the other hand, deposits scale on the surface.
Watch the water hardness. Water that is too soft is aggressive towards the membrane and strips stabilisers out of it; water that is too hard forms a grey film. Recommended values and solutions are in the article on water hardness and scale buildup.
Do not over-chlorinate. Free chlorine above 3 mg/l fades the pattern, especially on printed membranes. Shock the water in the evening and never drop tablets or granules straight onto the floor.
Beware of abrasion from a robot. A pool robot is safe for a membrane provided it has soft brushes or foam rollers intended for liner pools. Hard PVA rollers designed for ceramic will abrade the membrane over time, mainly in the corners and on the welds.
Never leave the pool empty for long. Without water, a membrane overheats in the sun, shrinks and can tear away from the profiles. If you have to drain it, cover it and refill as soon as possible.
Frequently asked questions
Can a reinforced membrane be laid over old tiling?
Yes, and it is one of the most common cases. All loose tiles are removed, the grout lines are levelled with a filler and the surface is cleared of sharp edges. A 400–500 g/m² geotextile then reliably separates the membrane from the remaining tiling. The tiling does not have to be chipped off completely, provided it is still holding.
How is a damaged membrane repaired?
With a local weld. The damaged spot is cleaned, degreased and over-welded with a patch of the same membrane overlapping by several centimetres. The repair is permanent and, done well, practically invisible. Smaller repairs can even be done underwater with a special adhesive, but a dry weld is always more reliable.
When is the best time for a membrane lining?
Spring and early autumn. Hot-air welding requires temperatures above roughly 5 °C and a dry substrate, so winter installation is out of the question. In summer, installers’ capacity disappears fast — book several months ahead.
Will a membrane reduce the pool volume?
Negligibly. The geotextile and membrane build-up is around 5 mm thick, which on a normal pool means a difference of a few centimetres in length and width. The internal dimensions barely change, so enclosures and covers remain usable.
Do I have to replace the equipment as well when relining?
Not necessarily, but it is the ideal moment. The pool is empty and the flanged penetrations are being dismantled anyway — replacing an old skimmer, inlets or lights at that point costs a fraction of what it would cost on its own. It is worth revisiting the state of the filtration and pump at the same time.
In conclusion
Lining with a reinforced membrane has been the most widespread method of renovating a concrete pool for the past twenty years — and deservedly so. In a few days and for a fraction of the price of a new shell you get a pool that is watertight, looks new and will last another fifteen to twenty years.
What decides the outcome, though, is honest substrate preparation and craftsmanship in the details, not the membrane brand on the invoice. Choose the company on the strength of its budget and references, not on the lowest price per square metre.
During a renovation it often turns out that the penetrations have reached the end of their life along with the surface — skimmers, inlets, flanges and gaskets. You will find the complete range in the pool construction parts category, and further articles on renovation and maintenance in the Guide.
