
Ventilation is the cheapest part of a sauna and the one most often got wrong. The short answer: the fresh air intake belongs low down by the sauna heater, and the main exhaust on the opposite side of the cabin, low by the floor or under the bench — not up under the ceiling. Get it the other way round and the sauna “will not heat up”, it feels stuffy under the ceiling, cold around your feet, and the timber dries slowly.
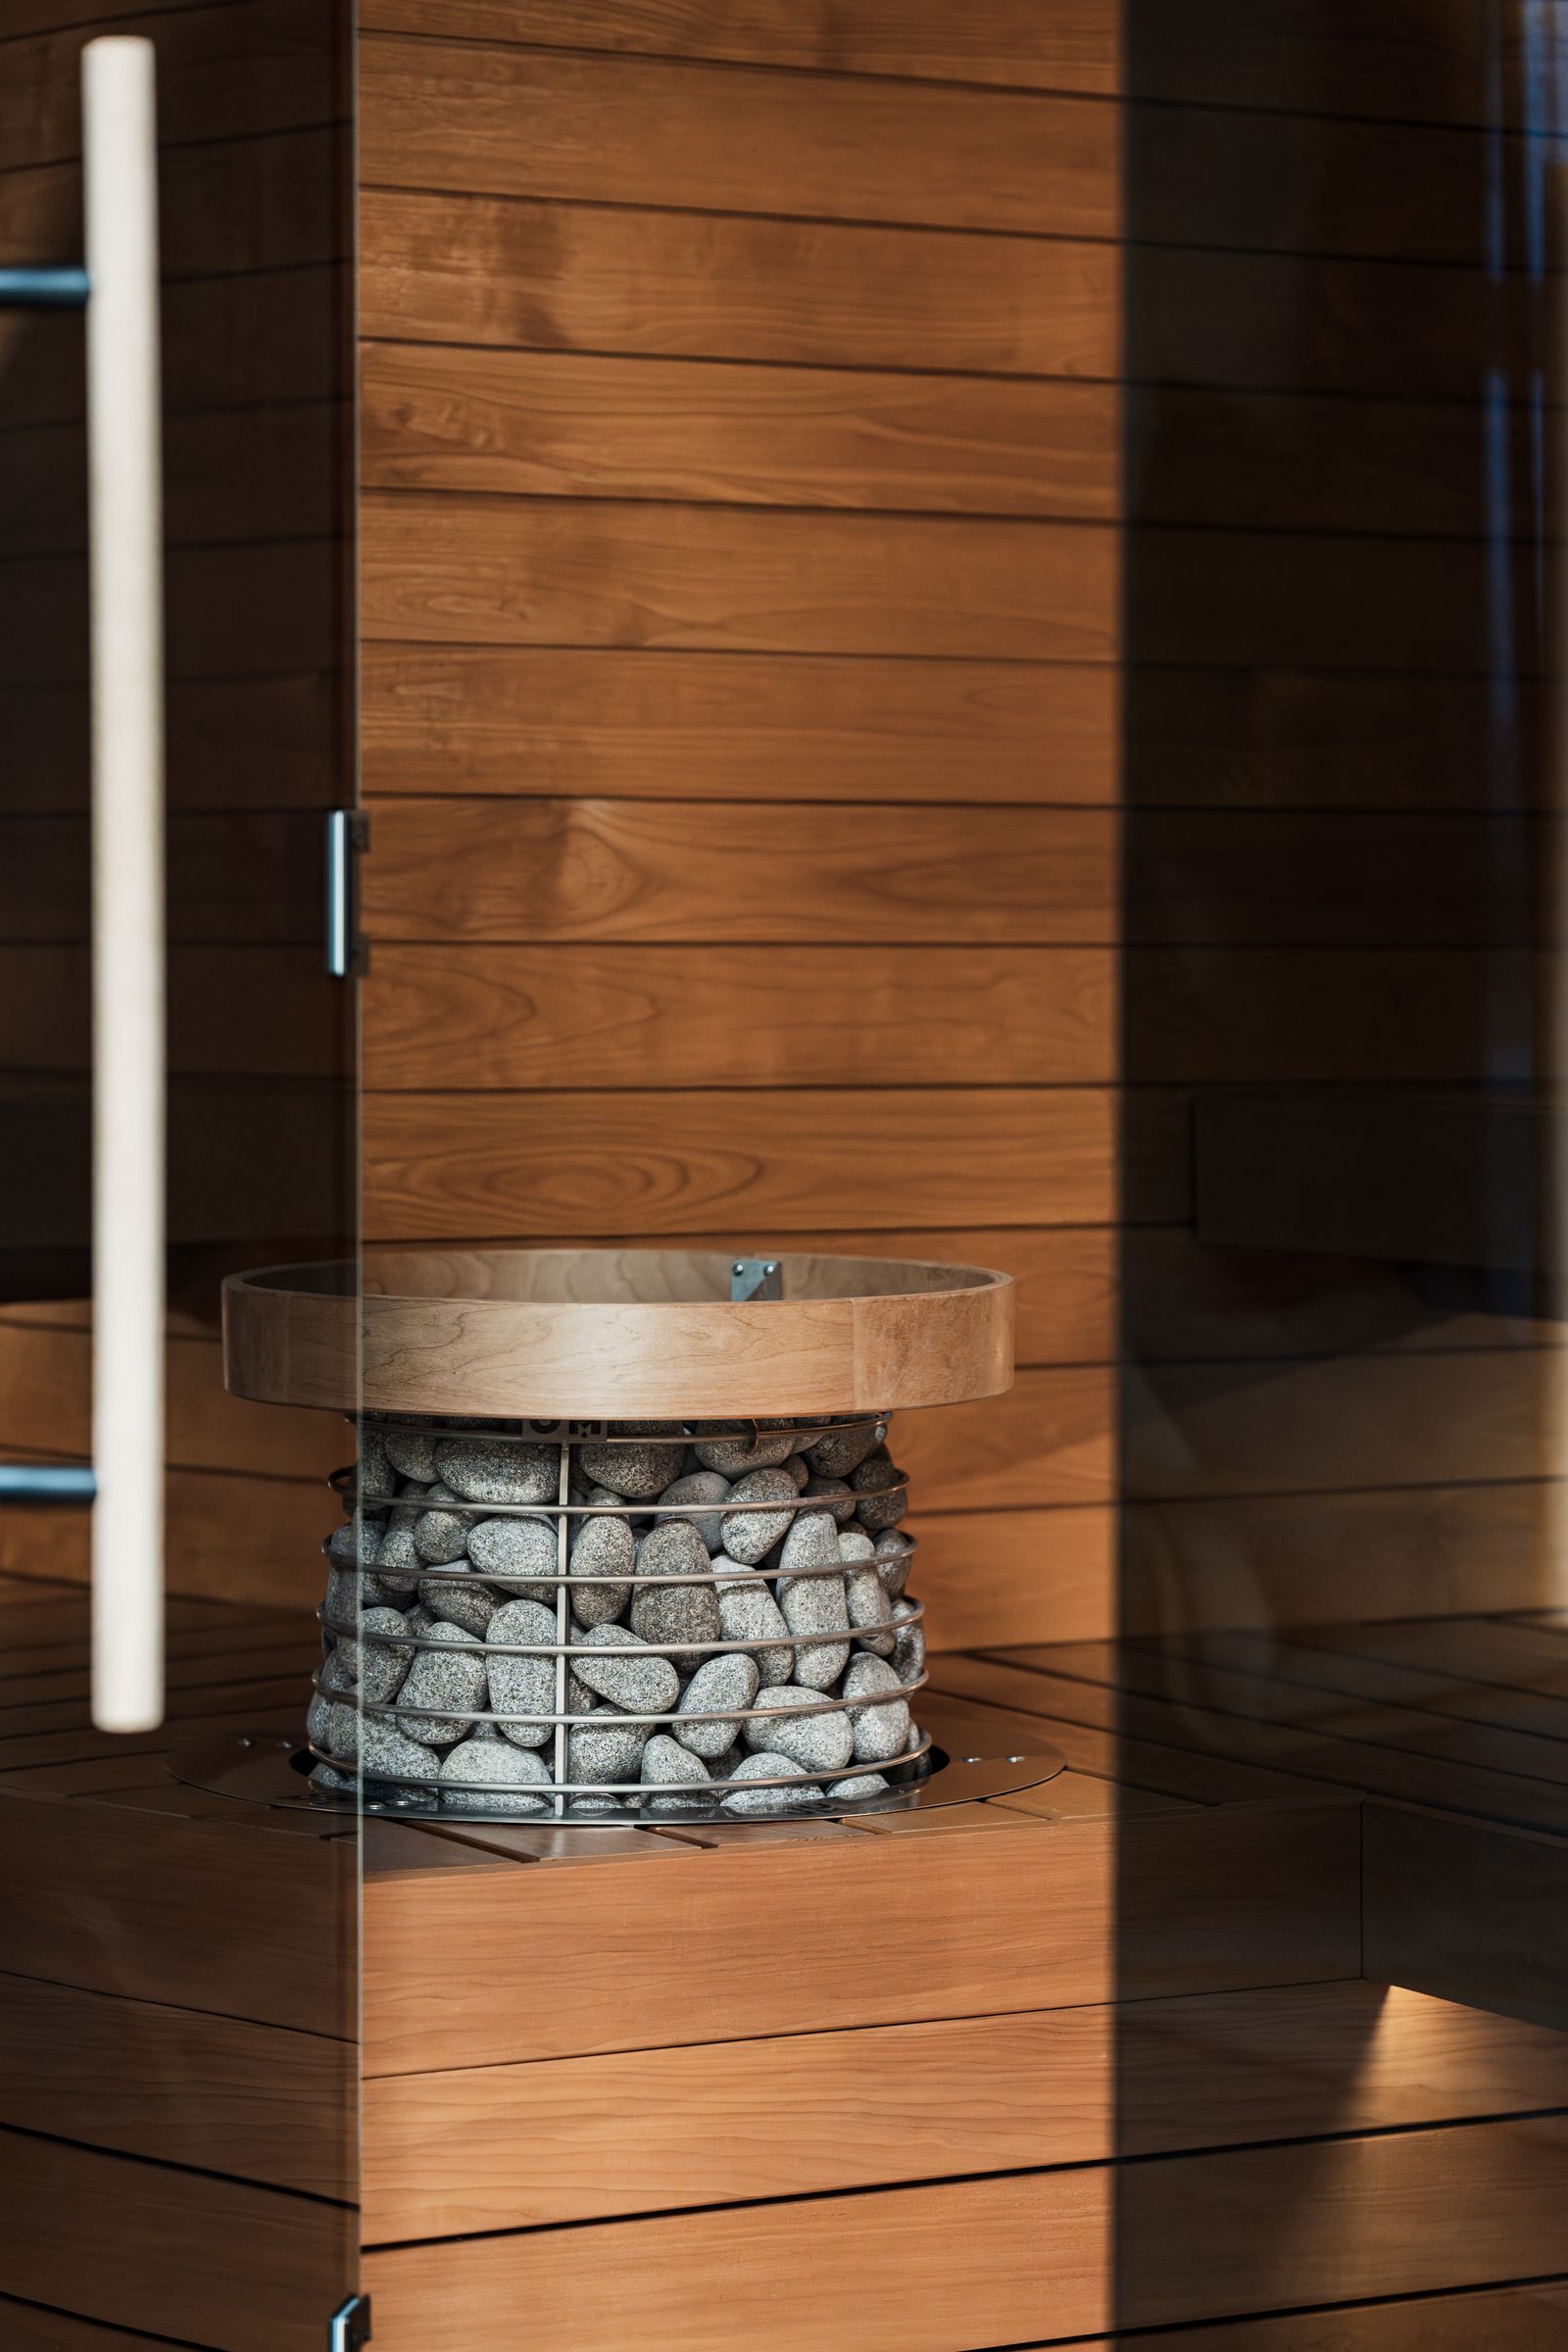
Why a sauna needs controlled air exchange at all
A sauna cabin is a small enclosed volume holding one to six people and a heater of several kilowatts. Without air exchange, four problems build up in it within half an hour.
- Oxygen and CO₂. People breathe faster in heat. In an 8 m³ cabin with four people, the carbon dioxide concentration rises very quickly and shows up as heaviness, headache and the feeling that “I have had enough” — while the temperature is perfectly normal.
- Humidity. Every ladle of water thrown on the stones is tens of millilitres of water that has to get out of the cabin. With no route out, it condenses on the cooler surfaces — in the corners, under the benches, behind the panelling.
- Even temperature. Without circulation the sauna stratifies: 100 °C under the ceiling, easily 50 °C at floor level. A 40 °C difference between your head and your feet is the classic symptom of a badly routed exhaust. The Finnish source Saunologia states that a correctly positioned exhaust under the bench can squeeze this difference below 10 °C.
- Protecting the timber. Timber that takes six hours to dry after every session instead of one darkens, bleeds resin, and grows mould stains wherever the damp is permanent. That is a question of how long the cabin lasts, not of looks.
How much air should be exchanged?
The figures differ depending on whether the ventilation is natural or mechanical. It is only fair to say that these are recommendations from Finnish practice and standards, not a binding standard for domestic saunas in your country.
- Air changes per hour (ACH): Finnish building practice (guideline card RT 91-10480) works with exchanging the entire cabin volume roughly 6 times per hour during use. The Finnish Sauna Society gives a workable range of 3–8 air changes per hour, with 3 as the minimum and 6–8 as the comfortable band.
- Flow rate per floor area: Finnish regulations for mechanical ventilation require 2 l/s per m² of floor area (at least 6 l/s in total). The Saunologia portal, citing VTT measurements from 1992, recommends more like 3–7 l/s per m², because the legal minimum is marginal for real comfort.
To put that in perspective: a 2 × 2 m sauna 2.1 m high has a volume of 8.4 m³. Six air changes per hour means about 50 m³/h, roughly 14 l/s. That matches the upper part of the recommended range and it is a figure you can size the system around.
Where the intake and the exhaust should go
This is where most of the mistakes are made. The classic Finnish solution looks like this.
- Intake — low down, directly beneath the heater or immediately behind it, typically 15–20 cm above the floor. Cold fresh air lands on the hot body of the heater, warms up instantly and rises. The heater thus becomes the engine of the circulation. In mechanically ventilated saunas the intake is often placed above the heater instead, roughly halfway between the heater and the ceiling, so that the fresh air mixes with the rising steam rather than going straight into the firebox.
- Exhaust — on the opposite side of the cabin, as far from the heater as possible, low by the floor or under the upper bench (depending on the build). An exhaust under the bench has to be ducted so that the air genuinely leaves the cabin, not merely travels under the seat.
- An additional opening under the ceiling — this makes sense, but as a closable damper for drying out after the session, not as the main exhaust during use.
Why an exhaust under the ceiling is such a fundamental mistake
The principle of circulation in a sauna is simple: air heated at the heater rises to the ceiling, spreads sideways beneath it, cools against the cooler surfaces and the bodies of the bathers at the opposite wall, and sinks. At floor level it then travels back towards the heater. The result is a closed loop that mixes the whole volume.
Put the main exhaust under the ceiling and you cut that loop at its highest point. The hottest and most humid air — precisely the air you have just created by throwing water on the stones — leaves straight away. Saunologia calls this the worst possible arrangement: the steam escapes directly outdoors and the sauna experience goes with it. At the same time the cold layer at floor level never gets moving, so you end up with a hot head, cold feet and a heater running flat out all the time.
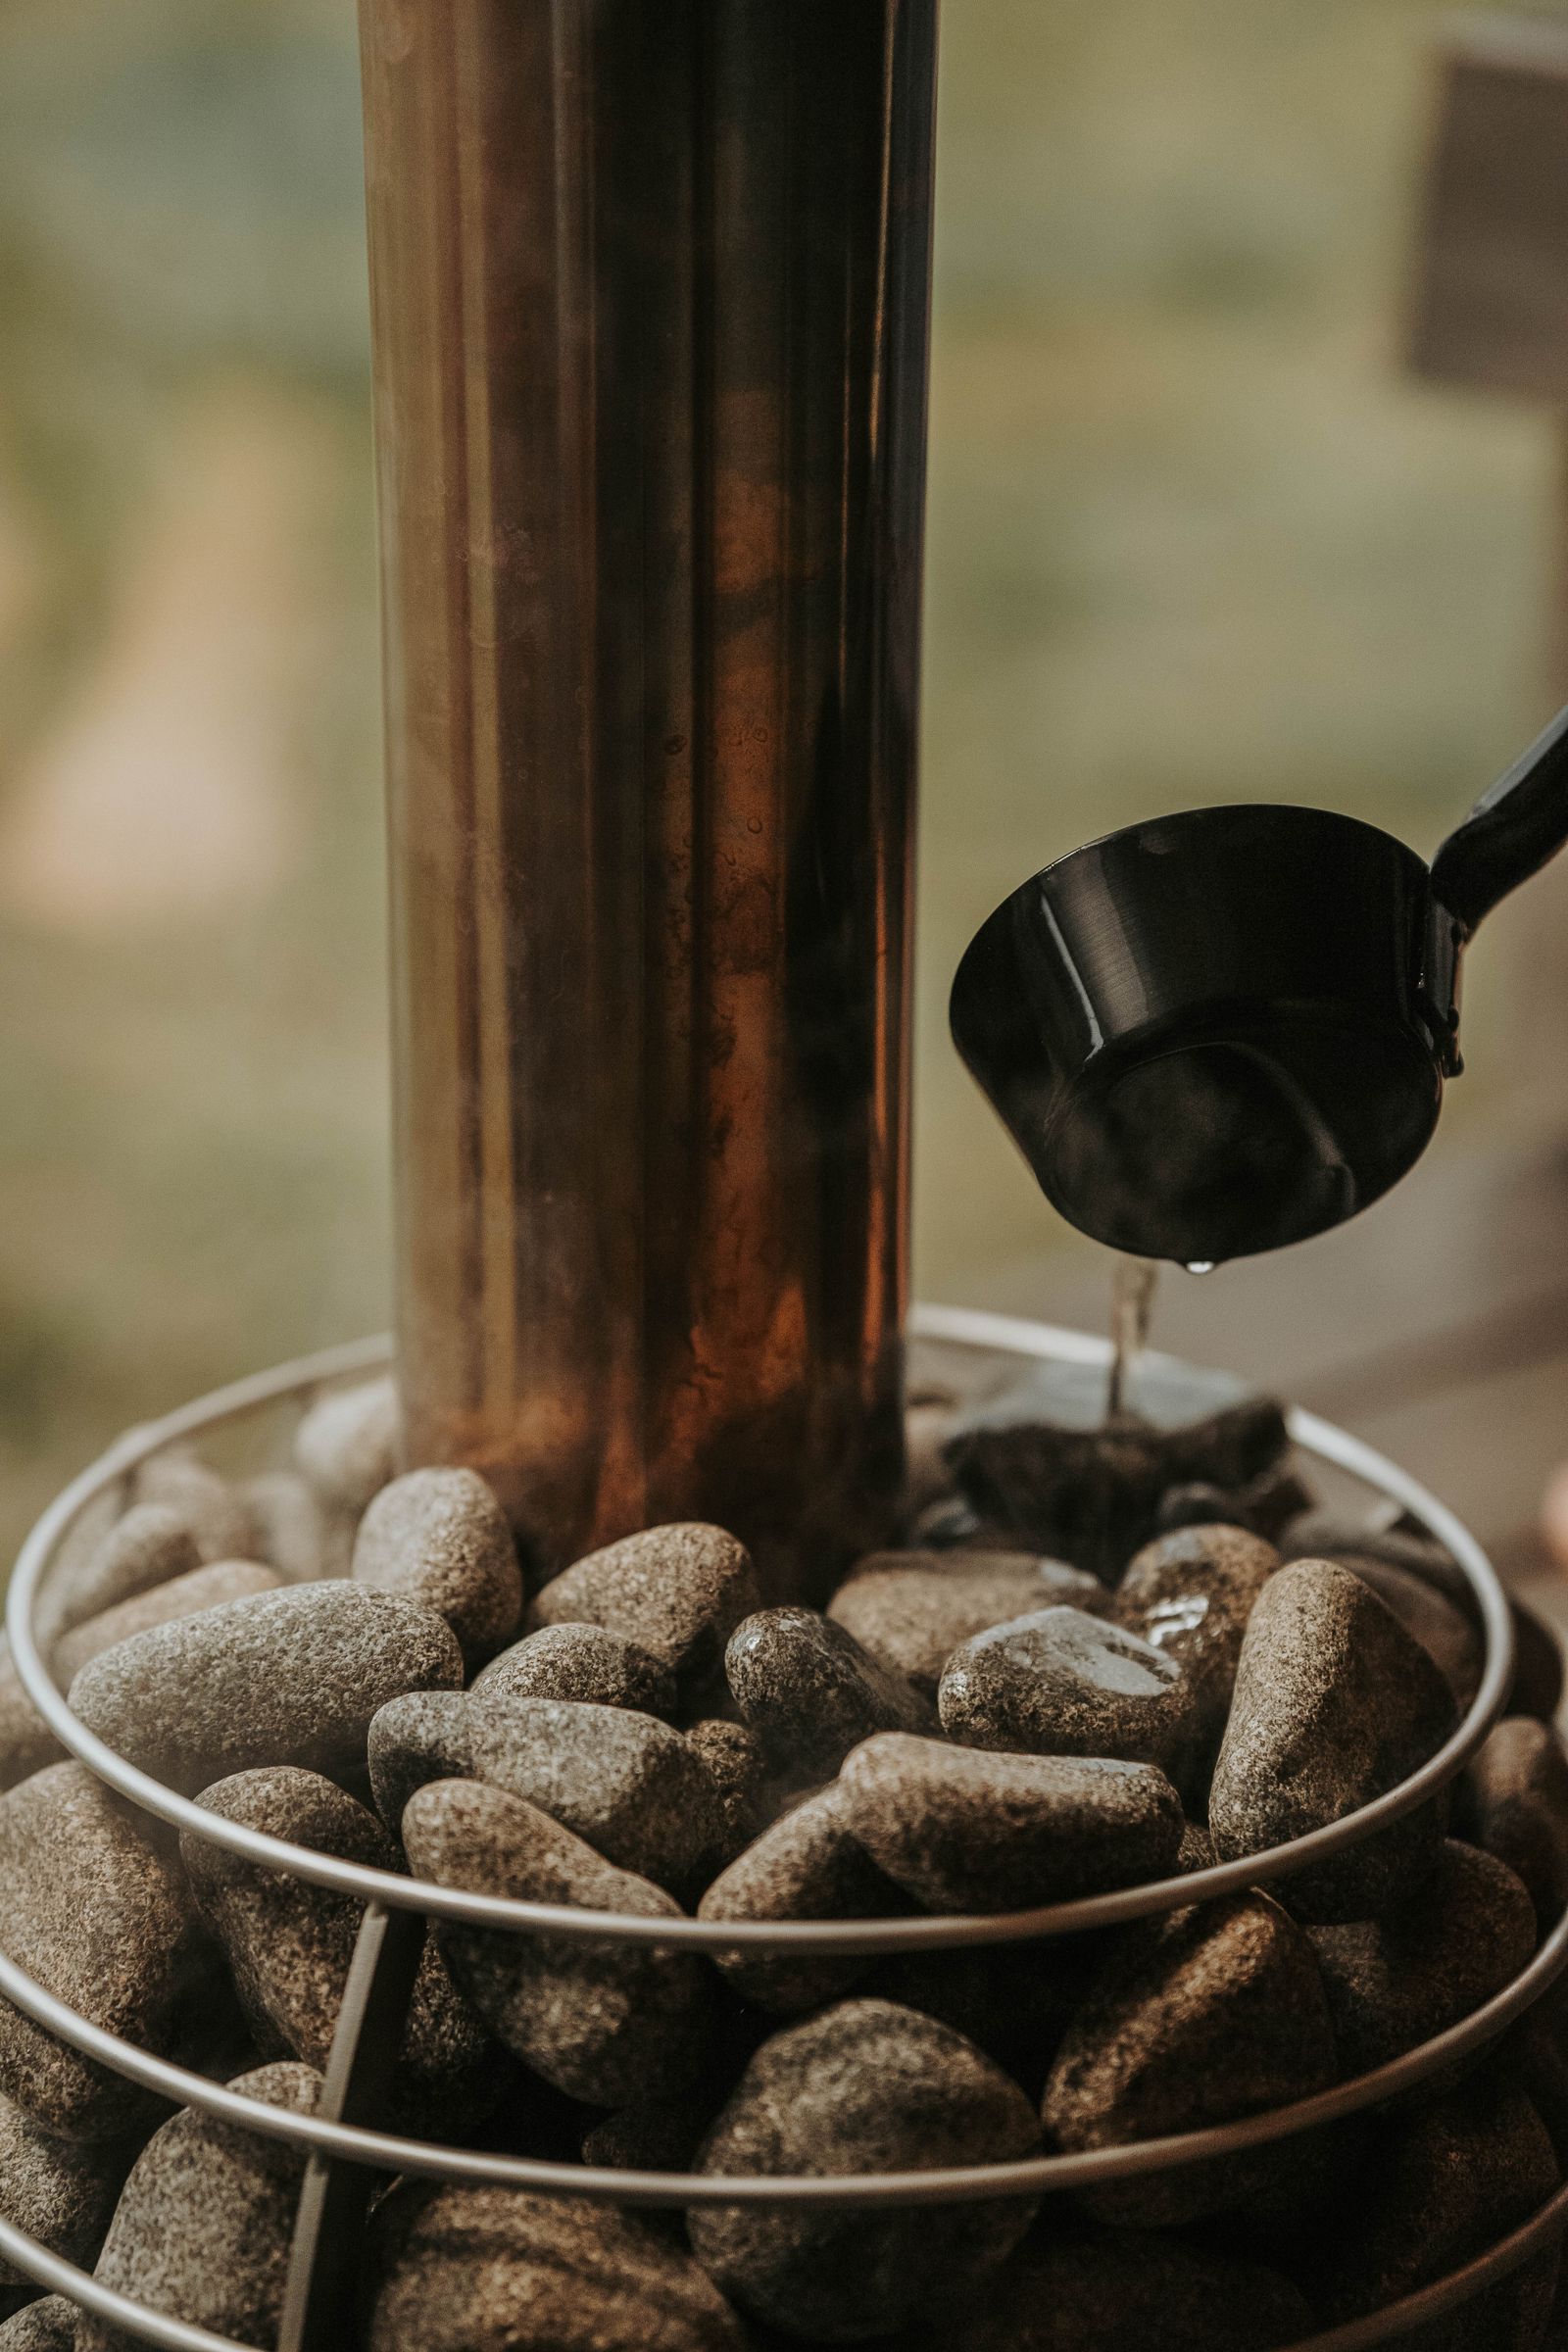
Sizing the openings and the dampers
The dimensions follow from the cabin volume and the heater output, but there are usable pointers from Finnish sources.
- Natural (gravity) ventilation: a free cross-sectional area of at least 300 cm² for both the intake and the exhaust, preferably more. That corresponds to roughly a 200 mm diameter or a 15 × 20 cm grille. Duct bends must be gently curved; sharp edges and grilles with fine mesh throttle the area considerably.
- Mechanical ventilation: intake duct typically 50–100 mm, exhaust duct approximately twice the cross-section of the intake. The cabin should be slightly under negative pressure so that humidity is not pushed into the structure.
- Dampers: the intake stays open at all times during use. The exhaust is what you use to fine-tune performance — open it further when the sauna is full and the löyly is intense, close it down while the sauna is heating up or running empty.
One setting applies while heating up (exhaust closed down, the sauna reaches temperature faster), another while bathing (exhaust opened according to the number of people), and another while drying out (everything wide open). Anyone who sets the dampers once and never touches them again is losing half their benefit.
Electric versus wood-fired sauna
With an electric heater you only have to deal with ventilation for the people. With a wood-burning heater a second, safety-related circuit is added: combustion air.
- A wood-burning heater acts as a powerful extract in its own right — the fire consumes oxygen continuously and pulls air out through the chimney. Natural ventilation therefore works more reliably in a wood-fired sauna than in an electric one.
- It is advisable to bring a separate, closable combustion air supply to the firebox door so that the fire does not take air from the cabin and compete with the ventilation.
- Mechanical extraction should not be used with wood firing. A fan can put the cabin under negative pressure, reverse the chimney draught and pull smoke and carbon monoxide inside. That is not a theoretical risk.
- The chimney, its cross-section, height and safe distances from combustible structures belong to a chimney sweep and an inspection report, not to guesswork. Ask for that consultation before you build, not afterwards. We go into the differences between the two types of heating in more detail in our article on sauna heaters: electric vs. wood-fired.
A sauna in the bathroom or in a cellar with no window
The most common brief in domestic homes — and the trickiest. The cabin has to vent somewhere.
Venting into the room is a legitimate solution, but only if that room itself has adequate air exchange. A bathroom with a permanently running extract will manage it. A bathroom with a fan wired to the light that runs on for five minutes will not. The moisture the session produces then stays in the room and ends up in the joints, the tanking and the plaster.
A cellar with no window is the most demanding case. With no exhaust to the outside, the moisture has nowhere to go and the masonry soaks it up. There are two realistic options: run the sauna exhaust duct out through the façade or a light well, or fit the room with its own forced ventilation sized for sauna use. The intake has to come from somewhere too — a door to the hallway with an undercut gap is not enough if there is no source of fresh air behind it.
We cover the details of positioning the cabin indoors in our article on how to choose a home sauna.
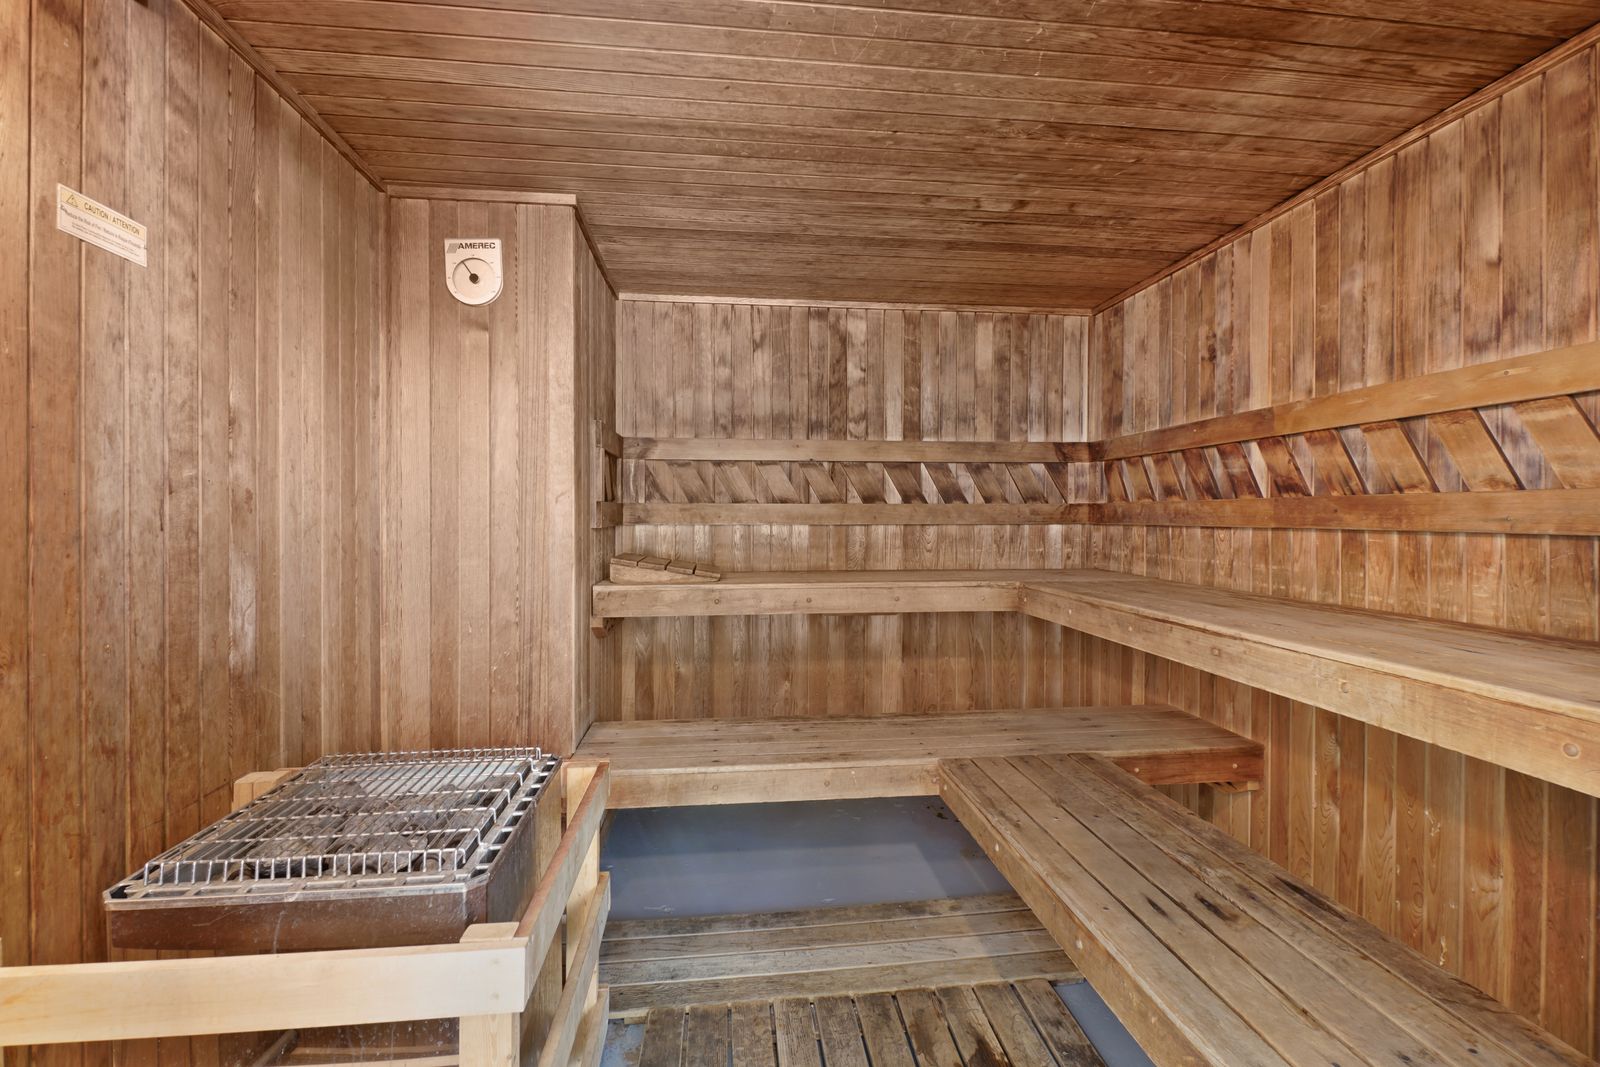
Drying out after the session: the cheapest way to extend the cabin’s life
Most owners switch the sauna off after use and shut it. From the timber’s point of view that is the worst possible procedure — the moisture stays inside and dries for hours at a falling temperature, which is the ideal environment for mould.
The correct procedure is the opposite.
- After the last session, let the heater run on for a while (15–30 minutes at the end of the timer with electric heaters), so that the residual heat helps evaporate the water.
- Open the cabin door and all the dampers fully — including the upper ceiling one, if you have it.
- Wipe the benches and backrests down and let them air; take any removable bench mats out of the cabin.
- Only close up once the timber is dry to the touch. In a well-ventilated sauna that takes tens of minutes, not half a day.
This ritual costs nothing and it is the single most effective measure against darkening timber and odour. It also ties in with how the session itself is run, which we describe in our article on how to sauna properly.
Symptoms of poor ventilation and what to do about them
| Symptom | What is probably wrong | What to do |
|---|---|---|
| Stuffiness, heaviness, headache after 10 minutes | Insufficient fresh air intake, CO₂ building up | Check whether the intake is blocked or has been sealed off; increase the cross-section, open the exhaust damper |
| The sauna “will not heat up”, the heater runs constantly | Main exhaust under the ceiling — the heat leaves straight away | Fit the ceiling opening with a damper and use it only for drying out; create a low exhaust on the opposite side |
| Hot head, cold feet (a difference of over 20 °C) | The circulation loop is not working, the air at floor level is static | Move the exhaust down low / under the bench, bring the intake to the foot of the heater |
| Condensation on the walls, in the corners, under the benches | The moisture has no route out, the cabin is under positive pressure | Enlarge the exhaust (twice the intake with mechanical ventilation), introduce a drying routine |
| Odour, dark stains, blackening timber | Permanently damp timber, mould | Ventilation plus disciplined drying; sand back or replace the affected timber |
| The sauna takes half a day to dry after use | The ceiling drying damper is missing or is not being used | Let the heater run on, open the door and all the dampers |
| Damp and mould in the surrounding room, not in the sauna | The exhaust discharges into a room with no ventilation of its own | Route the exhaust outdoors or strengthen the ventilation of the room |
| Smell of smoke in the cabin (wood-fired heater) | Negative pressure, reversed chimney draught, no combustion air | Switch the mechanical extract off immediately, open the intake, call a chimney sweep |
What can be put right afterwards and what cannot
The good news: a large proportion of ventilation mistakes can be corrected even after the build is finished.
- Easy to fix: adding or replacing dampers, enlarging grilles, removing the fine mesh that throttles the cross-section, moving the exhaust within the same wall, introducing a drying routine. Often it is a few hours of work and materials costing tens of euros.
- More demanding, but realistic: a new low exhaust on the opposite wall, if there is an accessible space behind it or it is an external wall. That means stripping off part of the panelling.
- Practically unsolvable without major work: a badly positioned cabin — for instance a sauna in the core of the house with no route to the outside anywhere around it. Here the moisture can only be limited, not removed. Likewise, relocating the heater for the sake of the intake usually means interfering with both the wiring and the layout.
Which is why ventilation is cheapest to sort out at the design stage — four openings and two dampers designed correctly are trivial in construction terms, whereas getting them into the wall afterwards is anything but.
Frequently asked questions
Is leaving the sauna door ajar enough instead of ventilation?
No. A door left ajar does not create controlled circulation around the heater; it merely cools the space by the entrance and makes the temperature stratification worse. As an addition during drying out, on the other hand, it is ideal.
Do the intake and the exhaust have to have the same cross-section?
With natural ventilation, at least 300 cm² is recommended on both sides. With mechanical ventilation the exhaust is usually about twice the size of the intake, so that the cabin is under slight negative pressure and moisture is not pushed into the wall structure.
Can I use an extractor fan in a sauna with a wood-fired heater?
It is not recommended. A fan can put the cabin under negative pressure, reverse the chimney draught and pull flue gases including carbon monoxide inside. With wood-fired heaters, rely on natural ventilation and a separate combustion air supply, and always discuss the solution with a chimney sweep.
How many times per hour should the air in a sauna be exchanged?
Finnish practice works with exchanging the entire cabin volume approximately 6 times per hour during use; the Finnish Sauna Society gives a range of 3–8 air changes. For a 2 × 2 m cabin that means roughly 50 m³ of air per hour.
Can I spot poor ventilation before buying a ready-made cabin?
Yes — look in the technical data sheet for where the manufacturer specifies the intake and the exhaust. If the only exhaust opening is under the ceiling and there is none low down on the opposite side, expect to have to fine-tune the ventilation yourself.
Conclusion
Sauna ventilation is not an accessory, it is part of the heating system. Intake low by the heater, main exhaust low on the opposite side, a ceiling damper for drying only, and discipline after the session — four rules that decide whether you end up with a sauna you can actually stay in or a stuffy cabin with darkening timber.
If you are still planning your sauna or looking at adding further elements to your home wellness zone, take a look at our range in the wellness category. You will find more practical guides in the Guide section.
